mac VScode 添加PHP debug
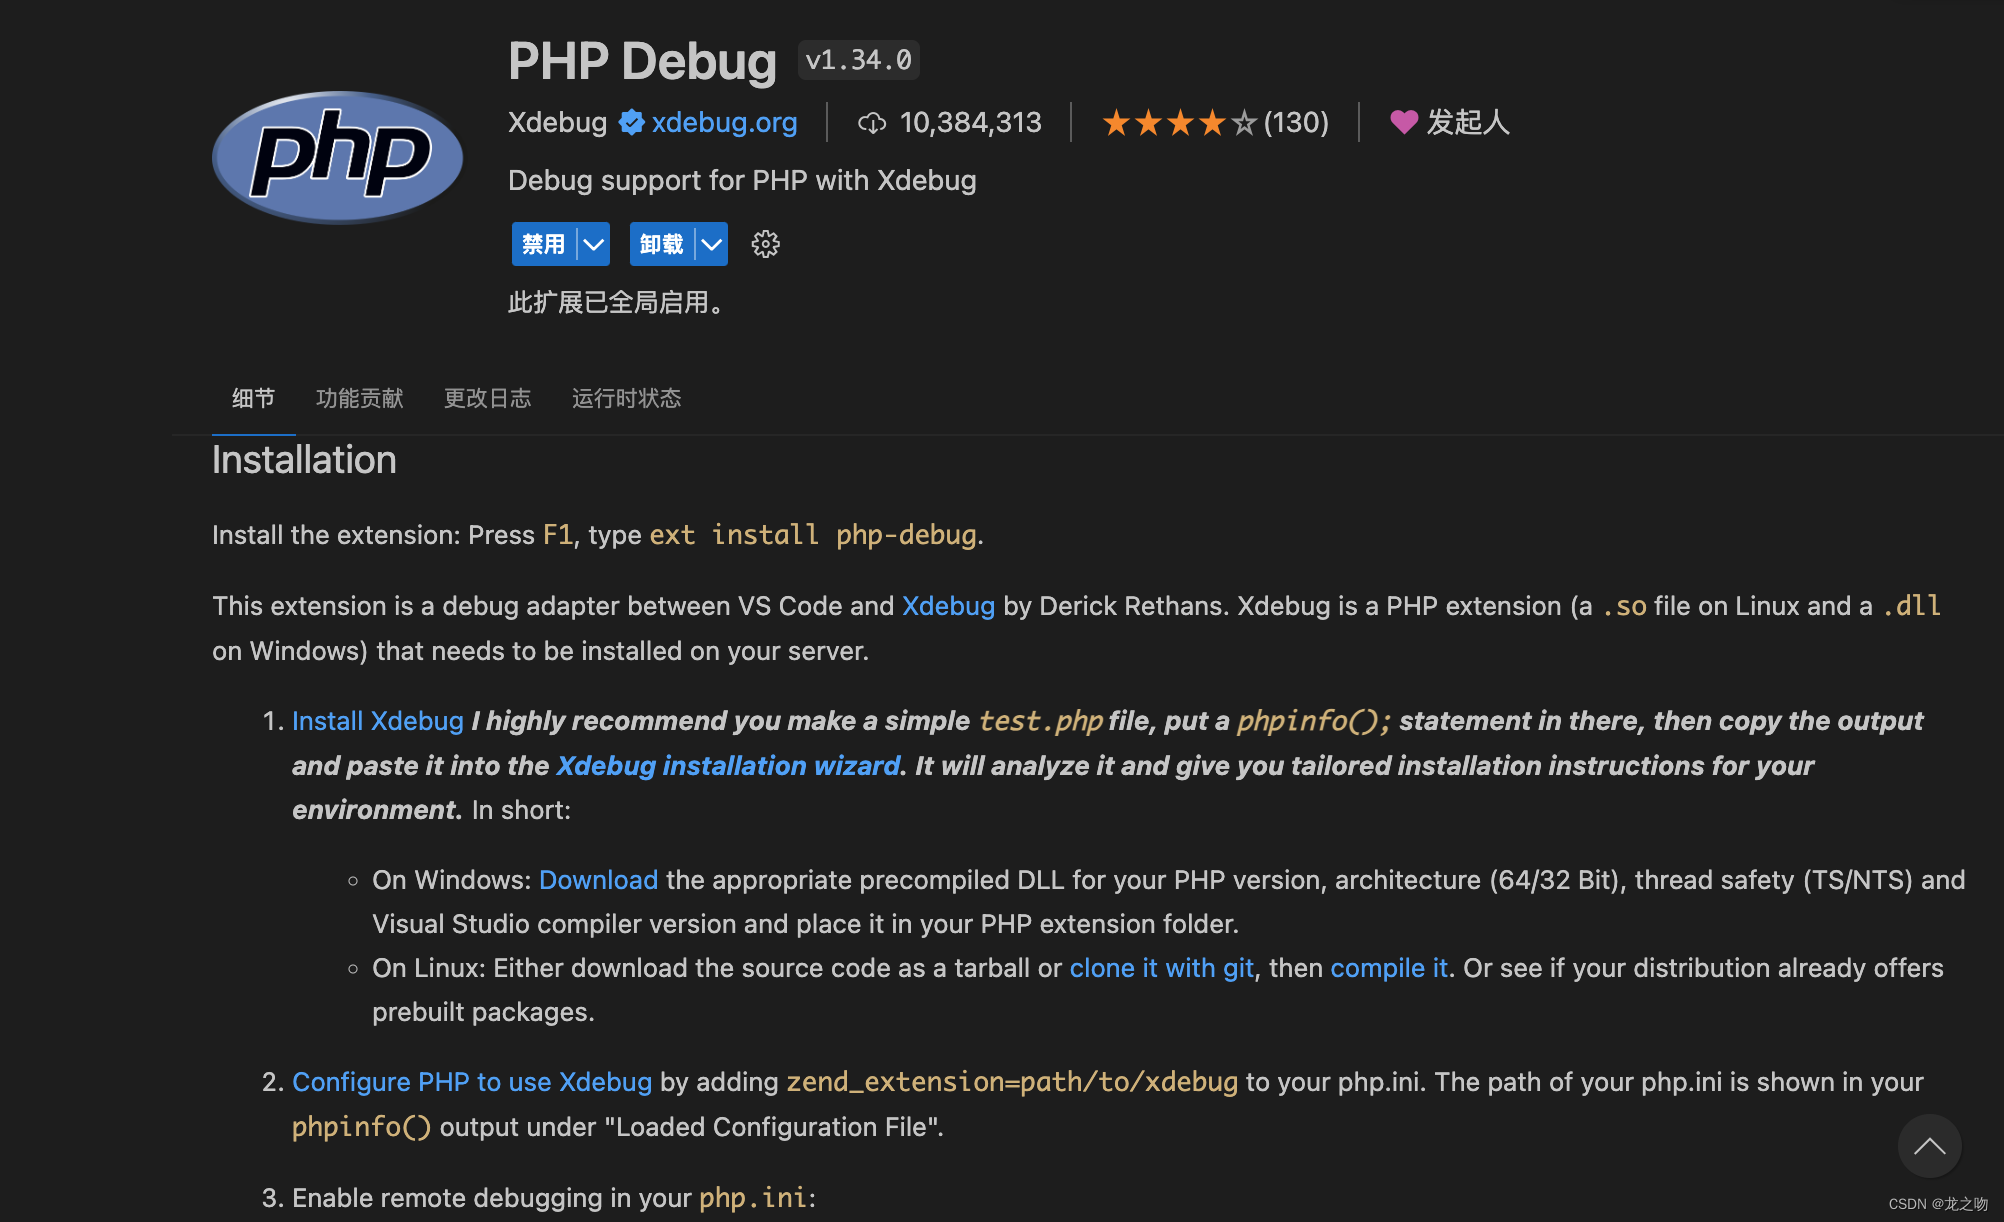
在VScode里面添加PHP Debug 插件,根据debug描述内容操作
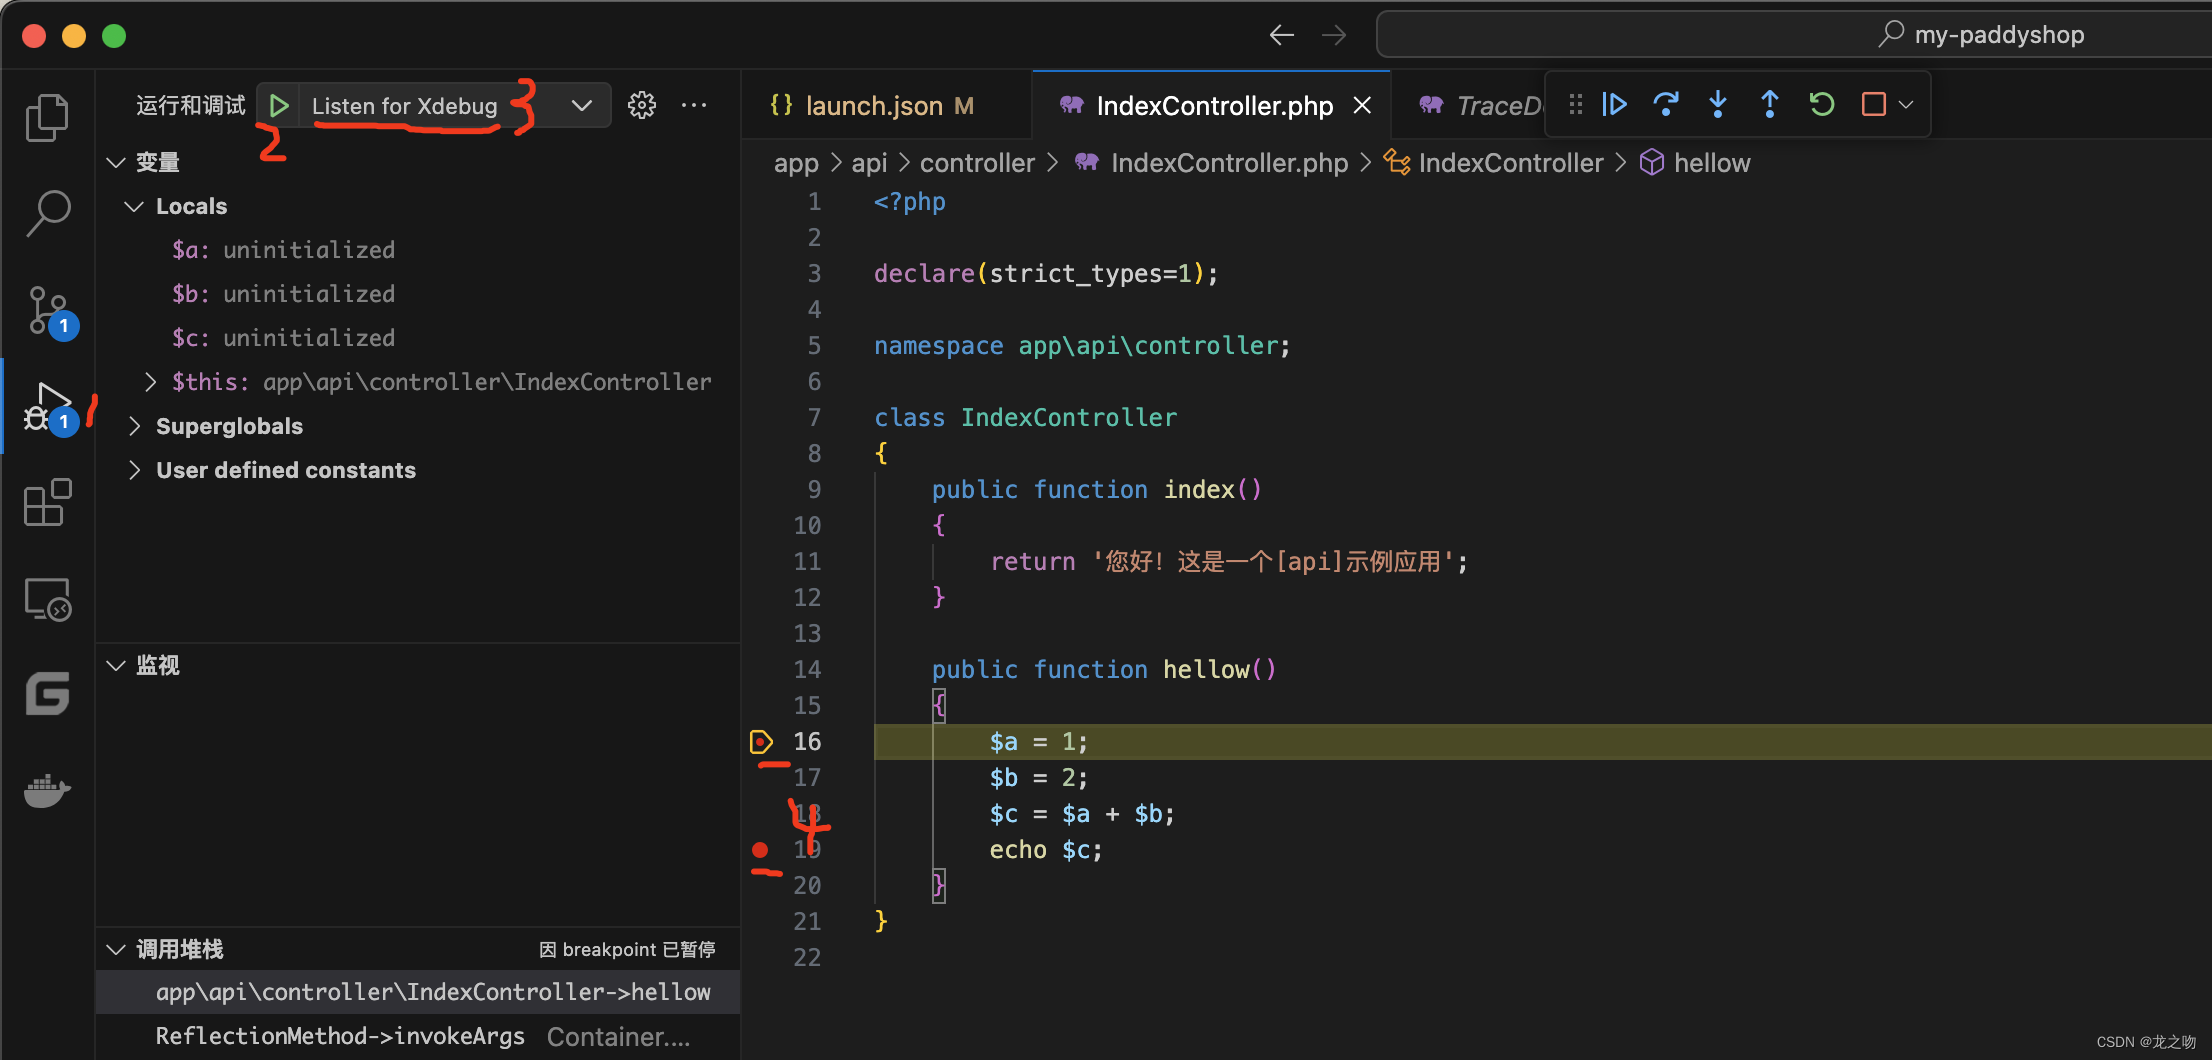
 1: 随意在index里面写个方法,然后用浏览器访问你的hello 方法,正常会进入下边的内容
class IndexController
{
    public function index()
    {
        return '您好!这是一个[api]示例应用';
    }

    public function hello()
    {
        phpinfo();
    }
}

2 ctrl+A,全选复制内容,然后复制到https://xdebug.org/wizard
3 点击红框的按钮
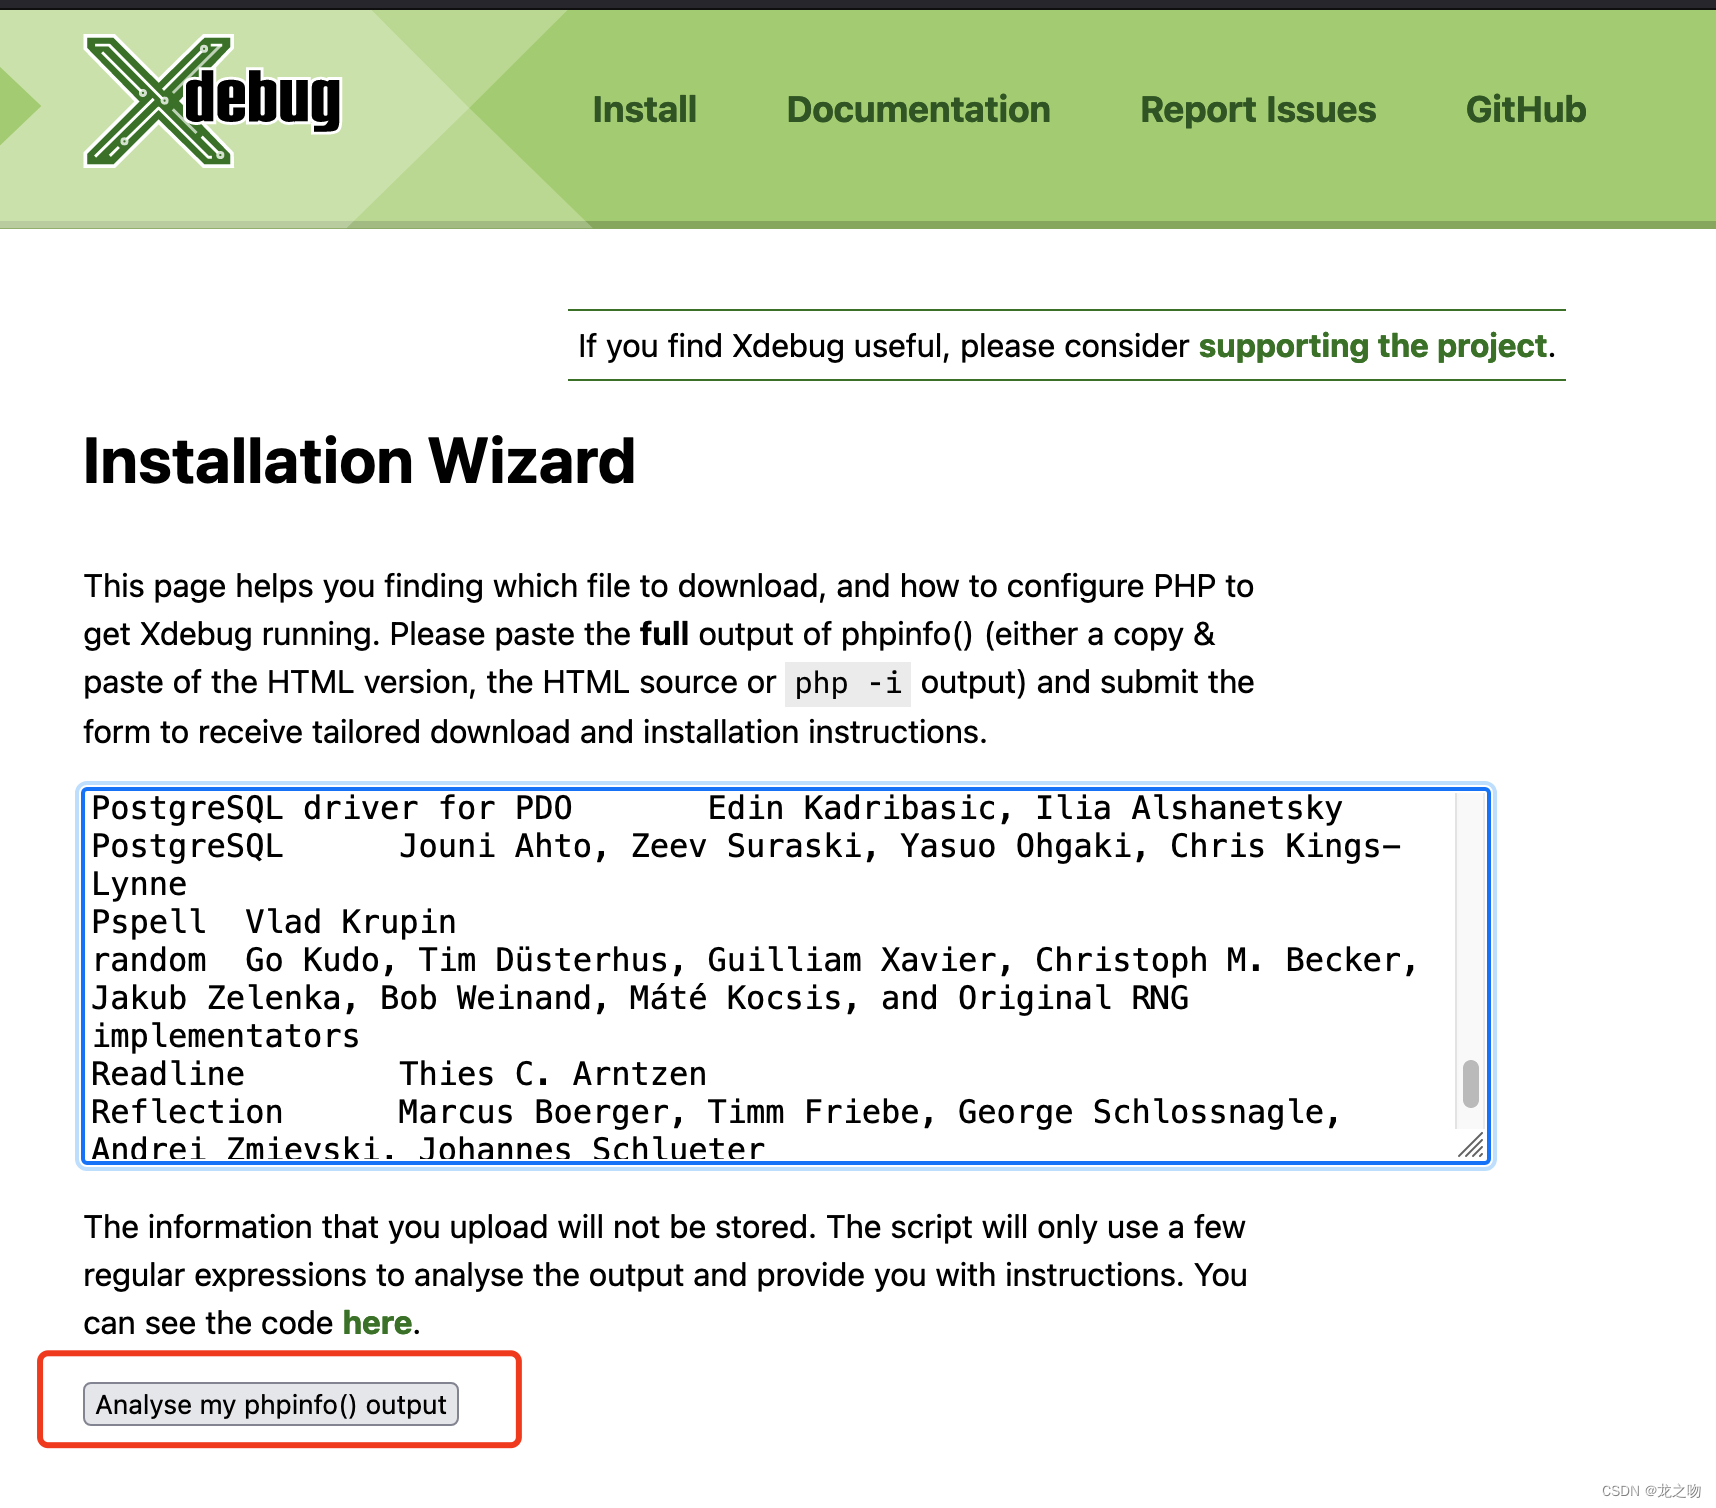
4 按照内容一步一步操作,英语不好的,自己百度吧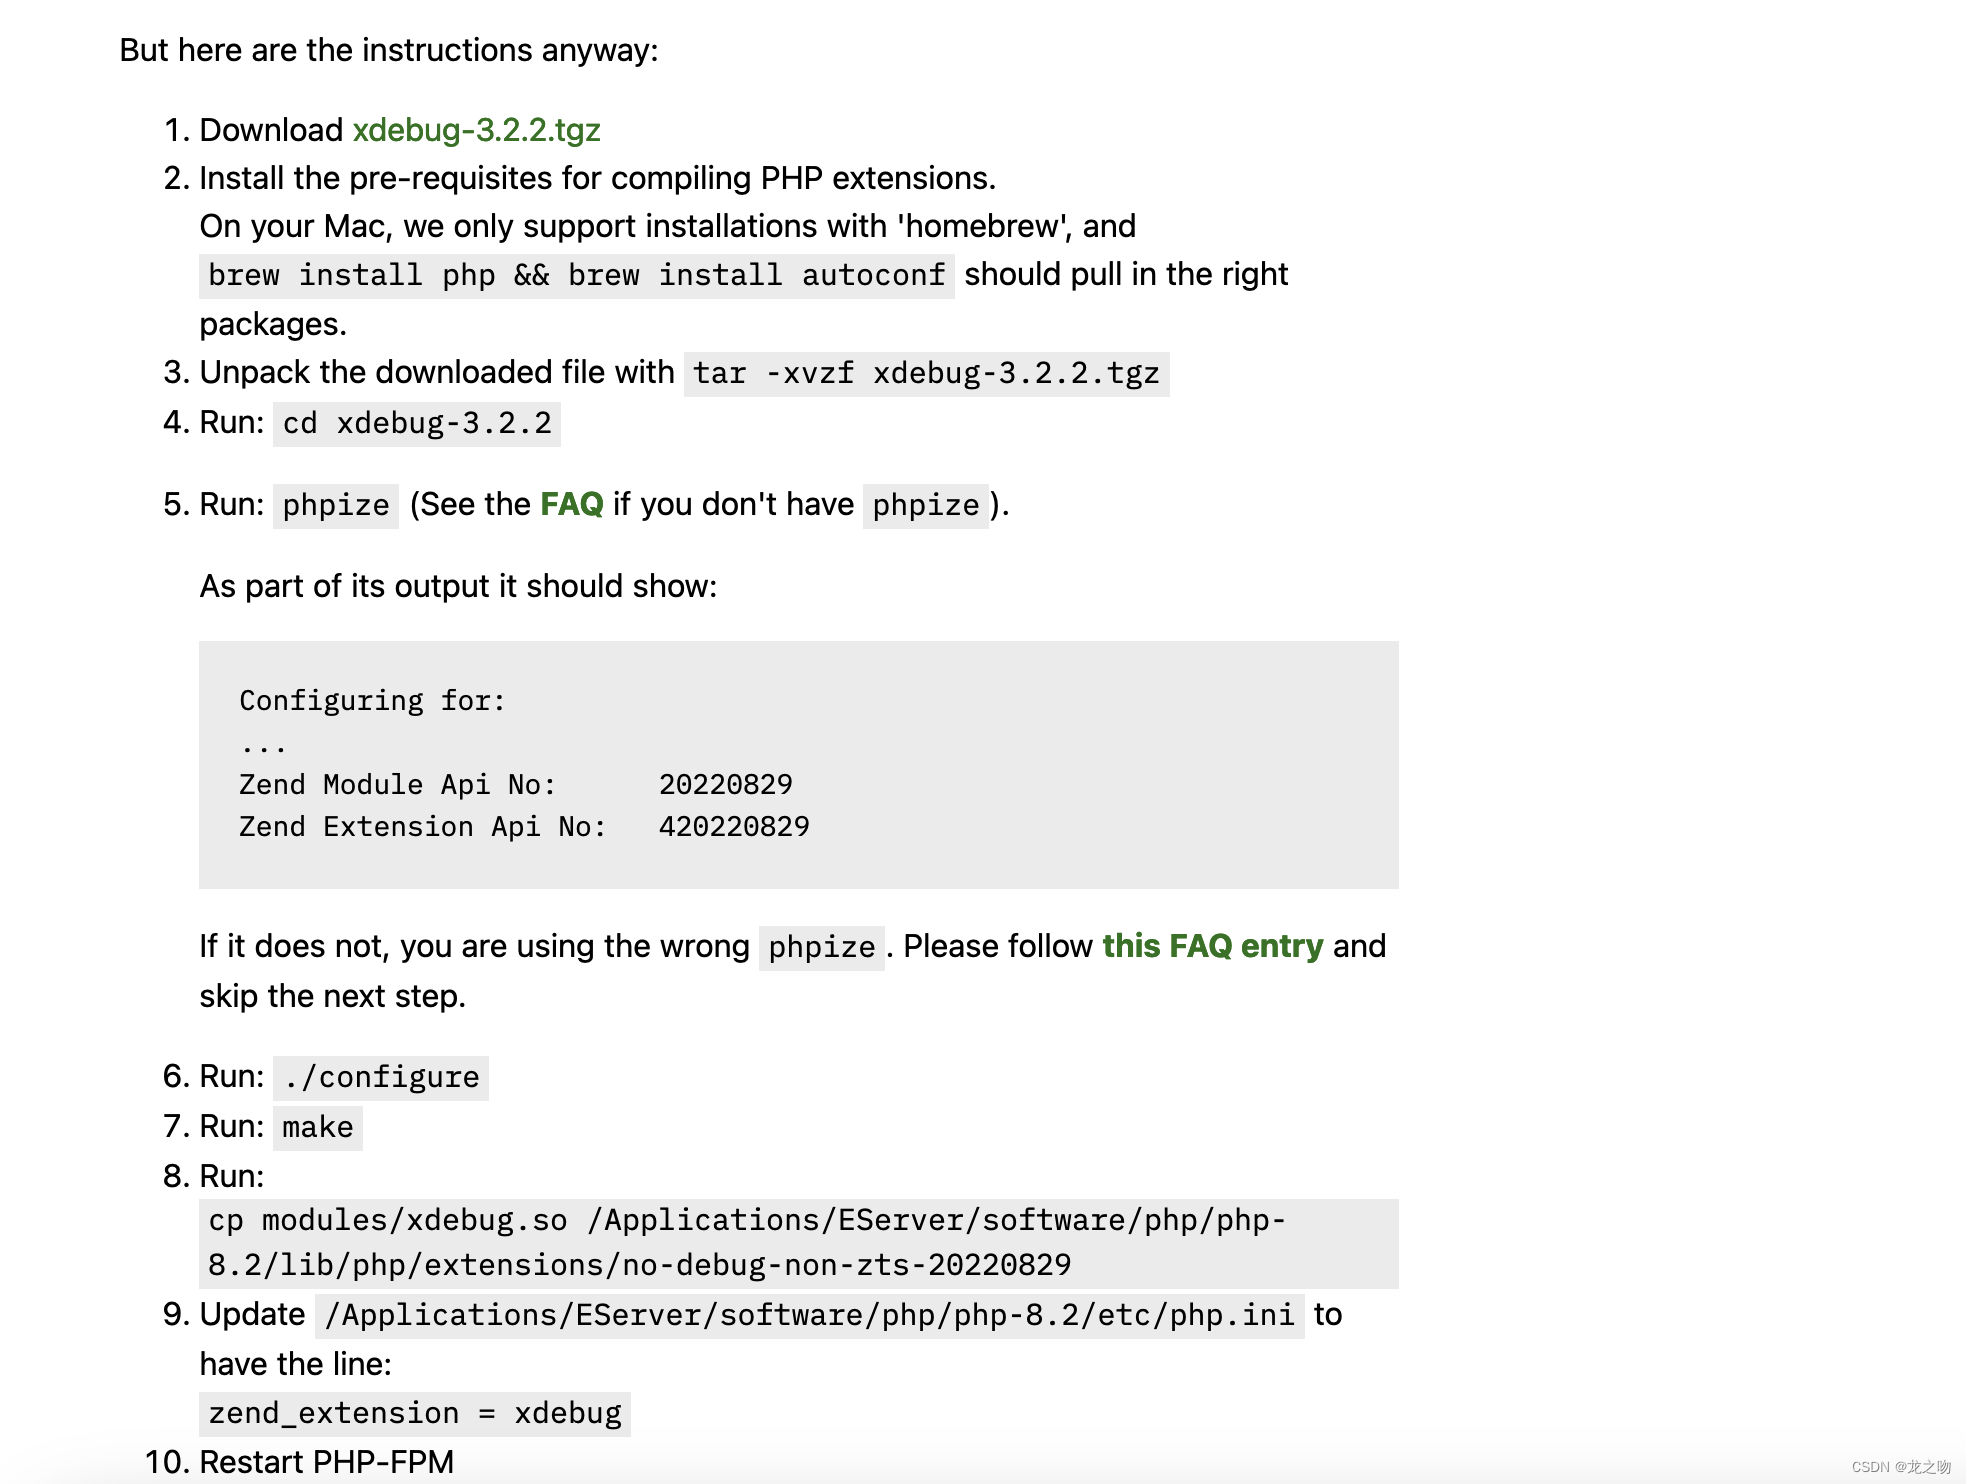 下载好的不用放在其他地方,放到桌面也行
1 下载xdebug,2 如果安装了php就不需要重新安装了,3 解压文件,4 使用命令行进入这个目录
5 输入phpize
 6 输入
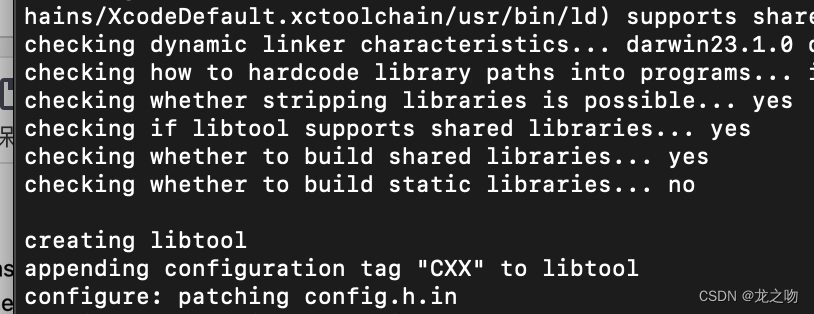
6 输入./configure
7 输入 make
8 tips:我用的是Eserver部署的,提示和你们部署环境不一样,你们就复制从’cp…’ 开始输入
9 打开php.ini 目录,第一条是 提示的,剩余的都是必须要写的
zend_extension = xdebug
xdebug.mode = debug
xdebug.start_with_request = yes
xdebug.client_port = 9001
xdebug.remote_enable = 1
xdebug.remote_autostart = 1
10 重启php,和 服务器
第二部:vscode 里面的launch.json 配置
{
    "version": "0.2.0",
    "configurations": [
        {
            "name": "Listen for Xdebug",
            "type": "php",
            "request": "launch",
            "port": 9001
        },
        {
            "name": "Launch currently open script",
            "type": "php",
            "request": "launch",
            "program": "${file}",
            "cwd": "${fileDirname}",
            "port": 9001,
            "runtimeArgs": [
                "-dxdebug.start_with_request=yes"
            ],
            "env": {
                "XDEBUG_MODE": "debug,develop",
                "XDEBUG_CONFIG": "client_port=${port}",
                "XDEBUG_SESSION": "1"
            }
        },
        {
            "name": "Launch Built-in web server",
            "type": "php",
            "request": "launch",
            "runtimeArgs": [
                "-dxdebug.mode=debug",
                "-dxdebug.start_with_request=yes",
                "-S",
                "localhost:0"
            ],
            "program": "",
            "cwd": "${workspaceRoot}",
            "port": 9001,
            "serverReadyAction": {
                "pattern": "Development Server \\(http://localhost:([0-9]+)\\) started",
                "uriFormat": "http://localhost:%s",
                "action": "openExternally"
            }
        }
    ]
}
接下来就是测试了,在浏览器输入 你的访问地址/index/hello ;