后端系统开发之——创建SpringBoot工程
原文地址:后端框架系统开发之——创建SpringBoot工程 - Pleasure的博客
下面是正文内容:
前言
现在的市场环境,如果你单单只是作为前端工程师或者是后端工程师,在开发Web应用的时候都需要去读取企业提供的接口文档。而当你前后端的知识都有了解和掌握,那你就升级为了全栈工程师,不再会因为接口异常问题而需要去跨部门沟通(然而此时你就要一个人干两个人的活了,工资涨不涨就不知道了)。
这篇博文是实战篇,主要是介绍如何正式开始进行系统项目的开发。
这是一个系列的博文(涉及到一个板块的知识),大家可以点个关注,后续会进行跟进。
正文
作为一个合格的全栈工程师,在前往企业进行Web应用项目开发的时候,最基本的技能就是需要能够开发某一种类型的系统,通常是用于内部员工管理或者是外部企业形象宣传。
这种类型的系统通常都包含这几种功能:注册登录,头像上传,修改密码,发布文章,增删改查等等。
因此这也基本上成为了Web码农系统开发时必备的基本技能。
下面就正式开始,本教程仅面向于想我这样的初学者,如果和您的使用习惯不同,勿喷。
具体步骤
先从后端Spring Boot开始
需要准本的Windows系统环境是JDK,以及MySQL(环境配置步骤略,可以看我之前的文章)注意,计算机的用户名不能有中文!
IDEA打开创建新的Maven工程。
首先在右上角配置数据库连接,下载MySQL驱动,输入Windows系统的MySQL用户名和密码。测试连接。

在数据库的默认配置文件中复制粘贴并运行下面的内容,用于生成数据表和数据名。
-- 创建数据库
create database system;

-- 使用数据库
use system;

-- 用户表
create table user (
                      id int unsigned primary key auto_increment comment 'ID',
                      username varchar(20) not null unique comment '用户名',
                      password varchar(32)  comment '密码',
                      nickname varchar(10)  default '' comment '昵称',
                      email varchar(128) default '' comment '邮箱',
                      user_pic varchar(128) default '' comment '头像',
                      create_time datetime not null comment '创建时间',
                      update_time datetime not null comment '修改时间'
) comment '用户表';

-- 分类表
create table category(
                         id int unsigned primary key auto_increment comment 'ID',
                         category_name varchar(32) not null comment '分类名称',
                         category_alias varchar(32) not null comment '分类别名',
                         create_user int unsigned not null comment '创建人ID',
                         create_time datetime not null comment '创建时间',
                         update_time datetime not null comment '修改时间',
                         constraint fk_category_user foreign key (create_user) references user(id) -- 外键约束
);

-- 文章表
create table article(
                        id int unsigned primary key auto_increment comment 'ID',
                        title varchar(30) not null comment '文章标题',
                        content varchar(10000) not null comment '文章内容',
                        cover_img varchar(128) not null  comment '文章封面',
                        state varchar(3) default '草稿' comment '文章状态: 只能是[已发布] 或者 [草稿]',
                        category_id int unsigned comment '文章分类ID',
                        create_user int unsigned not null comment '创建人ID',
                        create_time datetime not null comment '创建时间',
                        update_time datetime not null comment '修改时间',
                        constraint fk_article_category foreign key (category_id) references category(id),-- 外键约束
                        constraint fk_article_user foreign key (create_user) references user(id) -- 外键约束
)然后创建SpringBoot工程,编辑文件创建文件夹,补全Spring Boot启动项需要的依赖。(这些默认文件需要熟记,其实好像可以直接通过Spring Initializer进行创建,但也需要对配置文件进行修改才能启动,但我作为菜鸟,还是只能选择这个方式)
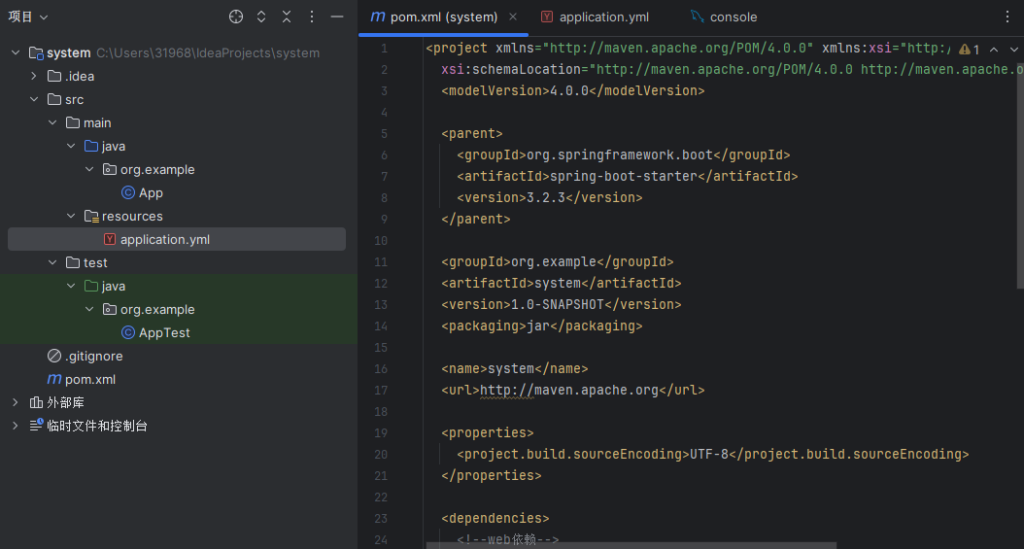
需要对pom.xml文件动刀,根据自己实际系统情况进行修改。一般回车会自动生成。修改完后刷新右上角的Maven项。
<project xmlns="http://maven.apache.org/POM/4.0.0" xmlns:xsi="http://www.w3.org/2001/XMLSchema-instance"
  xsi:schemaLocation="http://maven.apache.org/POM/4.0.0 http://maven.apache.org/xsd/maven-4.0.0.xsd">
  <modelVersion>4.0.0</modelVersion>

  <parent>
    <groupId>org.springframework.boot</groupId>
    <artifactId>spring-boot-starter</artifactId>
    <version>3.2.3</version>
  </parent>

  <groupId>org.example</groupId>
  <artifactId>system</artifactId>
  <version>1.0-SNAPSHOT</version>
  <packaging>jar</packaging>

  <name>system</name>
  <url>http://maven.apache.org</url>

  <properties>
    <project.build.sourceEncoding>UTF-8</project.build.sourceEncoding>
  </properties>

  <dependencies>
    <!--web依赖-->
    <dependency>
      <groupId>org.springframework.boot</groupId>
      <artifactId>spring-boot-starter-parent</artifactId>
      <version>3.2.3</version>
    </dependency>

    <!--mybatis依赖-->
    <dependency>
      <groupId>org.mybatis.spring.boot</groupId>
      <artifactId>mybatis-spring-boot-starter</artifactId>
      <version>3.0.3</version>
    </dependency>

    <!--mysql依赖-->
    <dependency>
      <groupId>com.mysql</groupId>
      <artifactId>mysql-connector-j</artifactId>
      <version>8.3.0</version>
    </dependency>
  </dependencies>
</project>
再然后配置application.yml中的配置信息。
spring:
  datasource:
    driver-class-name: com.mysql.cj.jdbc.Driver
    url: jdbc:mysql://localhost:3306/system
    username: root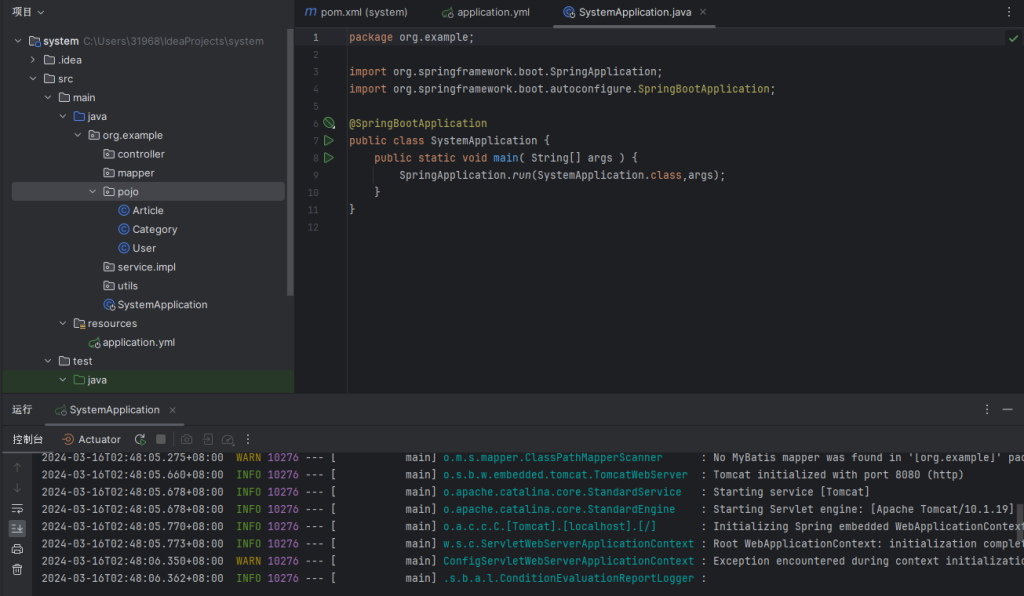
password: root最后创建包结构,准备实体类。完成后最终目录如下:
在org.example文件夹下创建controller,mapper,pojo,service.impl,utils文件夹
实体类需要自行准备
最后的最后,修改App.java启动,看到命令行出现Tomcat on port 8080 则代表启动成功了。
尾声
如果在使用上有什么问题可以私我,我们一起解决。