应用监控——springboot admin
1 springboot actuator
由于该组件只提供的基础的监控数据收集,只能通过api调用获取信息,而admin的底层数据是依赖actuator,故本文集中研究admin的相关功能
2 springboot admin
Spring Boot Admin 是 codecentric 公司开发的一款开源社区项目,目标是让用户更方便的管理以及监控 Spring Boot ® 应用。
中文文档:https://haozi4go.github.io/Spring-Boot-Admin-Reference-Guide/
缺陷:
只能监控短时间内的应用信息
如果需要各时间段的监控那么就需要有时序数据库的支持
2.1 基础功能
2.1.1 服务端
2.1.1.1 maven依赖
        <dependency>
            <groupId>de.codecentric</groupId>
            <artifactId>spring-boot-admin-starter-server</artifactId>
            <version>2.6.6</version>
            <exclusions>
                <exclusion>
                    <artifactId>thymeleaf</artifactId>
                    <groupId>org.thymeleaf</groupId>
                </exclusion>
            </exclusions>
        </dependency>
        <dependency>
            <groupId>org.thymeleaf</groupId>
            <artifactId>thymeleaf</artifactId>
        </dependency>
        <dependency>
            <groupId>org.springframework.boot</groupId>
            <artifactId>spring-boot-starter-web</artifactId>
        </dependency>
2.1.1.2 启用服务器端配置
@EnableAdminServer
@Configuration
public class SpringBootAdminConfig {
}
2.1.2 客户端
2.1.2.1 maven依赖
        <dependency>
            <groupId>de.codecentric</groupId>
            <artifactId>spring-boot-admin-starter-client</artifactId>
            <version>2.6.6</version>
        </dependency>
        <dependency>
            <groupId>org.springframework.boot</groupId>
            <artifactId>spring-boot-starter-security</artifactId>
        </dependency>
2.1.2.2 yml配置
spring:
  application:
    name: spring-boot-admin-client
  boot:
    admin:
      client:
      #服务端注册地址
        url: http://localhost:8000
        instance:
          service-host-type: ip

management:
  #在Spring Boot 2.6版本之后,env信息默认是关闭的。所以我们必须启用它们
  info:
    env:
      enabled: true
  endpoints:
    web:
      exposure:
        #公开所有端点web接口
        include: '*'
@Configuration
public class SecurityPermitAllConfig extends WebSecurityConfigurerAdapter {
    @Override
    protected void configure(HttpSecurity http) throws Exception {
        http.authorizeRequests().anyRequest().permitAll()
                .and().csrf().disable();
    }
}
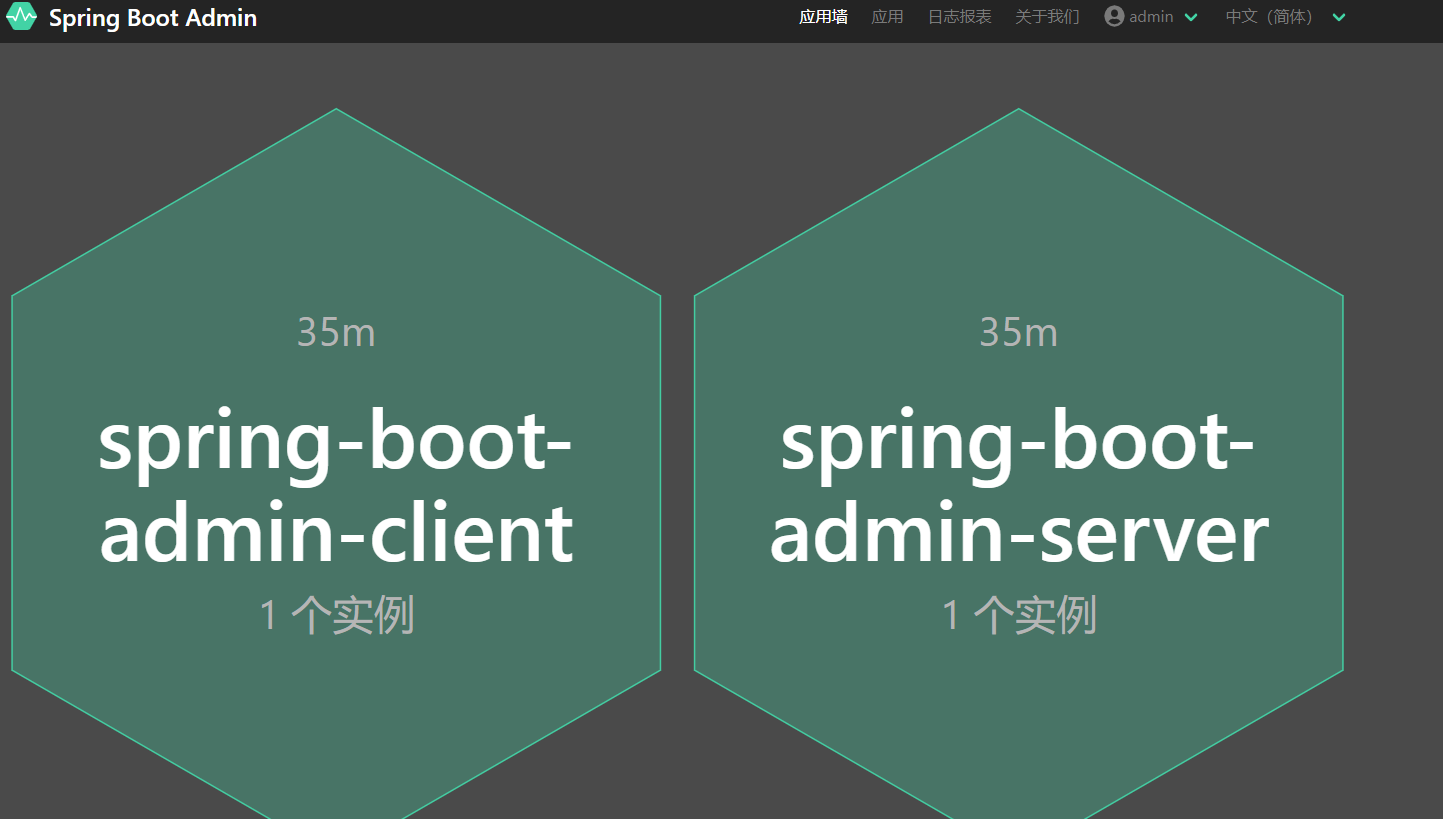
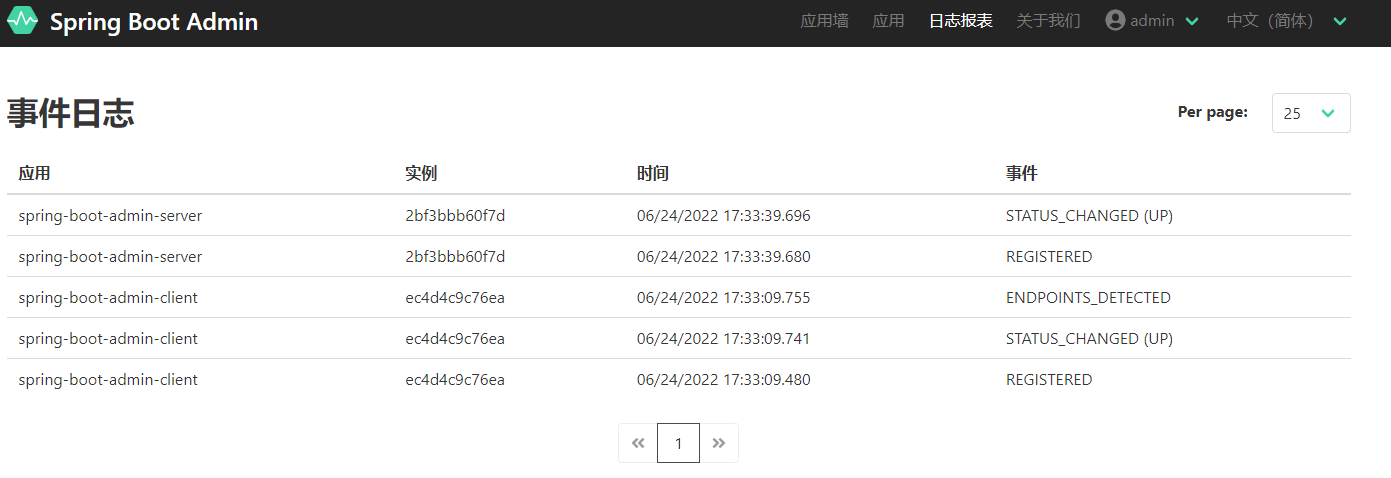
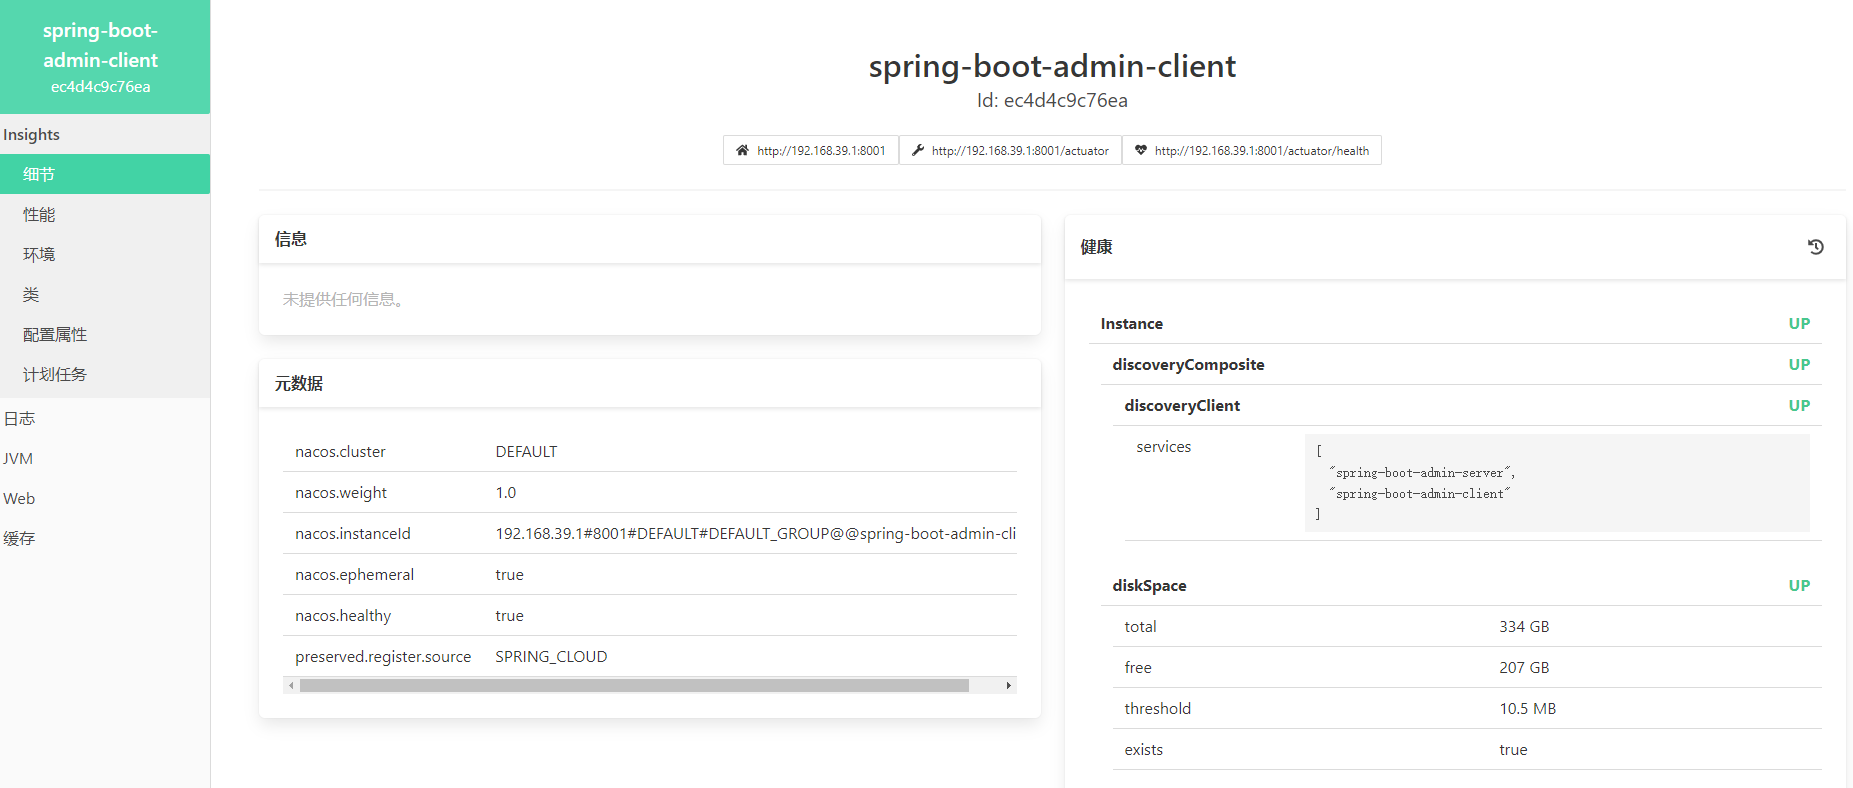
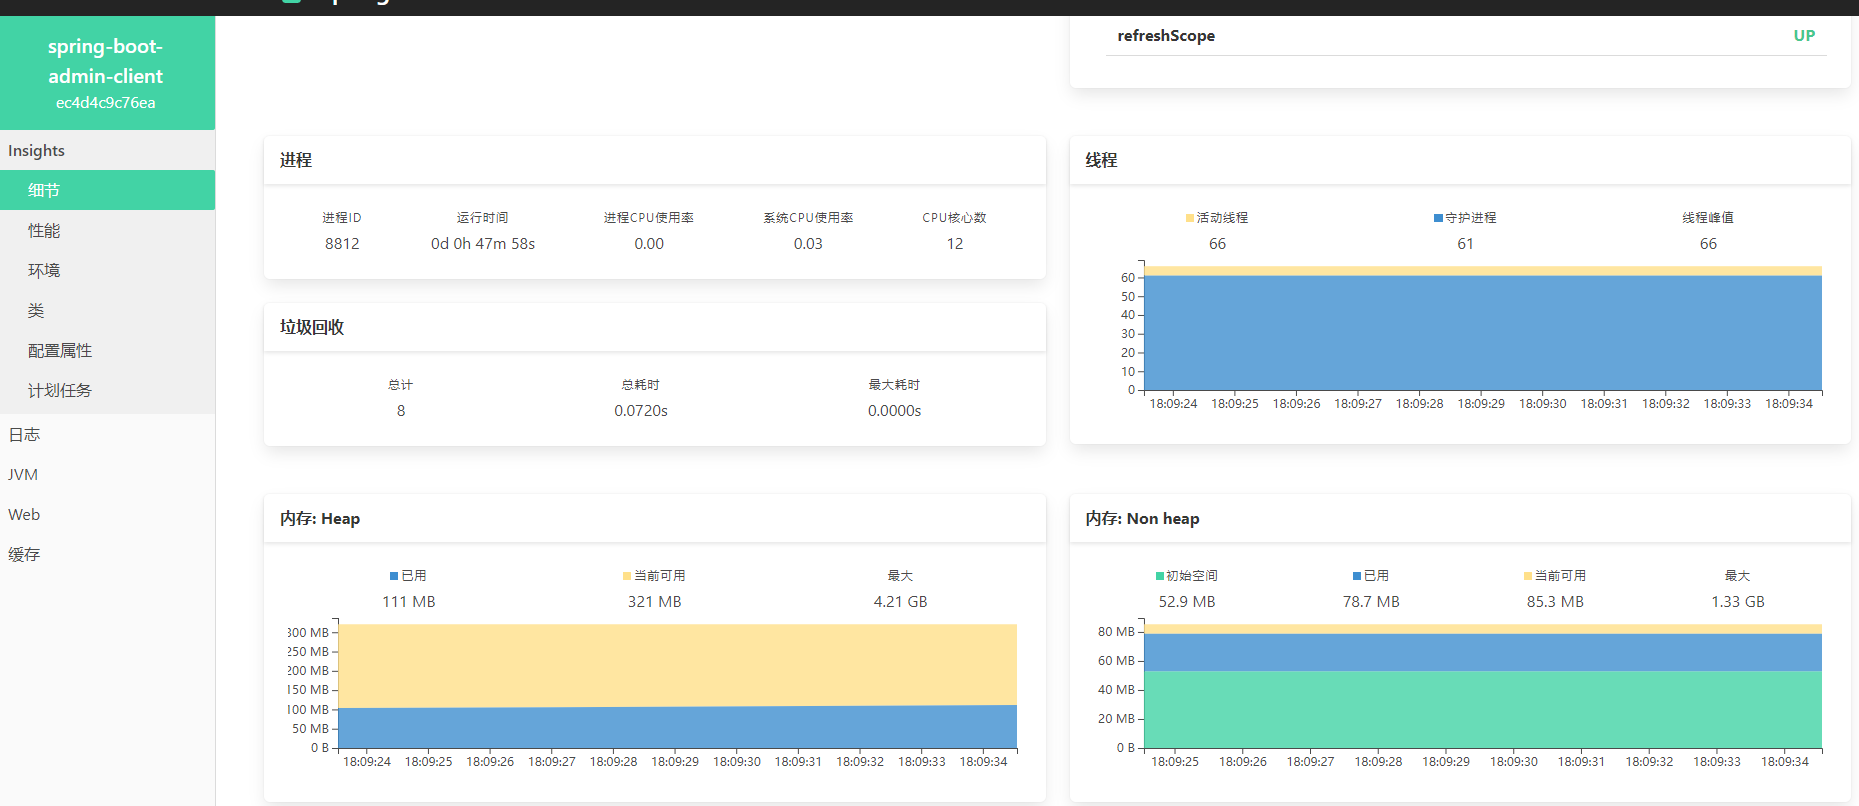
2.1.3 页面展示

2.2 失效验证
关闭服务端后,对客户端状态无影响,正常的服务接口调用无影响

如图,服务端重启后,事件显示server最近重新启动了(在客户端后面),查看客户端信息,无影响

2.3 权限控制
本章需要实现监控的权限控制,使得服务端页面登录时有校验
2.3.1 服务端
2.3.1.1 maven依赖
        <dependency>
            <groupId>org.springframework.boot</groupId>
            <artifactId>spring-boot-starter-security</artifactId>
        </dependency>
2.3.1.2 yml配置
spring:
  main:
    allow-bean-definition-overriding: true
  application:
    name: spring-boot-admin-server
  security:
    user:
    #登录用户名密码
      name: admin
      password: admin
  boot:
    admin:
      instance-auth:
        enabled: false
2.3.1.3 配置类SecurityConfig
@EnableWebSecurity
@Configuration(proxyBeanMethods = false)
public class SecurityConfig extends WebSecurityConfigurerAdapter {
    private final AdminServerProperties adminServer;

    private final SecurityProperties security;

    public SecurityConfig(AdminServerProperties adminServer, SecurityProperties security) {
        this.adminServer = adminServer;
        this.security = security;
    }

    /**
     * 安全认证配置:
     *
     * @param http
     * @throws Exception
     */
    @Override
    protected void configure(HttpSecurity http) throws Exception {
        SavedRequestAwareAuthenticationSuccessHandler successHandler = new SavedRequestAwareAuthenticationSuccessHandler();
        successHandler.setTargetUrlParameter("redirectTo");
        successHandler.setDefaultTargetUrl(this.adminServer.path("/"));

        http.authorizeRequests(
                (authorizeRequests) -> authorizeRequests.antMatchers(this.adminServer.path("/assets/**")).permitAll()
                        //对所有静态资源和登录页面进行放行处理。
                        .antMatchers(this.adminServer.path("/actuator/info")).permitAll()
                        .antMatchers(this.adminServer.path("/actuator/health")).permitAll()
                        .antMatchers(this.adminServer.path("/login")).permitAll()
                        //其它所有请求都必须经过身份认证。
                        .anyRequest().authenticated()
        )       //	配置登录和注销逻辑。
                .formLogin(
                        (formLogin) -> formLogin.loginPage(this.adminServer.path("/login")).successHandler(successHandler).and()
                ).logout((logout) -> logout.logoutUrl(this.adminServer.path("/logout")))
                //开启HTTP-Basic认证。这是Spring Boot Admin客户端所需的。
                .httpBasic(Customizer.withDefaults())
                //启用Cookie的CSRF保护
                .csrf((csrf) -> csrf.csrfTokenRepository(CookieCsrfTokenRepository.withHttpOnlyFalse())
                        //禁用Spring Boot Admin客户端对于注册(注销)请求的CSRF保护
                        .ignoringRequestMatchers(
                                new AntPathRequestMatcher(this.adminServer.path("/instances"),
                                        HttpMethod.POST.toString()),
                                new AntPathRequestMatcher(this.adminServer.path("/instances/*"),
                                        HttpMethod.DELETE.toString()),
                                //	禁用Spring Boot Admin客户端对于actuator接口的CSRF保护
                                new AntPathRequestMatcher(this.adminServer.path("/actuator/**"))
                        ))
                .rememberMe((rememberMe) -> rememberMe.key(UUID.randomUUID().toString()).tokenValiditySeconds(1209600));
    }

    /**
     * 记住我功能配置,当点击记住我时候,必须有以下配置,否则无法登录成功。
     *
     * @param auth
     * @throws Exception
     */
    @Override
    protected void configure(AuthenticationManagerBuilder auth) throws Exception {
        auth.inMemoryAuthentication().withUser(security.getUser().getName())
                .password("{noop}" + security.getUser().getPassword()).roles("USER");
    }
}
2.3.2 客户端
2.3.2.1 maven依赖
        <dependency>
            <groupId>org.springframework.boot</groupId>
            <artifactId>spring-boot-starter-security</artifactId>
        </dependency>
2.3.2.2 yml配置
spring:
  application:
    name: spring-boot-admin-client
  boot:
    admin:
      client:
        url: http://localhost:8000
        password: admin
        username: admin
        instance:
          service-host-type: ip
2.3.2.3 界面展示
访问http://localhost:8000/login
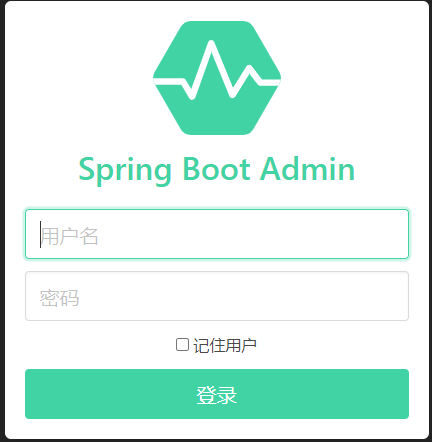
展示登录框,输入服务端配置的用户名密码admin/admin
即可登录

点击注销

返回登录页面

2.4 启用JVM中的java管理拓展
要想在admin页面中与JMX-beans进行交互,必须在客户端中引入 Jolokia。
Spring Boot 2.2.0以上,需要设置spring.jmx.enabled=true
<dependency>
    <groupId>org.jolokia</groupId>
    <artifactId>jolokia-core</artifactId>
</dependency>
重启客户端,即可看到新增页面栏java管理扩展
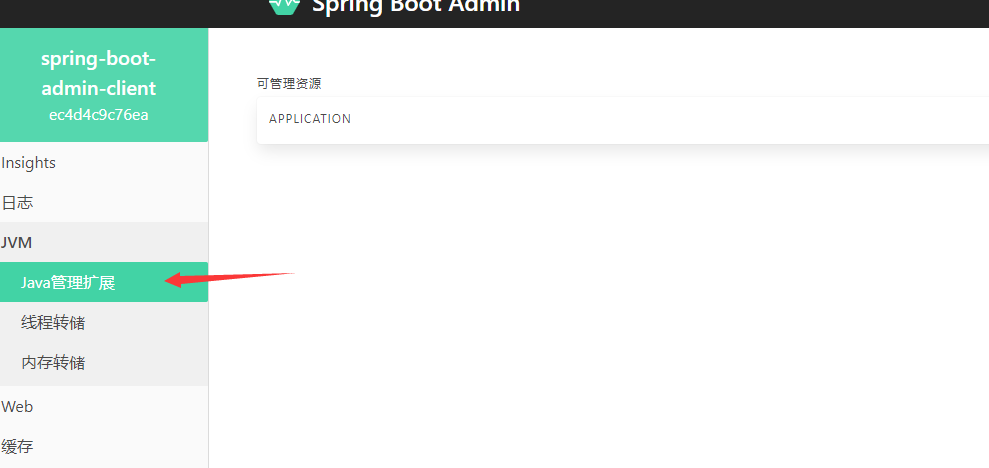

在该页面中使用JMX可远程修改应用的某些系统配置
2.5 查看日志文件
默认无法通过actuator接口访问日志文件,若需要启用actuator日志文件接口,需要设置logging.file.name
logging:
  #定义日志文件的写入目录。启用日志文件的actuator接口
  file:
    name: 'E:/spring-boot-admin-demo/logs/spring-boot-admin-client.log'
    #文件日志使用自定义的ANSI颜色。
  pattern:
    file: '%clr(%d{yyyy-MM-dd HH:mm:ss.SSS}){faint} %clr(%5p) %clr(${PID}){magenta}%clr(---){faint} %clr([%15.15t]){faint} %clr(%-40.40logger{39}){cyan} %clr(:){faint} %m%n%wEx'
2.5.1 界面展示
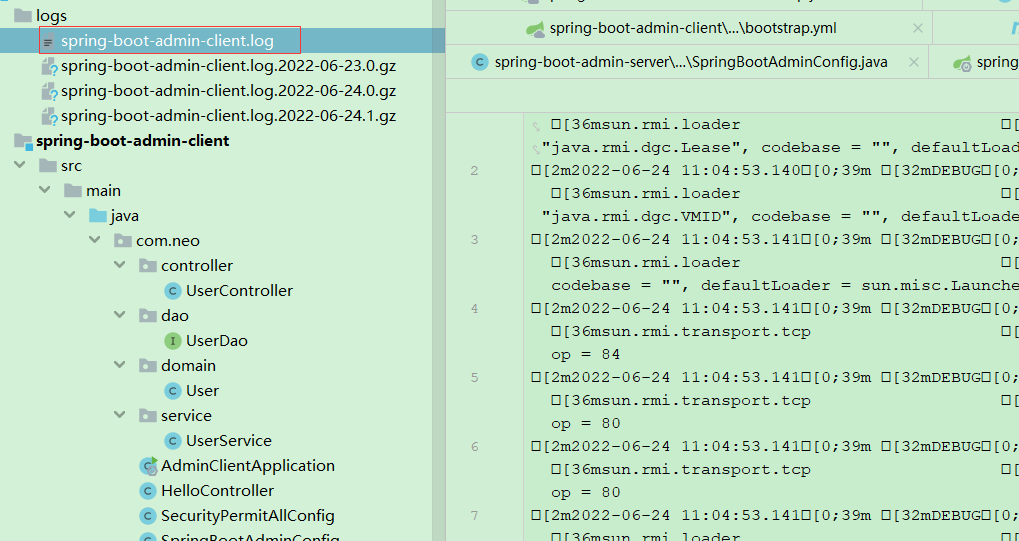
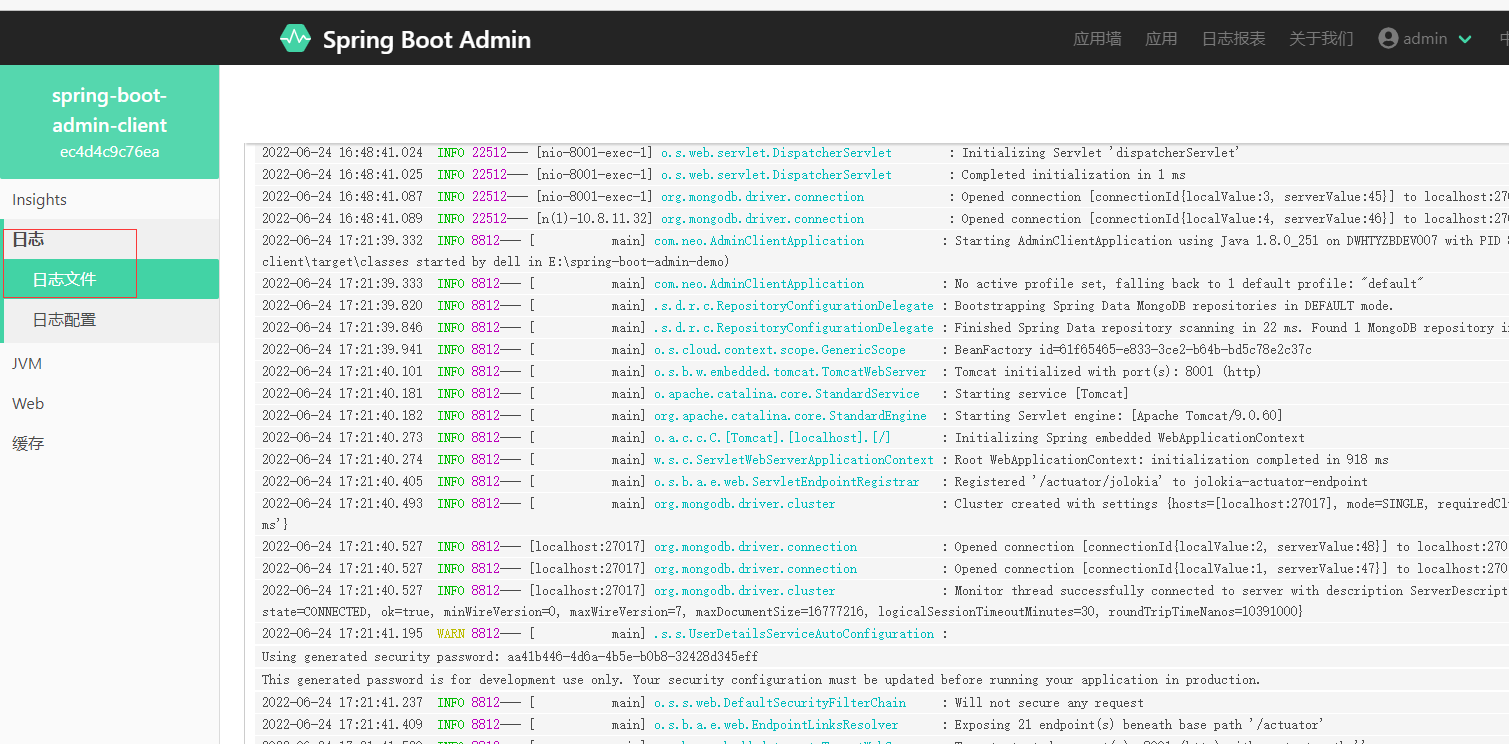
界面展示出日志文件的新菜单栏,可以在线查看客户端生成的日志文件
2.6 监控底层web服务器
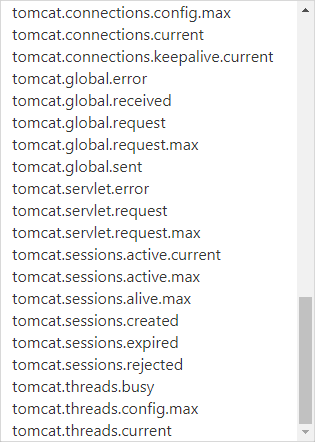
客户端采用的tomcat,故需要监控tomcat的参数
2.6.1 问题
spring boot 2.2.x release note
Tomcat Thread:
Spring Boot 2.2 Release Notes开始已经默认禁用了,从而节省了大约2MB的堆。
2.6.2 解决方案
客户端增加yml配置
#启用 MBean 注册表来获取 Tomcat 指标
server:
  tomcat:
    mbeanregistry:
      enabled: true
2.6.3 界面展示


2.7 数据库连接查看
2.7.1 修改客户端yml配置
management:
  #在Spring Boot 2.6版本之后,env信息默认是关闭的。所以我们必须启用它们
  info:
    env:
      enabled: true
  endpoint:
    health:
      #显示db、redis、rabbti连接情况等
      show-details: always
    #启用端点,默认情况下,除shutdown以外的所有端点均已启用,启用该特性可以关停应用
    shutdown:
      enabled: true
  endpoints:
    web:
      exposure:
        #公开所有端点web接口
        include: '*'
  trace:
    http:
      enabled: true
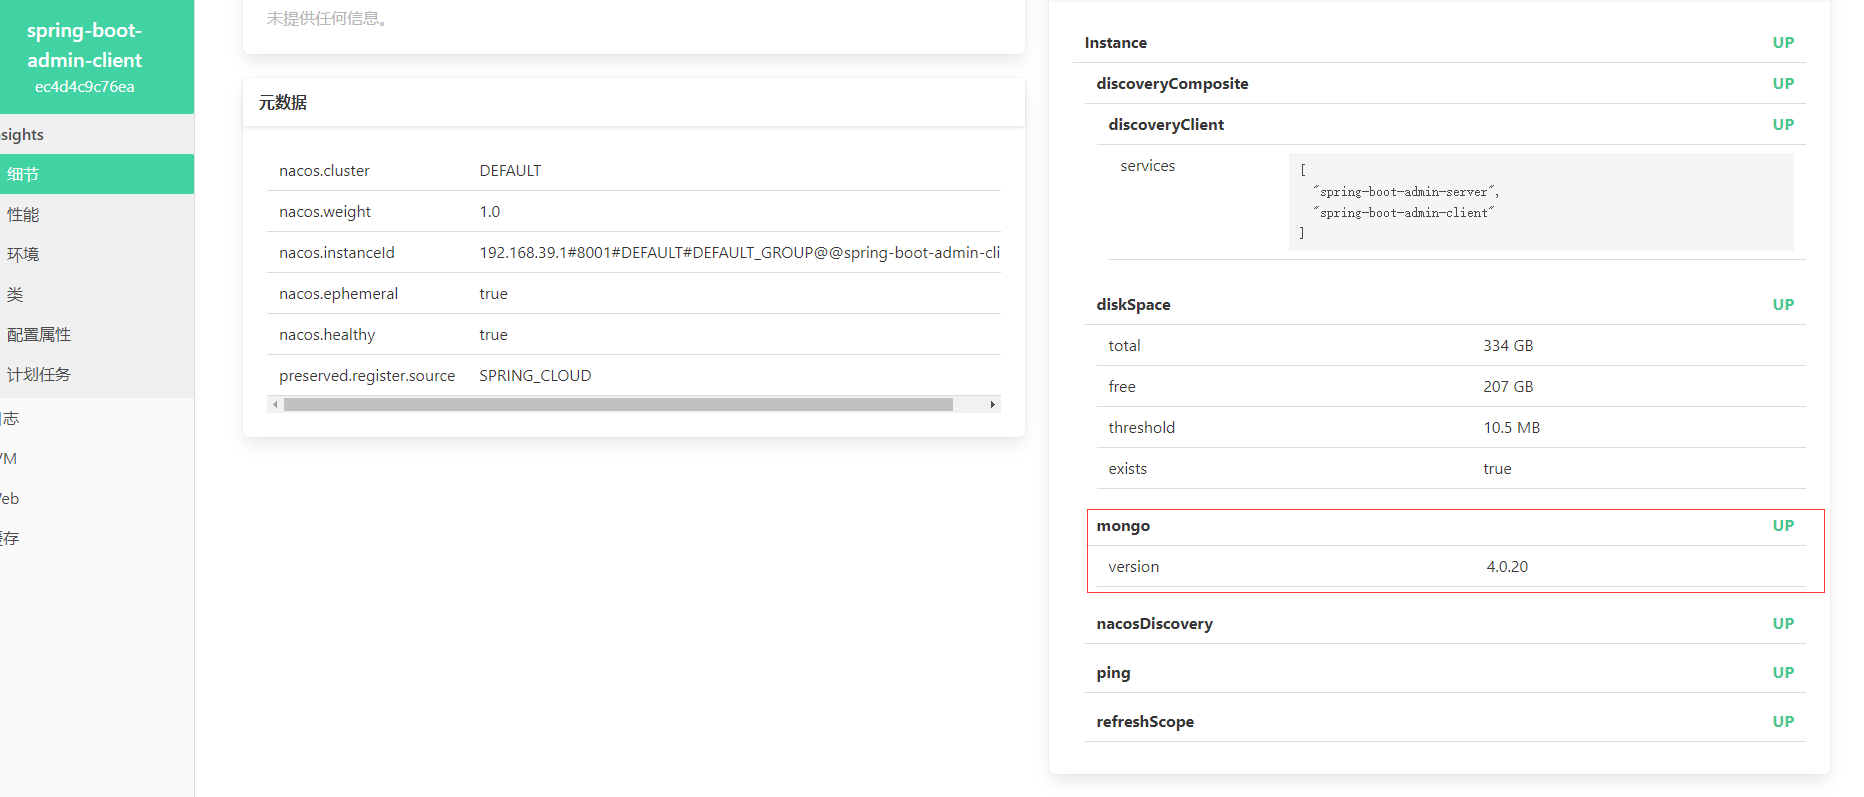
直接连接数据库,增加management.endpoint.health.show-details=always配置,即可查看数据库连接参数
2.7.2 界面展示


2.8 HTTP请求监控
2.8.1 问题
spring boot 2.2.x release note
HttpTrace:
由于Spring Boot Actuator使用HttpTrace消耗资源并不支持集群,在Spring Boot 2.2 Release Notes开始已经默认禁用了,要启用HTTP跟踪,实现HttpTraceRepository或AuditEventRepository重新打开这些功能。
原文链接:https://blog.csdn.net/dsen726/article/details/116662070
参考:https://blog.csdn.net/u013810234/article/details/110097201
2.8.2 解决方案
想直接在SpringBootAmin中继续查看Http Traces,则直接在客户端注入InMemoryHttpTraceRepository这个Bean即可
@Configuration
public class SpringBootAdminConfig {
    @Bean
    public InMemoryHttpTraceRepository getInMemoryHttpTrace() {
        return new InMemoryHttpTraceRepository();
    }
}
2.8.3 界面展示

2.9 监控通知
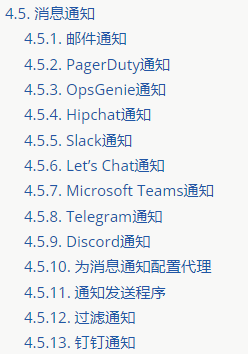
admin的监控种类很多,如下图。还可以自定义通知,本文使用邮件通知作为例子
2.9.1 服务端
2.9.1.1 maven依赖
        <!--mail 邮箱依赖-->
        <dependency>
            <groupId>org.springframework.boot</groupId>
            <artifactId>spring-boot-starter-mail</artifactId>
        </dependency>
2.9.1.2 yml配置
spring:
      notify:
        mail:
          from: XXXX
          to: XXXX
  mail:
    host: XXXX
    username: XXXX
    password: XXXX
2.9.2 效果展示
当客户端启停时,会发送通知邮件
2.10 集成nacos,自动注册到admin服务端
使用nacos方式,客户端不用配置服务端的地址,灵活性更强
坑:springcloud、springcloudAlibaba 与springboot等的版本对应关系,需要一一对应
https://blog.csdn.net/m0_37824308/article/details/122717359
2.10.1 将 Spring Cloud 添加到现有的 Spring Boot 应用程序
如果您想要将Spring Cloud添加到该应用程序的现有Spring Boot应用程序,则第一步是确定您应该使用的Spring Cloud版本。您在应用程序中使用的版本将取决于您使用的Spring Boot版本。
| cloud Release 版本 | Boot Version |
|---|---|
| 2021.0.x aka Jubilee | 2.6.x |
| 2020.0.x aka Ilford | 2.4.x, 2.5.x (Starting with 2020.0.3) |
| Hoxton | 2.2.x, 2.3.x (Starting with SR5) |
| Greenwich | 2.1.x |
| Finchley | 2.0.x |
| Edgware | 1.5.x |
| Dalston | 1.5.x |
2.10.2 maven依赖
服务端、客户端相同
        <!-- Spring Cloud Nacos Service Discovery -->
        <dependency>
            <groupId>com.alibaba.cloud</groupId>
            <artifactId>spring-cloud-starter-alibaba-nacos-discovery</artifactId>
            <version>2021.0.1.0</version>
        </dependency>
2.10.3 bootstrap.yml配置
spring:
  cloud:
    nacos:
      config:
        server-addr: localhost:8848
2.10.4 启动配置
在服务端、客户端的启动类增加注解@EnableDiscoveryClient
注释客户端中的服务端地址spring.boot.admin.client.url=http://localhost:8080,使用nacos配置,即可全部注册到nacos中,自动获取地址自动配置
2.10.4 界面展示


这里将nacos中注册的服务端与客户端都显示了
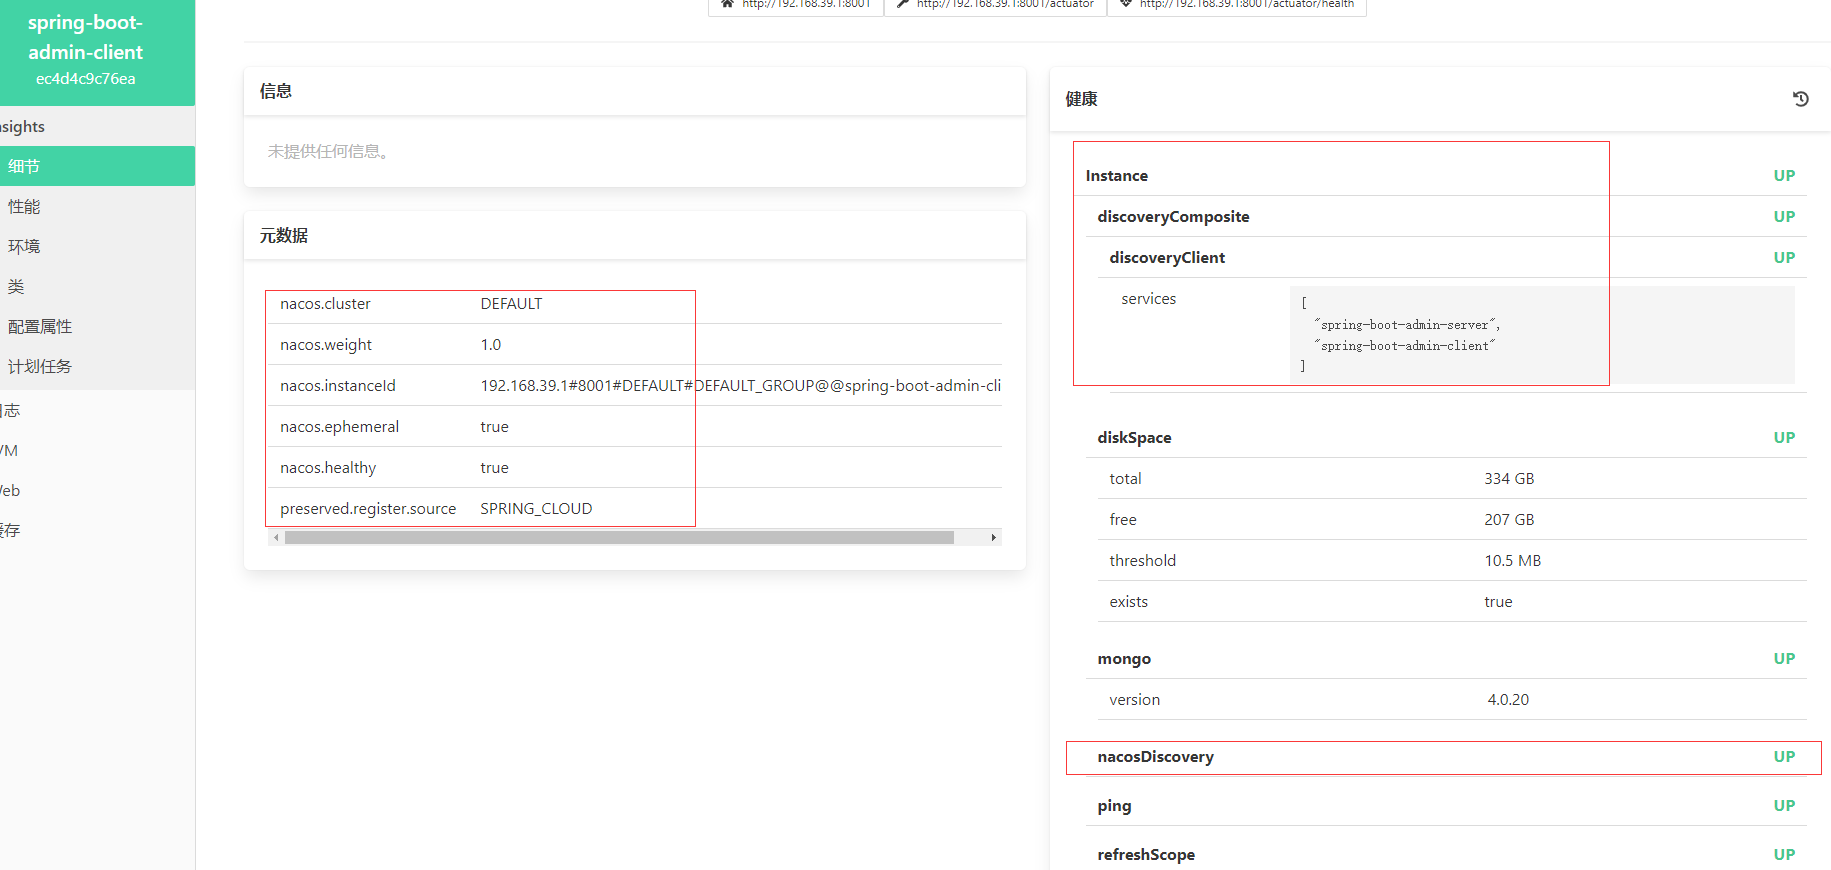
细节数据中出现了nacos相关信息
2.11 接入gateway
由于gateway使用响应式框架,web操作与之前的客户端不同,SecurityPermitAllConfig需要重写
2.11.1 配置类
@Configuration
@EnableWebFluxSecurity
public class SecurityPermitAllConfig {

    @Bean
    public SecurityWebFilterChain springSecurityFilterChain(ServerHttpSecurity http) {
        SecurityWebFilterChain chain = http.authorizeExchange().anyExchange().permitAll()
                .and().csrf().disable().build();
        return chain;
    }
}
2.11.2 maven依赖
<dependency>
            <groupId>org.springframework.cloud</groupId>
            <artifactId>spring-cloud-starter-gateway</artifactId>
            <version>3.1.1</version>
        </dependency>
        <dependency>
            <groupId>de.codecentric</groupId>
            <artifactId>spring-boot-admin-starter-client</artifactId>
            <version>2.6.6</version>
        </dependency>
        <dependency>
            <groupId>org.springframework.boot</groupId>
            <artifactId>spring-boot-starter-security</artifactId>
        </dependency>
        <dependency>
            <groupId>com.alibaba.cloud</groupId>
            <artifactId>spring-cloud-starter-alibaba-nacos-discovery</artifactId>
            <version>2021.0.1.0</version>
        </dependency>
        <dependency>
            <groupId>org.jolokia</groupId>
            <artifactId>jolokia-core</artifactId>
        </dependency>
2.11.3 yml配置
server:
  port: 8090
spring:
  application:
    name: gateway
    main:
      allow-bean-definition-overriding: true
    #  启用JVM中的java管理拓展
    jmx:
      enabled: true

  boot:
    admin:
      client:
        password: admin
        username: admin
        instance:
          service-host-type: ip
  cloud:
    gateway:
      enabled: true
      discovery:
        locator:
          lower-case-service-id: true
      routes:
        # Add your routes here.
        - id: aliyun_route
          uri: http://localhost:8001/
          predicates:
            - Path=/hello/**

logging:
  #定义日志文件的写入目录。启用日志文件的actuator接口
  file:
    name: 'E:/spring-boot-admin-demo/logs/gateway.log'
    #文件日志使用自定义的ANSI颜色。
  pattern:
    file: '%clr(%d{yyyy-MM-dd HH:mm:ss.SSS}){faint} %clr(%5p) %clr(${PID}){magenta}%clr(---){faint} %clr([%15.15t]){faint} %clr(%-40.40logger{39}){cyan} %clr(:){faint} %m%n%wEx'

management:
  #在Spring Boot 2.6版本之后,env信息默认是关闭的。所以我们必须启用它们
  info:
    env:
      enabled: true
  endpoint:
    health:
      #显示db、redis、rabbti连接情况等
      show-details: always
    #启用端点,默认情况下,除shutdown以外的所有端点均已启用,启用该特性可以关停应用
    shutdown:
      enabled: true
  endpoints:
    web:
      exposure:
        #公开所有端点web接口
        include: '*'
  trace:
    http:
      enabled: true
2.11.4 页面展示
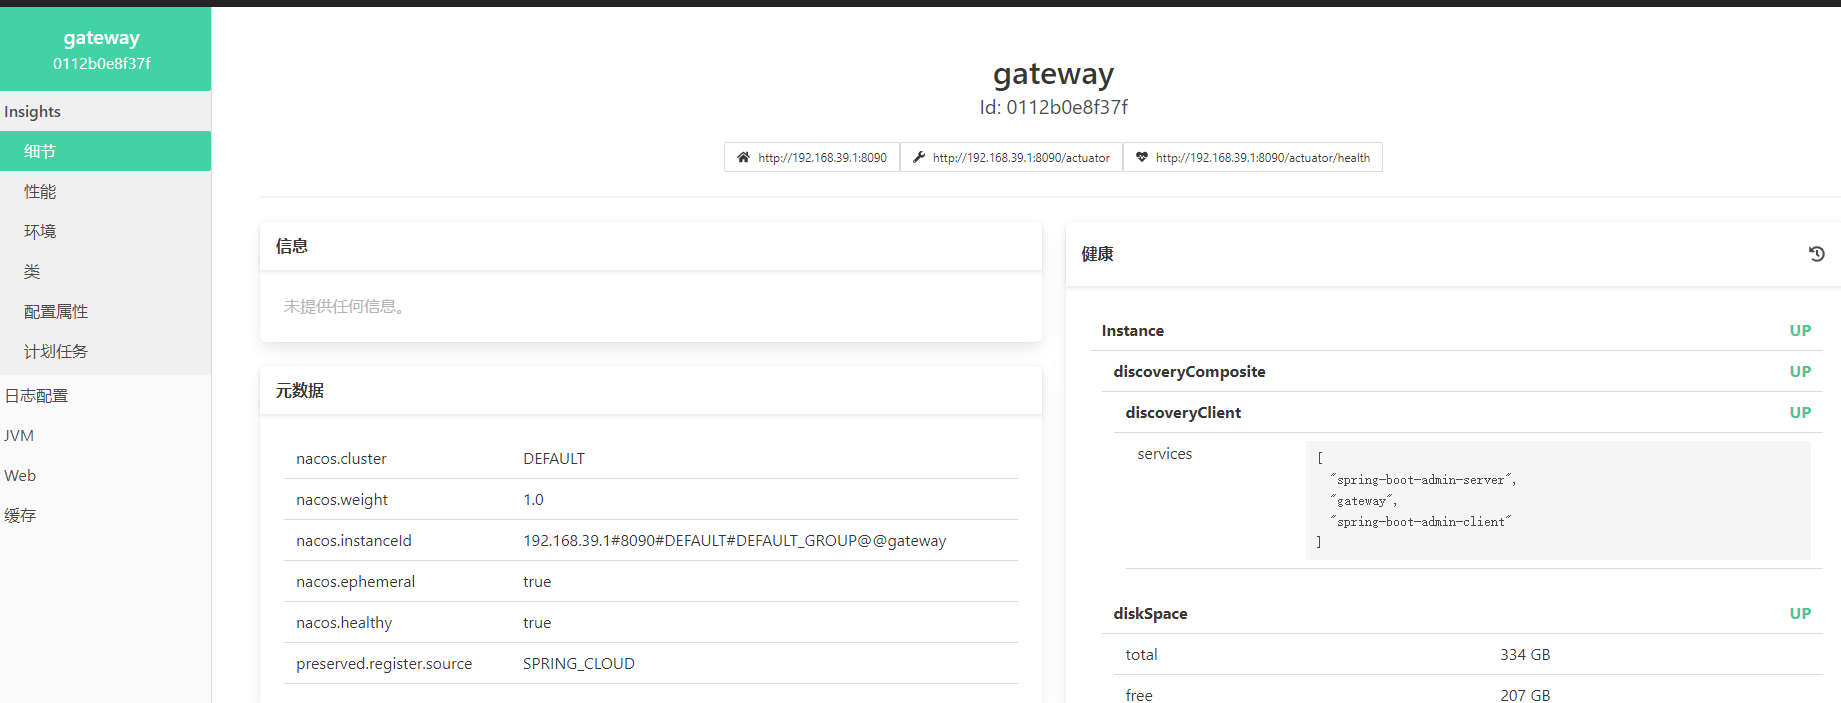
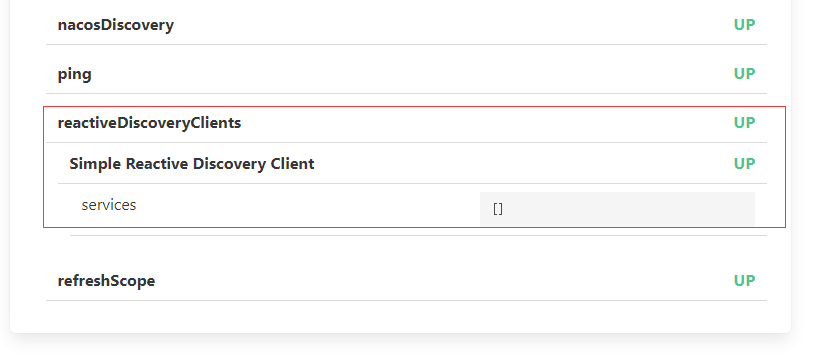


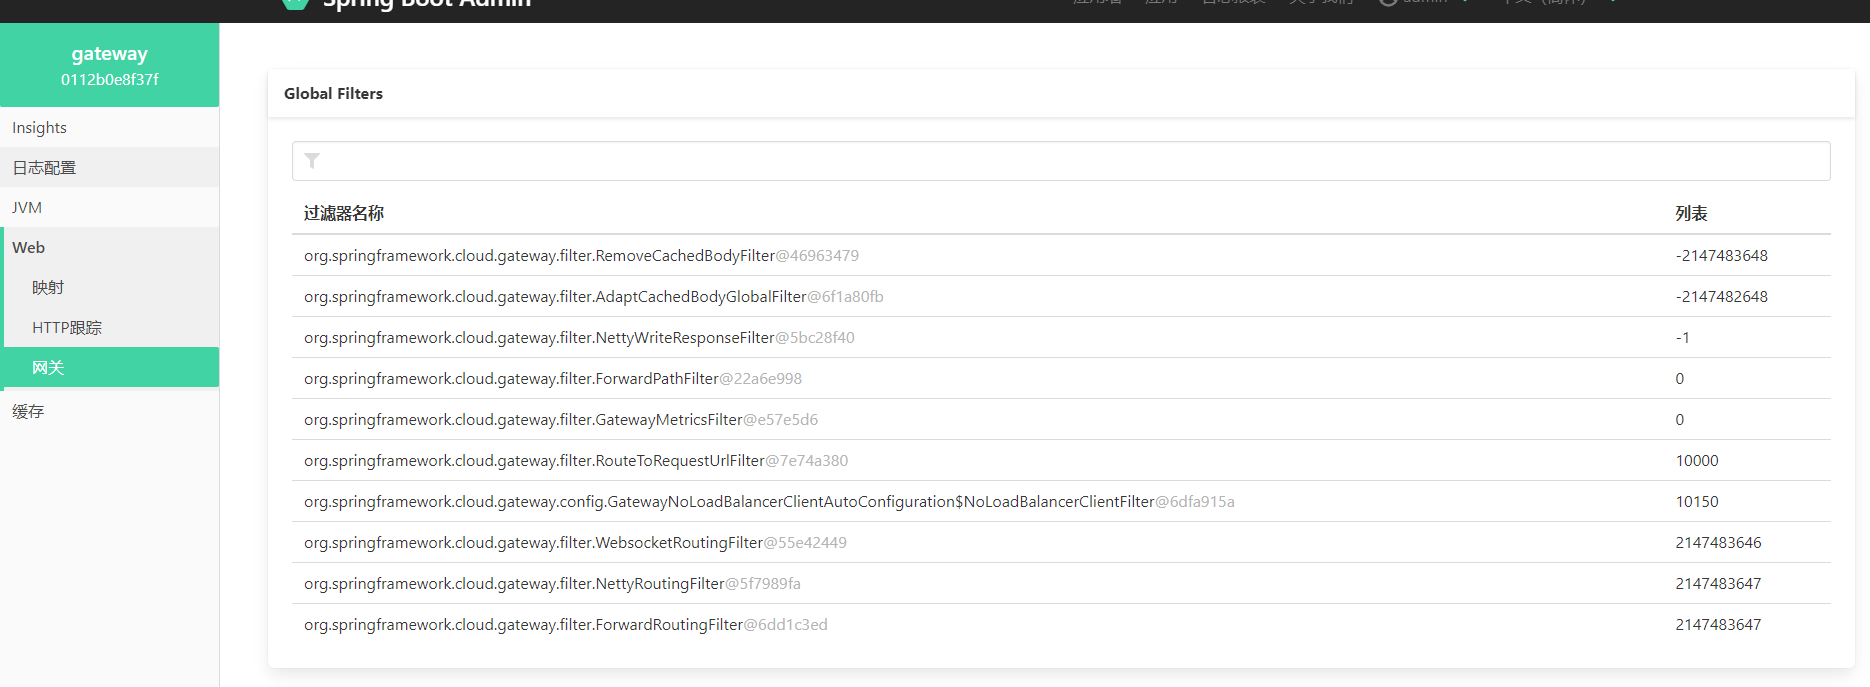

网关页面包含特殊的功能:网关菜单,包含网关的路由配置等信息
