QML 之 画布元素学习
画布
画布元素(canvas element)的基本思想是 使用一个2D 对象来渲染路径。2D对象支持画笔,填充、渐变,文本和绘制路径创建命令。
- strokeStyle: 画笔样式
- fillStyle: 填充样式
注意: 只有调用 stroke 或 fill 函数, 创建的路径才会绘制
有调⽤
stroke
或者
fill函数,创建的路径才会绘制, 它们与其它的函数使用是 相互独立的。


注意:画布元素 充当绘制的容器。 2D 绘制对象提供了实际绘制的方法,绘制需要在 onPaint 事件中完成。在重置路径后,需要设置一个开始点,所以在 beginPath() 这个操作后,需要使用 moveTo 来设置开始点。
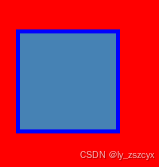
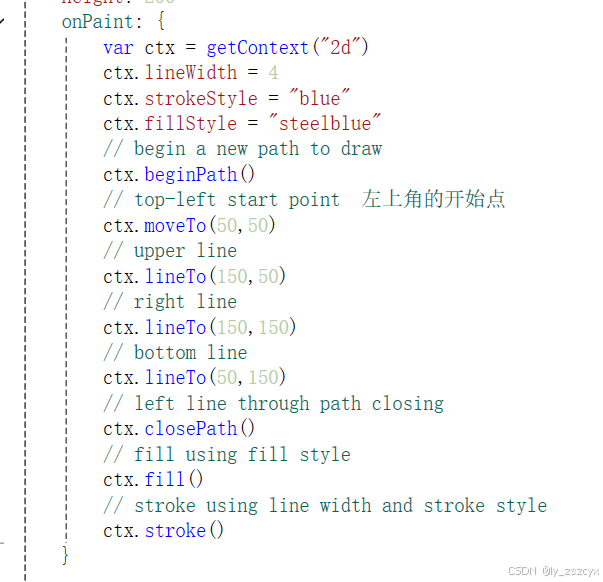
画布简单示例

代码:

便捷接口
我们获取的 2d 对象 提供一些常用 图形接口(矩形,圆形、弧形等)不需要 调用stroke 或者 fill 完成。


注意:画笔的绘制区域 由中间向 两边延展。 一个宽度为 4 像素的画笔 将会在绘制路径的 里面 绘制2个 像素,外面绘制 2个像素。
onPaint: {
    var ctx = getContext("2d")
    ctx.fillStyle = 'green'
    ctx.strokeStyle = "blue"
    ctx.lineWidth = 4
    // draw a filles rectangle
    ctx.fillRect(20, 20, 80, 80)

    // 绘制圆形
    ctx.beginPath();
    ctx.arc(200, 75, 50, 0, 2 * Math.PI, false);
    ctx.fill();

    // 绘制弧线
    ctx.beginPath();
    ctx.arc(200, 225, 50, 0, Math.PI, false);
    ctx.stroke();

    // cut our an inner rectangle
    ctx.clearRect(30,30, 60, 60)
    // stroke a border from top-left to
    // inner center of the larger rectangle
    ctx.strokeRect(20,20, 40, 40)

    // 绘制路径  三角形
    ctx.beginPath();
    ctx.moveTo(250, 25);
    ctx.lineTo(350, 25);
    ctx.lineTo(350, 125);
    ctx.closePath(); // 关闭路径
    ctx.stroke();
} 
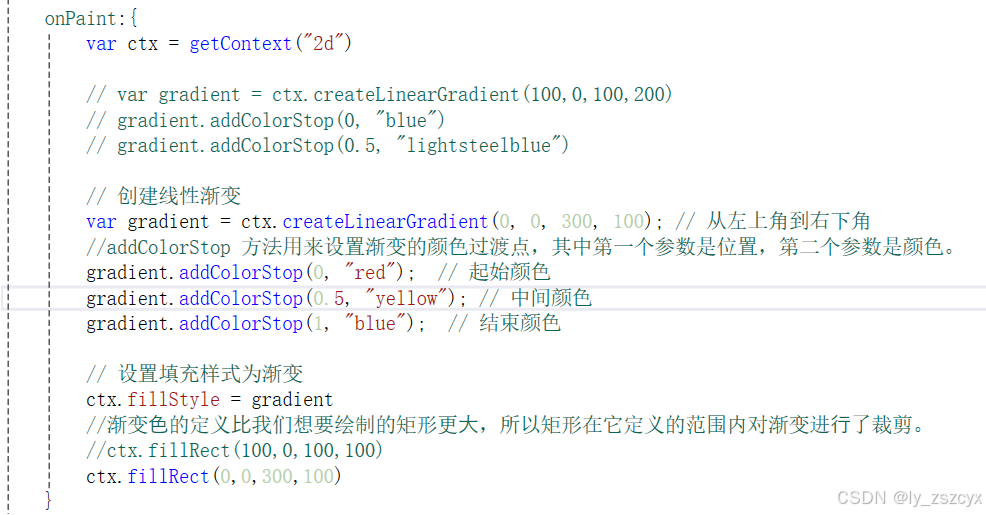
渐变⾊在停⽌点定义⼀个颜⾊,范围从0.0到 1.0。

渐变色是在 画布坐标下定义的, 而不是在 绘制路径 相对坐标下定义的。 画布中没有相对坐标的概念。

import QtQuick 2.15

Canvas{
    id: root
    width: 800
    height: 800
    // onPaint: {
    //     var ctx = getContext("2d")
    //     ctx.lineWidth = 4
    //     ctx.strokeStyle = "blue"
    //     ctx.fillStyle = "steelblue"
    //     // begin a new path to draw
    //     ctx.beginPath()
    //     // top-left start point  左上角的开始点
    //     ctx.moveTo(50,50)
    //     // upper line
    //     ctx.lineTo(150,50)
    //     // right line
    //     ctx.lineTo(150,150)
    //     // bottom line
    //     ctx.lineTo(50,150)
    //     // left line through path closing
    //     ctx.closePath()
    //     // fill using fill style
    //     ctx.fill()
    //     // stroke using line width and stroke style
    //     ctx.stroke()
    // }


    // onPaint: {
    //     var ctx = getContext("2d")
    //     ctx.fillStyle = 'green'
    //     ctx.strokeStyle = "blue"
    //     ctx.lineWidth = 4
    //     // draw a filles rectangle
    //     ctx.fillRect(20, 20, 80, 80)

    //     // 绘制圆形
    //     ctx.beginPath();
    //     ctx.arc(200, 75, 50, 0, 2 * Math.PI, false);
    //     ctx.fill();

    //     // 绘制弧线
    //     ctx.beginPath();
    //     ctx.arc(200, 225, 50, 0, Math.PI, false);
    //     ctx.stroke();

    //     // cut our an inner rectangle
    //     ctx.clearRect(30,30, 60, 60)
    //     // stroke a border from top-left to
    //     // inner center of the larger rectangle
    //     ctx.strokeRect(20,20, 40, 40)

    //     // 绘制路径  三角形
    //     ctx.beginPath();
    //     ctx.moveTo(250, 25);
    //     ctx.lineTo(350, 25);
    //     ctx.lineTo(350, 125);
    //     ctx.closePath(); // 关闭路径
    //     ctx.stroke();
    // }


    // onPaint:{
    //     var ctx = getContext("2d")

    //     // var gradient = ctx.createLinearGradient(100,0,100,200)
    //     // gradient.addColorStop(0, "blue")
    //     // gradient.addColorStop(0.5, "lightsteelblue")

    //     // 创建线性渐变
    //     var gradient = ctx.createLinearGradient(0, 0, 300, 100); // 从左上角到右下角
    //     //addColorStop 方法用来设置渐变的颜色过渡点,其中第一个参数是位置,第二个参数是颜色。
    //     gradient.addColorStop(0, "red");  // 起始颜色
    //     gradient.addColorStop(0.5, "yellow"); // 中间颜色
    //     gradient.addColorStop(1, "blue");  // 结束颜色

    //     // 设置填充样式为渐变
    //     ctx.fillStyle = gradient
    //     //渐变⾊的定义⽐我们想要绘制的矩形更⼤,所以矩形在它定义的范围内对渐变进⾏了裁剪。
    //     //ctx.fillRect(100,0,100,100)
    //     ctx.fillRect(0,0,300,100)
    // }

    onPaint:{
        var ctx =  getContext("2d")

        ctx.strokeStyle = "#333"
        ctx.shadowColor = "blue";
        ctx.shadowOffsetX = 2;
        ctx.shadowOffsetY = 2;
        // next line crashes
        // ctx.shadowBlur = 10;
        ctx.font = "24px 'Courier New', monospace";
        ctx.fillStyle = "#33a9ff";
        ctx.fillText("Earth",30,180);
    }
}
