【ROS入门】机器人运动控制以及里程计信息显示
文章结构
- 运动控制实现流程(Gazebo)
- 为joint添加传动装置以及控制器
- xacro文件集成
- 启动gazebo并控制机器人运动
- Rviz查看里程计信息
- 启动Rviz
- 添加组件
运动控制实现流程(Gazebo)
运动控制基本流程:
-
已经创建完毕的机器人模型,编写一个单独的 xacro 文件,为机器人模型添加传动装置以及控制器
-
将此文件集成进xacro文件
-
启动 Gazebo 并发布 /cmd_vel 消息控制机器人运动
为joint添加传动装置以及控制器
两轮差速配置:
<robot name="my_car_move" xmlns:xacro="http://wiki.ros.org/xacro">

    <!-- 传动实现:用于连接控制器与关节 -->
    <xacro:macro name="joint_trans" params="joint_name">
        <!-- Transmission is important to link the joints and the controller -->
        <transmission name="${joint_name}_trans">
            <type>transmission_interface/SimpleTransmission</type>
            <joint name="${joint_name}">
                <hardwareInterface>hardware_interface/VelocityJointInterface</hardwareInterface>
            </joint>
            <actuator name="${joint_name}_motor">
                <hardwareInterface>hardware_interface/VelocityJointInterface</hardwareInterface>
                <mechanicalReduction>1</mechanicalReduction>
            </actuator>
        </transmission>
    </xacro:macro>

    <!-- 每一个驱动轮都需要配置传动装置 -->
    <xacro:joint_trans joint_name="left_wheel2base_link" />
    <xacro:joint_trans joint_name="right_wheel2base_link" />

    <!-- 控制器 -->
    <gazebo>
        <plugin name="differential_drive_controller" filename="libgazebo_ros_diff_drive.so">
            <rosDebugLevel>Debug</rosDebugLevel>
            <publishWheelTF>true</publishWheelTF>
            <robotNamespace>/</robotNamespace>
            <publishTf>1</publishTf>
            <publishWheelJointState>true</publishWheelJointState>
            <alwaysOn>true</alwaysOn>
            <updateRate>100.0</updateRate>
            <legacyMode>true</legacyMode>
            <leftJoint>left_wheel2base_link</leftJoint> <!-- 左轮 -->
            <rightJoint>right_wheel2base_link</rightJoint> <!-- 右轮 -->
            <wheelSeparation>${base_link_radius * 2}</wheelSeparation> <!-- 车轮间距 -->
            <wheelDiameter>${wheel_radius * 2}</wheelDiameter> <!-- 车轮直径 -->
            <broadcastTF>1</broadcastTF>
            <wheelTorque>30</wheelTorque>
            <wheelAcceleration>1.8</wheelAcceleration>
            <commandTopic>cmd_vel</commandTopic> <!-- 运动控制话题 -->
            <odometryFrame>odom</odometryFrame>
            <odometryTopic>odom</odometryTopic> <!-- 里程计话题 -->
            <robotBaseFrame>base_footprint</robotBaseFrame> <!-- 根坐标系 -->
        </plugin>
    </gazebo>

</robot>
xacro文件集成
<!-- 组合小车底盘与摄像头 -->
<robot name="my_car_camera" xmlns:xacro="http://wiki.ros.org/xacro">
    <xacro:include filename="my_head.urdf.xacro" />
    <xacro:include filename="my_base.urdf.xacro" />
    <xacro:include filename="my_camera.urdf.xacro" />
    <xacro:include filename="my_laser.urdf.xacro" />
    <xacro:include filename="move.urdf.xacro" />
</robot>
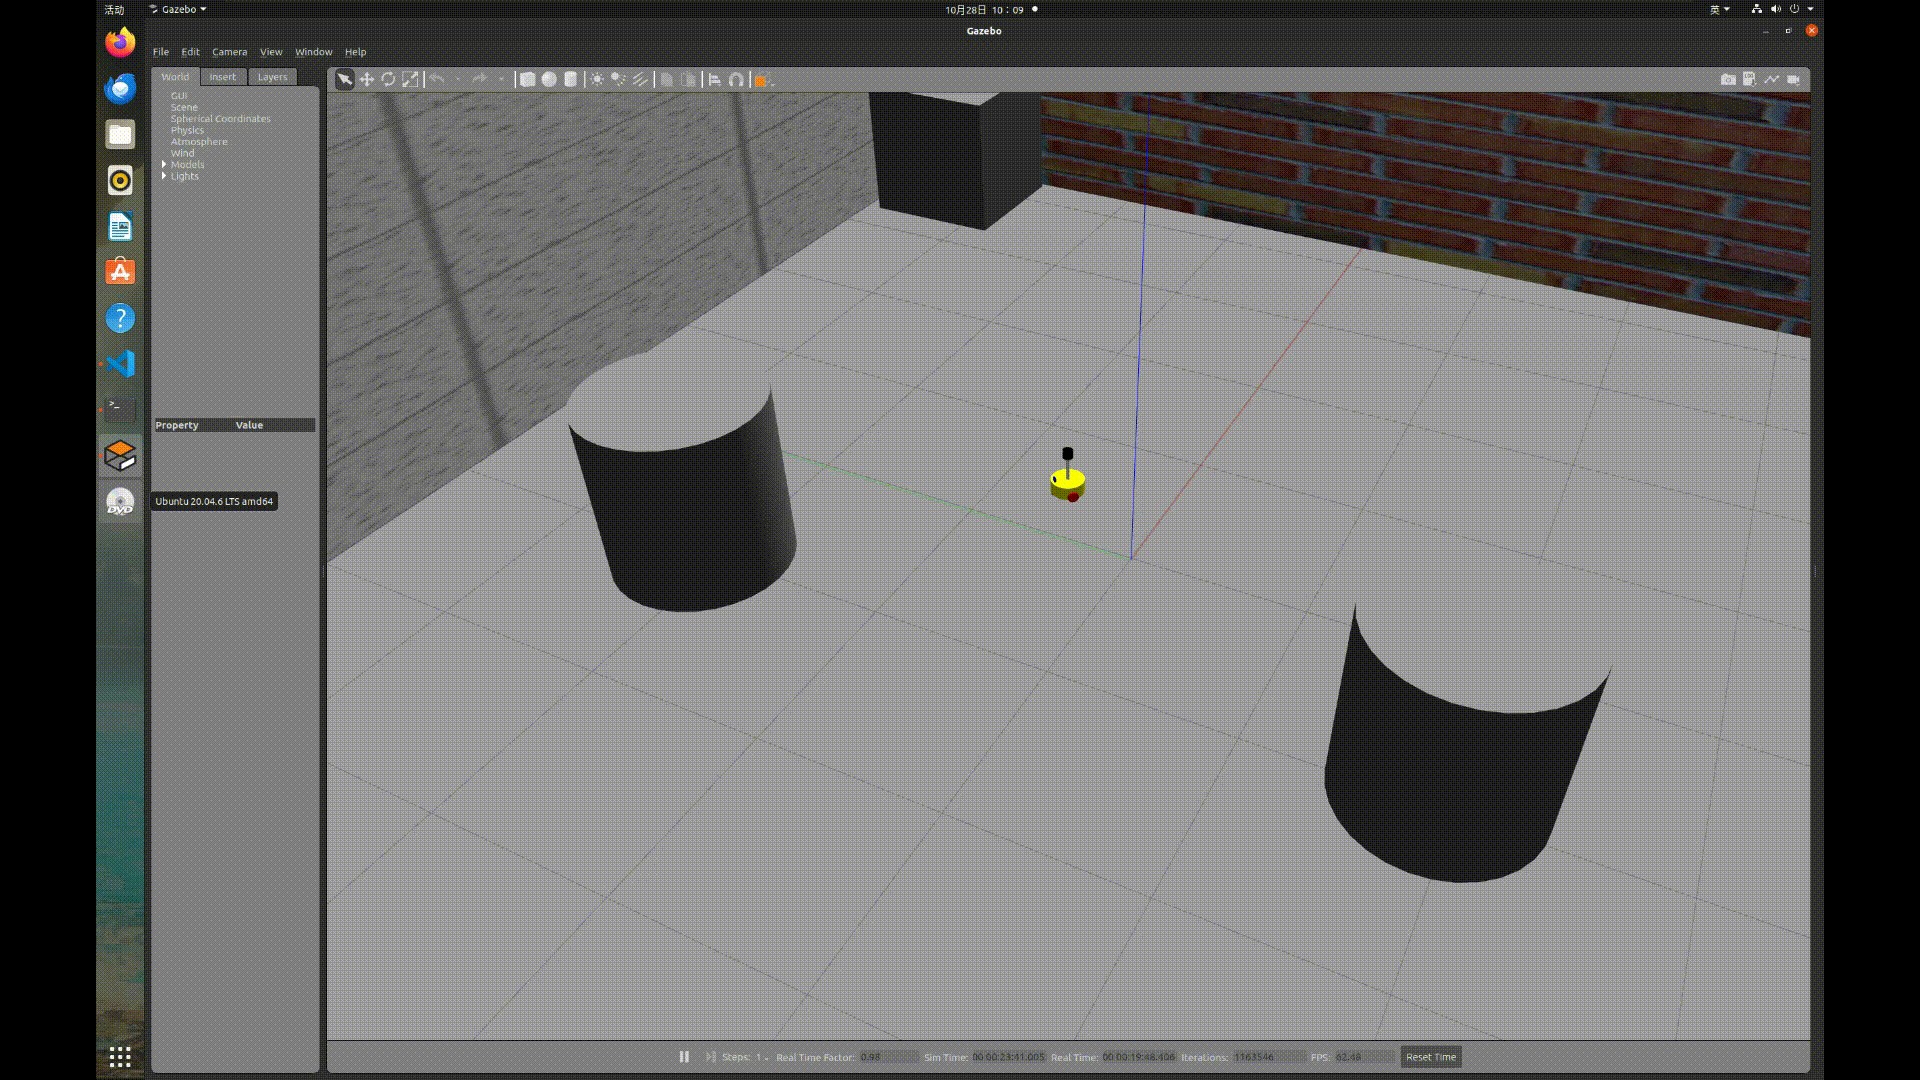
启动gazebo并控制机器人运动
<launch>
    <!-- 将 Urdf 文件的内容加载到参数服务器 -->
    <param name="robot_description" command="$(find xacro)/xacro $(find URDF_Gazebo)/urdf/xacro/car.urdf.xacro" />
    <!-- 启动 gazebo -->
    <include file="$(find gazebo_ros)/launch/empty_world.launch">
        <arg name="world_name" value="$(find URDF_Gazebo)/worlds/box_house.world" />
    </include>
    <!-- 在 gazebo 中显示机器人模型 -->
    <node pkg="gazebo_ros" type="spawn_model" name="model" args="-urdf -model mycar -param robot_description"  />
</launch>
启动 launch 文件,使用 topic list 查看话题列表,会发现多了 /cmd_vel 然后发布 vmd_vel 消息控制即可
使用命令控制(或者可以编写单独的节点控制)
rostopic pub -r 10 /cmd_vel geometry_msgs/Twist '{linear: {x: 0.2, y: 0, z: 0}, angular: {x: 0, y: 0, z: 0.5}}'
实现效果:
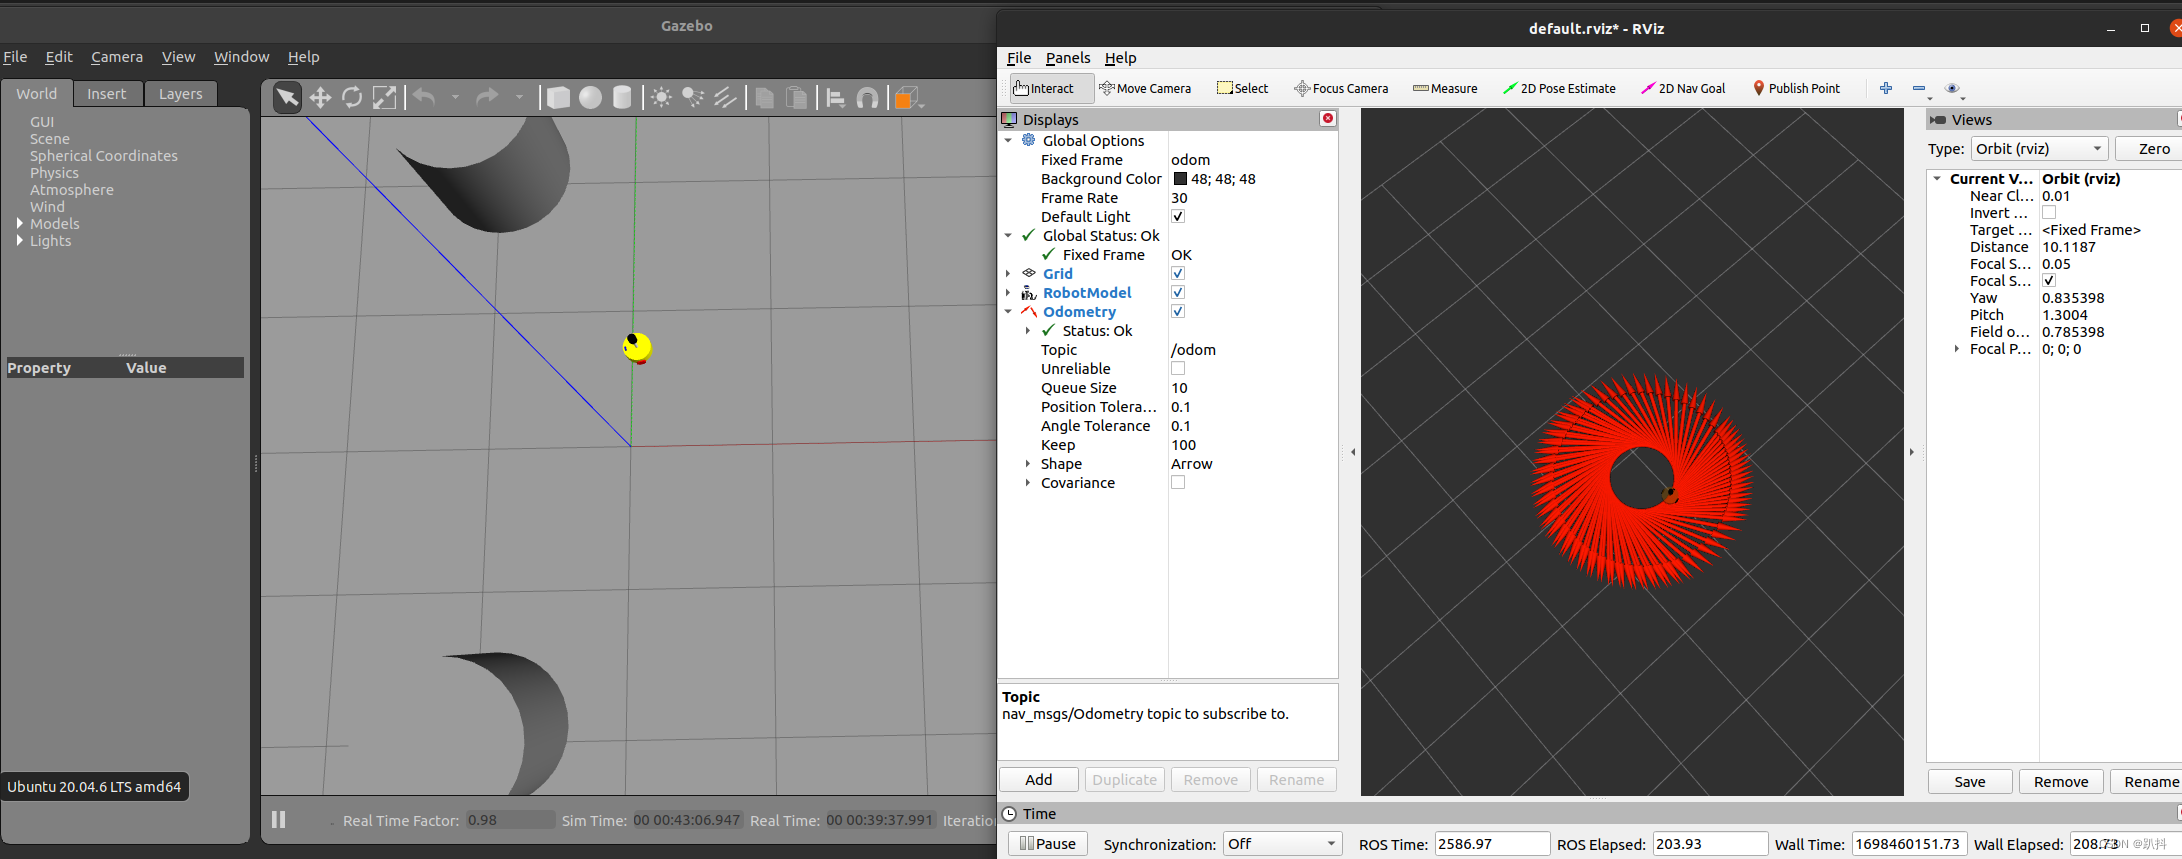
Rviz查看里程计信息
在 Gazebo 的仿真环境中,机器人的里程计信息以及运动朝向等信息是无法获取的,可以通过 Rviz 显示机器人的里程计信息以及运动朝向
里程计: 机器人相对出发点坐标系的位姿状态(X 坐标 Y 坐标 Z坐标以及朝向)。
启动Rviz
launch文件:
<launch>
    <!-- 启动 rviz -->
    <node pkg="rviz" type="rviz" name="rviz" />
    <!-- 关节以及机器人状态发布节点 -->
    <node name="joint_state_publisher" pkg="joint_state_publisher" type="joint_state_publisher" />
    <node name="robot_state_publisher" pkg="robot_state_publisher" type="robot_state_publisher" />
</launch>
添加组件
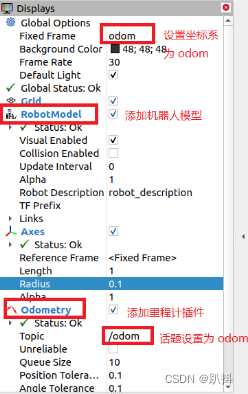
实现效果: