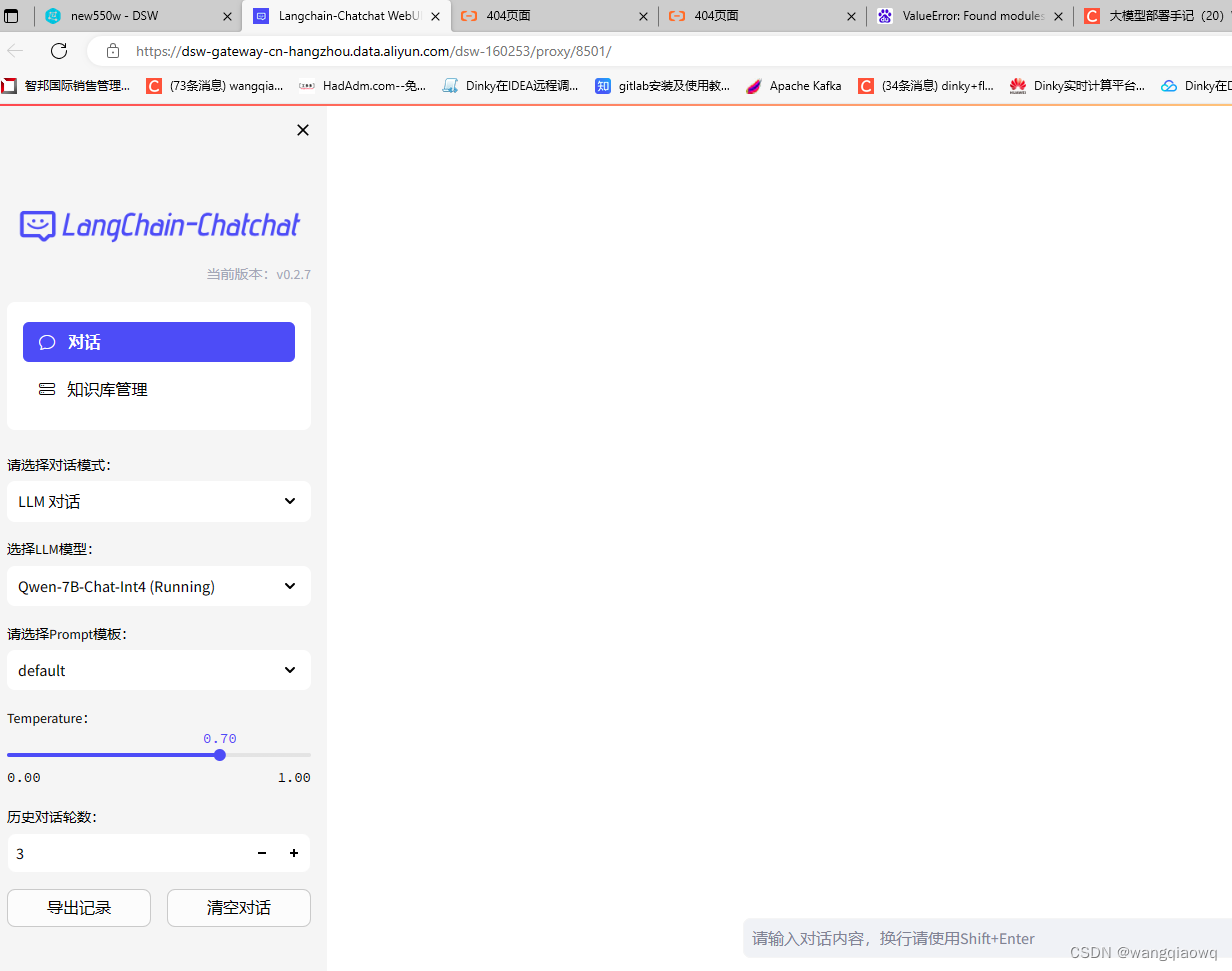
Langchain-Chatchat的安装过程
参考:LLMs之RAG:LangChain-Chatchat(一款中文友好的全流程本地知识库问答应用)的简介(支持 FastChat 接入的ChatGLM-2/LLaMA-2等多款主流LLMs+多款embe_一个处女座的程序猿的博客-CSDN博客
1、安装过程中出现了 GPU驱动版本 是11.8 而
python -c "import torch; print(torch.version.cuda)" 返回是 12.1 ,驱动也无法升级,所以重新申请了阿里云的机器 重新安装
2、程序下载 模型下载:
git clone https://www.modelscope.cn/Jerry0/m3e-base.git
暂时没用:git clone https://www.modelscope.cn/qwen/Qwen-7B-Chat-Int4.git
git clone https://www.modelscope.cn/qwen/Qwen-7B-Chat.git
git clone https://www.modelscope.cn/ZhipuAI/chatglm2-6b.git
项目下载:
git clone https://github.com/imClumsyPanda/langchain-ChatGLM.git
3、创建conda环境
conda create -n pytorch python=3.8
进入:conda activate pytorch
nvcc --version


pip3 install --upgrade pip
python -c "import torch; print(torch.version.cuda)"
python -c "import torch; print(torch.cuda.is_available())"
cd langchain-ChatGLM
# 安装全部依赖
$ pip install -r requirements.txt
pip install -r requirements_api.txt
pip install -r requirements_webui.txt
# 默认依赖包括基本运行环境(FAISS向量库)。如果要使用 milvus/pg_vector 等向量库,请将 requirements.txt 中相应依赖取消注释再安装。
安装后出现

ls -l /usr/local | grep cuda

conda install pytorch torchvision torchaudio pytorch-cuda=11.8 -c pytorch -c nvidia

4、git lfs install
pip install modelscope
pip install auto-gptq optimum
git clone -b v1.0.8 https://github.com/Dao-AILab/flash-attention
cd flash-attention && pip install .
5、修改配置:
root@dsw-160253-6c99d7f67c-z4jjw:/mnt/workspace/langchain-ChatGLM/configs# cp basic_config.py.example basic_config.py
root@dsw-160253-6c99d7f67c-z4jjw:/mnt/workspace/langchain-ChatGLM/configs# cp kb_config.py.example kb_config.py
root@dsw-160253-6c99d7f67c-z4jjw:/mnt/workspace/langchain-ChatGLM/configs# cp model_config.py.example model_config.py
root@dsw-160253-6c99d7f67c-z4jjw:/mnt/workspace/langchain-ChatGLM/configs# cp prompt_config.py.example prompt_config.py
root@dsw-160253-6c99d7f67c-z4jjw:/mnt/workspace/langchain-ChatGLM/configs# cp server_config.py.example server_config.py

修改 model_config.py


6、
知识库初始化
当前项目的知识库信息存储在数据库中,在正式运行项目之前请先初始化数据库
cd ..
python init_database.py --recreate-vs
有异常信息 依次安装解决:
pip install typing_extensions==4.8.0
pip install --force-reinstall charset-normalizer==3.1.0

启动:
python startup.py --all-webui


修改下 模型目录下的 config.json 文件 添加 "disable_exllama":true,

再次启动 python startup.py -a
部署成功 : 备注 使用 chatglm2-6b 部署成功也可以正常对话 通义千问 暂时还没成功

