使用Caliper对Fabric地basic链码进行性能测试
如果你需要对fabric网络中地合约进行吞吐量、延迟等性能进行评估,可以使用Caliper来实现,会返回给你一份网页版的直观测试报告。下面是对test-network网络地basic链码地测试过程。
目录
- 1. 建立caliper-workspace文件夹
- 2. 安装npm等
- 3. calipe安装
- 4. 创建networks目录并编辑yaml文件
- 5. 创建workload目录编写js文件
- 6. 创建benchmarks目录并编写yaml文件
- 7. 启动测试
- 8. 查看结果
1. 建立caliper-workspace文件夹
建立caliper-workspace文件夹,文件夹的建立路径是相对地,我这里是在fabric-samples的同级目录下创建的,创建的路径不同后面的配置文件中关于私钥证书等地路径也是不同的。

2. 安装npm等
- 进入caliper文件夹 ,安装npm
curl -sL https://deb.nodesource.com/setup_12.x | sudo -E bash -
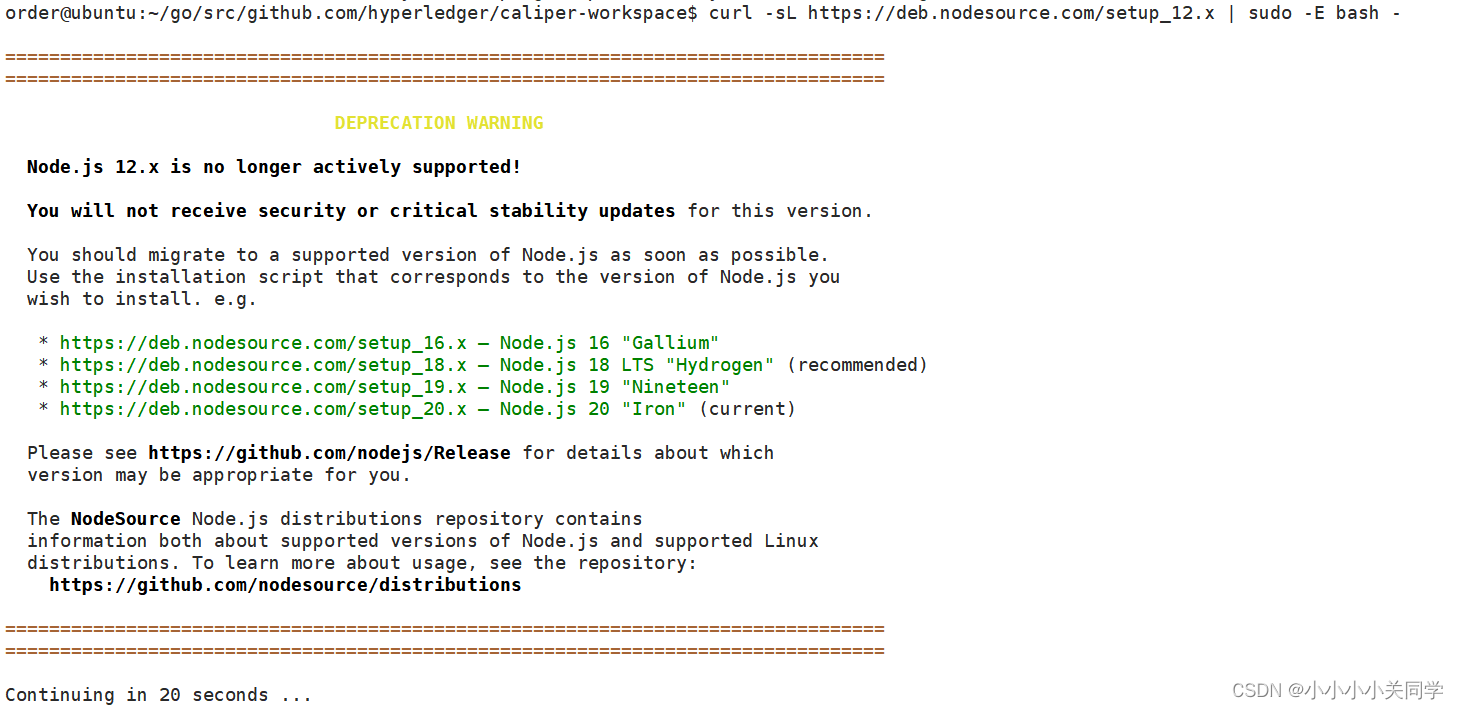
- 安装Node.js和npm
sudo apt-get install -y nodejs
- 验证是否安装成功

3. calipe安装
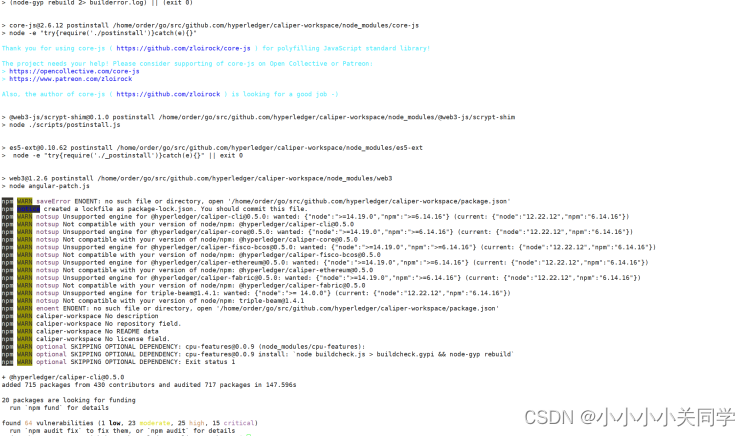
- 使用npm安装特定版本的@hyperledger/caliper包
npm install --only=prod @hyperledger/caliper@0.5.0
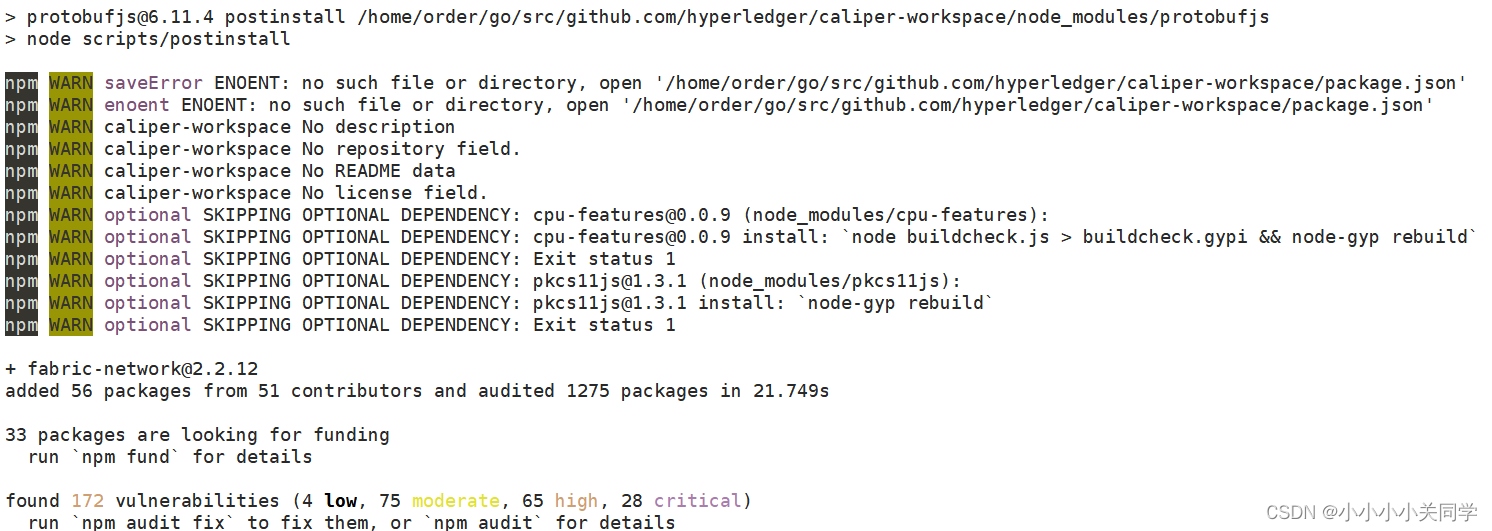
- 使用 Caliper 工具绑定到 Hyperledger Fabric 网络
npx caliper bind --caliper-bind-sut fabric:2.2
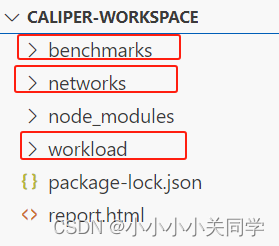
注意后面所创建的目录结构如下:
4. 创建networks目录并编辑yaml文件
mkdir networks
cd networks/
vim networkConfig.yaml
写入:
name: Caliper test
version: "2.0.0"

caliper:
  blockchain: fabric

channels:
  # channelName of mychannel matches the name of the channel created by test network
  - channelName: mychannel
    # the chaincodeIDs of all the fabric chaincodes in caliper-benchmarks
    contracts:
    - id: basic

organizations:
  - mspid: Org1MSP
    # Identities come from cryptogen created material for test-network
    identities:
      certificates:
      - name: 'User1'
        clientPrivateKey:
          path: '../fabric-samples/test-network/organizations/peerOrganizations/org1.example.com/users/User1@org1.example.com/msp/keystore/priv_sk'
        clientSignedCert:
          path: '../fabric-samples/test-network/organizations/peerOrganizations/org1.example.com/users/User1@org1.example.com/msp/signcerts/User1@org1.example.com-cert.pem'
    connectionProfile:
      path: '../fabric-samples/test-network/organizations/peerOrganizations/org1.example.com/connection-org1.yaml'
      discover: true
5. 创建workload目录编写js文件
cd ..
mkdir workload
cd workload
vim readAsset.js
写入:
'use strict';

const { WorkloadModuleBase } = require('@hyperledger/caliper-core');

class MyWorkload extends WorkloadModuleBase {
    constructor() {
        super();
    }

    async initializeWorkloadModule(workerIndex, totalWorkers, roundIndex, roundArguments, sutAdapter, sutContext) {
        await super.initializeWorkloadModule(workerIndex, totalWorkers, roundIndex, roundArguments, sutAdapter, sutContext);

        for (let i=0; i<this.roundArguments.assets; i++) {
            const assetID = `${this.workerIndex}_${i}`;
            console.log(`Worker ${this.workerIndex}: Creating asset ${assetID}`);
            const request = {
                contractId: this.roundArguments.contractId,
                contractFunction: 'CreateAsset',
                invokerIdentity: 'User1',
                contractArguments: [assetID,'blue','20','penguin','500'],
                readOnly: false
            };

            await this.sutAdapter.sendRequests(request);
        }
    }

    async submitTransaction() {
        const randomId = Math.floor(Math.random()*this.roundArguments.assets);
        const myArgs = {
            contractId: this.roundArguments.contractId,
            contractFunction: 'ReadAsset',
            invokerIdentity: 'User1',
            contractArguments: [`${this.workerIndex}_${randomId}`],
            readOnly: true
        };

        await this.sutAdapter.sendRequests(myArgs);
    }

    async cleanupWorkloadModule() {
        for (let i=0; i<this.roundArguments.assets; i++) {
            const assetID = `${this.workerIndex}_${i}`;
            console.log(`Worker ${this.workerIndex}: Deleting asset ${assetID}`);
            const request = {
                contractId: this.roundArguments.contractId,
                contractFunction: 'DeleteAsset',
                invokerIdentity: 'User1',
                contractArguments: [assetID],
                readOnly: false
            };

            await this.sutAdapter.sendRequests(request);
        }
    }
}

function createWorkloadModule() {
    return new MyWorkload();
}

module.exports.createWorkloadModule = createWorkloadModule;
6. 创建benchmarks目录并编写yaml文件
cd ..
mkdir benchmarks
cd benchmarks/
vim myAssetBenchmark.yaml
写入:
test:
    name: basic-contract-benchmark
    description: test benchmark
    workers:
      number: 2
    rounds:
      - label: readAsset
        description: Read asset benchmark
        txDuration: 30
        rateControl:
          type: fixed-load
          opts:
            transactionLoad: 2
        workload:
          module: workload/readAsset.js
          arguments:
            assets: 10
            contractId: basic
7. 启动测试
cd …
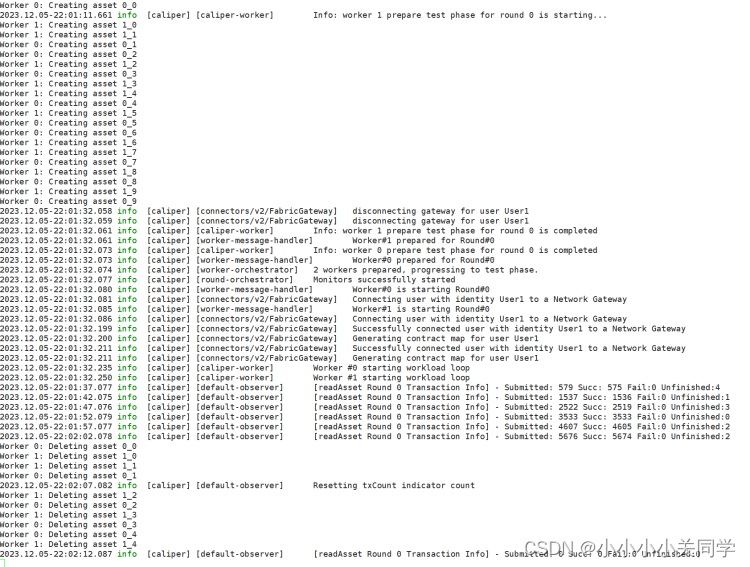
npx caliper launch manager --caliper-workspace ./ --caliper-networkconfig networks/networkConfig.yaml --caliper-benchconfig benchmarks/myAssetBenchmark.yaml --caliper-flow-only-test
8. 查看结果
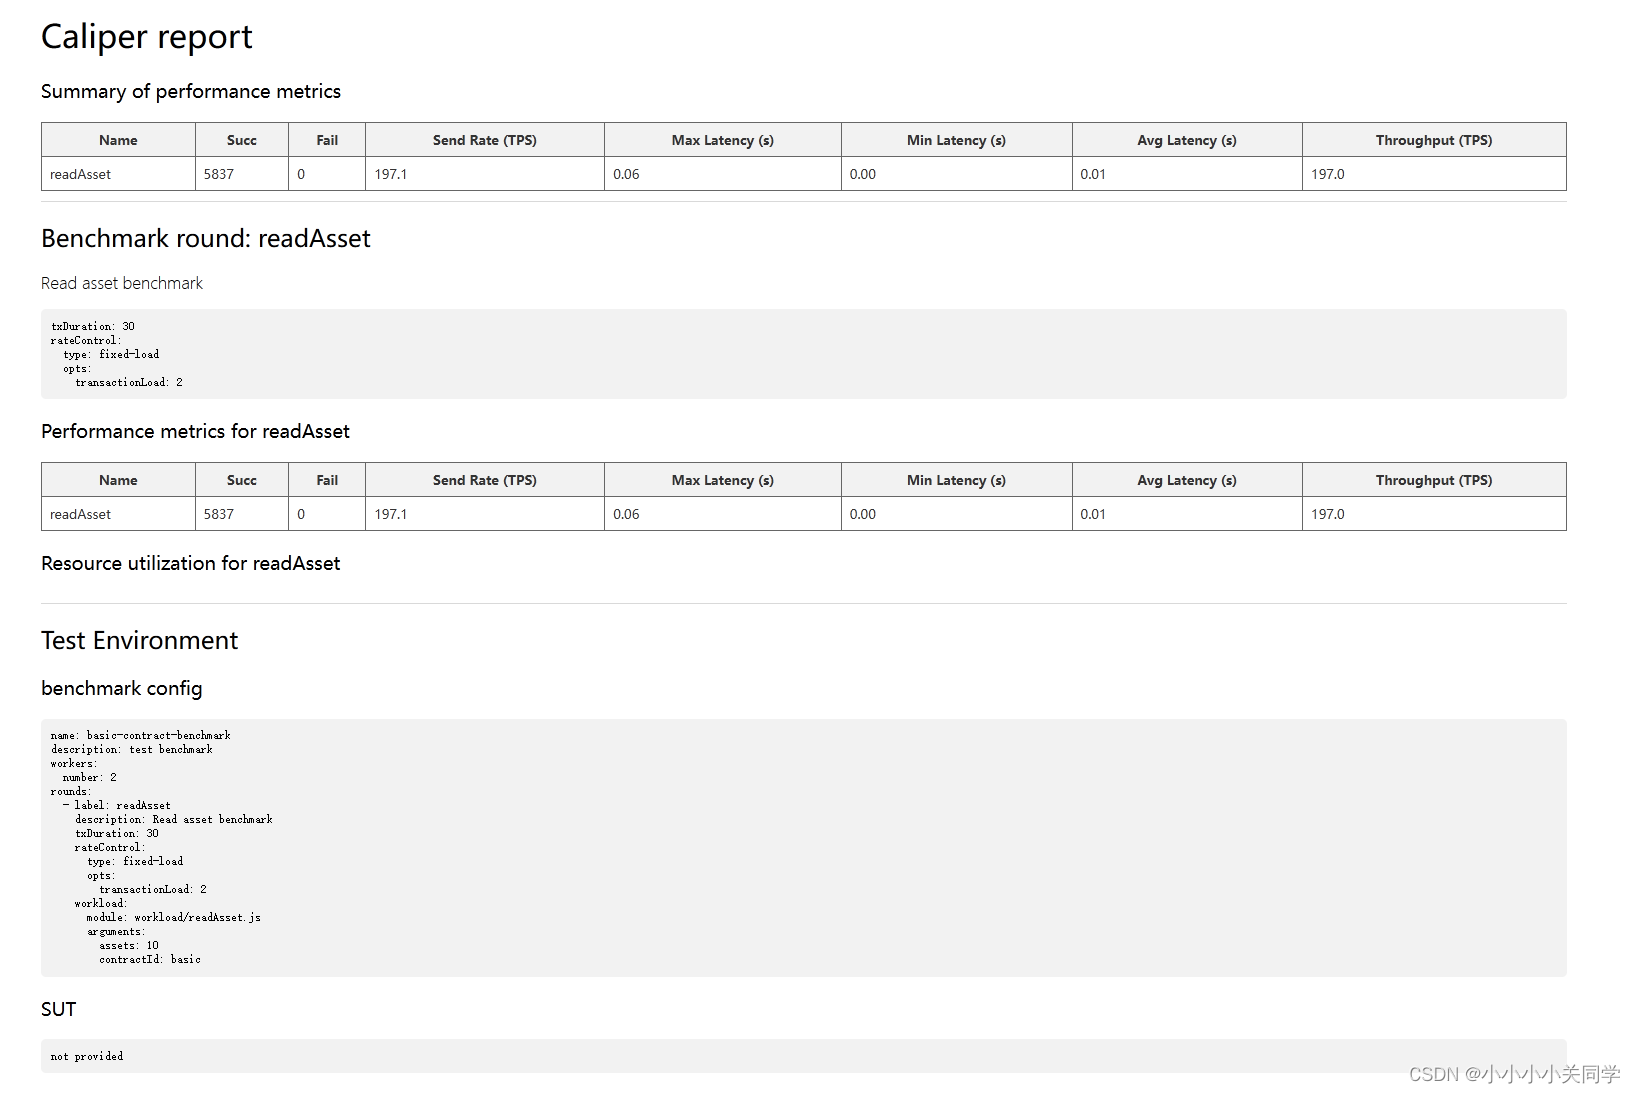
然后会在workspace目录下产生一个报告:

打开后就是测试的tps、时延等信息: