微信小程序之tabBar
1、tabBar
如果小程序是一个多 tab 应用(客户端窗口的底部或顶部有 tab 栏可以切换页面),可以通过 tabBar 配置项指定 tab 栏的表现,以及 tab 切换时显示的对应页面。
| 属性 | 类型 | 必填 | 默认值 | 描述 |
|---|---|---|---|---|
| color | HexColor | 是 | tab 上的文字默认颜色,仅支持十六进制颜色 | |
| selectedColor | HexColor | 是 | tab 上的文字选中时的颜色,仅支持十六进制颜色 | |
| backgroundColor | HexColor | 是 | tab 的背景色,仅支持十六进制颜色 | |
| borderStyle | string | 否 | black | tabbar 上边框的颜色, 仅支持 black / white |
| list | Array | 是 | tab 的列表,详见 list 属性说明,最少 2 个、最多 5 个 tab |
其中 list 接受一个数组,只能配置最少 2 个、最多 5 个 tab。tab 按数组的顺序排序,每个项都是一个对象,其属性值如下:
| 属性 | 类型 | 必填 | 说明 |
|---|---|---|---|
| pagePath | string | 是 | 页面路径,必须在 pages 中先定义 |
| text | string | 是 | tab 上按钮文字 |
| iconPath | string | 否 | 图片路径,icon 大小限制为 40kb,建议尺寸为 81px * 81px,不支持网络图片。 当 position 为 top 时,不显示 icon。 |
| selectedIconPath | string | 否 | 选中时的图片路径,icon 大小限制为 40kb,建议尺寸为 81px * 81px,不支持网络图片。 当 position 为 top 时,不显示 icon |
在app.json中配置:
 "tabBar": {
    "backgroundColor":"#F12467",

  "list":[
      {
          "text": "首页",
          "pagePath": "pages/navigationBar/navigationBar",
          "iconPath": "/static/icon/home.png",
          "selectedIconPath": "/static/icon/home-fill.png"
      },{
        "text": "我的",
        "pagePath": "pages/test1/test1",
        "iconPath": "/static/icon/user (2).png",
        "selectedIconPath": "/static/icon/user.png"
      }
    ]
图标可以在iconfont-阿里巴巴矢量图标库中获取
2、api中navigate路由接口与组件的关系
| url | string | 当前小程序内的跳转链接 | ||||||||||||||
| open-type | string | 跳转方式 : | ||||||||||||||
| ||||||||||||||||

案例1:navigate和reLaunch :
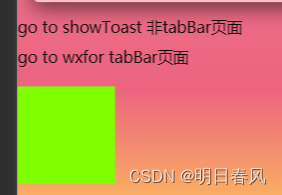
<navigator url="/pages/showToast/showToast?id=12345&name=lisi"  style="margin-bottom: 20rpx;">
  go to showToast 非tabBar页面
</navigator>
<!--open-type: 跳转方式,不写的话默认是navigate
    reLaunch 和 switchTab都可以进行tabBar页面的跳转,
    但是reLaunch可以携带参数
-->
<navigator url="/pages/wxfor/wxfor?id=12345&name=lisi" open-type="reLaunch">
  go to wxfor tabBar页面
</navigator>
案例2: 点击事件进行页面跳转
tabBar页面的话就用wx.reLaunch(Object object)
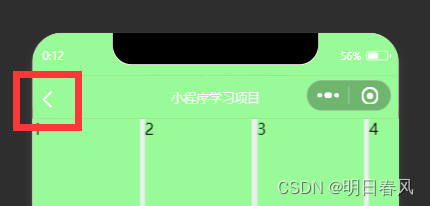
非tabBar页面就用wx.navigateTo(Object object),因为reLaunch没有左上角的返回箭头:
<view bind:tap="goNavigate" style="width: 200rpx;height: 200rpx;background: chartreuse;">
    <view>
      <text>

      </text>
    </view>

    <view></view>
</view>
goNavigate(){
// wx.reLaunch({
// url: "/pages/wxfor/wxfor?id=12345&name=lisi"
// })
wx.navigateTo({
url: '/pages/scrollView/scrollView?id=12345&name=lisi',
})
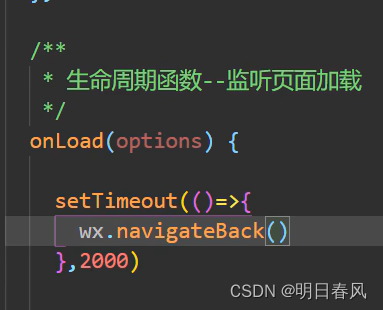
},案例3:navigateBack() 回到上一个页面
3、wx.request获取网络请求并渲染页面
| success | function | 否 | 接口调用成功的回调函数 |
| fail | function | 否 | 接口调用失败的回调函数 |
| complete | function | 否 | 接口调用结束的回调函数(调用成功、失败都会执行) |
我们先测试一下这段代码的返回结果:
Page({

  /**
   * 页面的初始数据
   */
  data: {
      listArr:[]
  },
 /**
   * 生命周期函数--监听页面加载
   */
  onLoad(options) {
      this.getData();
  },

  getData(){
      wx.request({
        url: 'https://api.thecatapi.com/v1/images/search?limit=2',
        success:res=>{
            console.log(res)
            this.setData({
              listArr:res.data
            })
        }
      })
  },
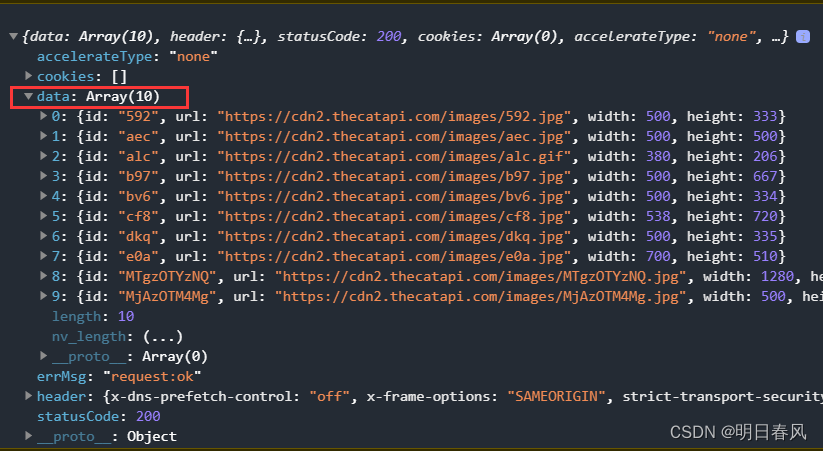
.wxml:
<view class="out">
  <view class="box" wx:for="{{listArr}}">
      <view class ="pic">
        <image src="{{item.url}}" mode="aspectFill" ></image>
      </view>
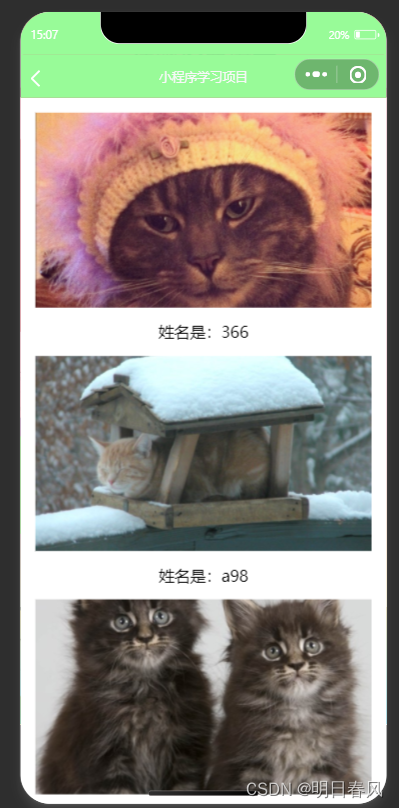
      <view class="name">
        姓名是:{{item.id}}
      </view>
  </view>
</view>
.js:
/* pages/wxRequest/wxRequest.wxss */
.out{
  padding:30rpx;
}
.out.box{
  border:20px solid rgb(241, 18, 18);
  width: 100%;
  height: 500rpx;
  margin-bottom: 30rpx;
}
.out .box .pic{
  width: 100%;
  height: 400rpx;
}
.out .box .pic image{
  width: 100%;
  height: 100%;
}
.out .box .name{
  text-align: center;
  line-height: 100rpx;
}