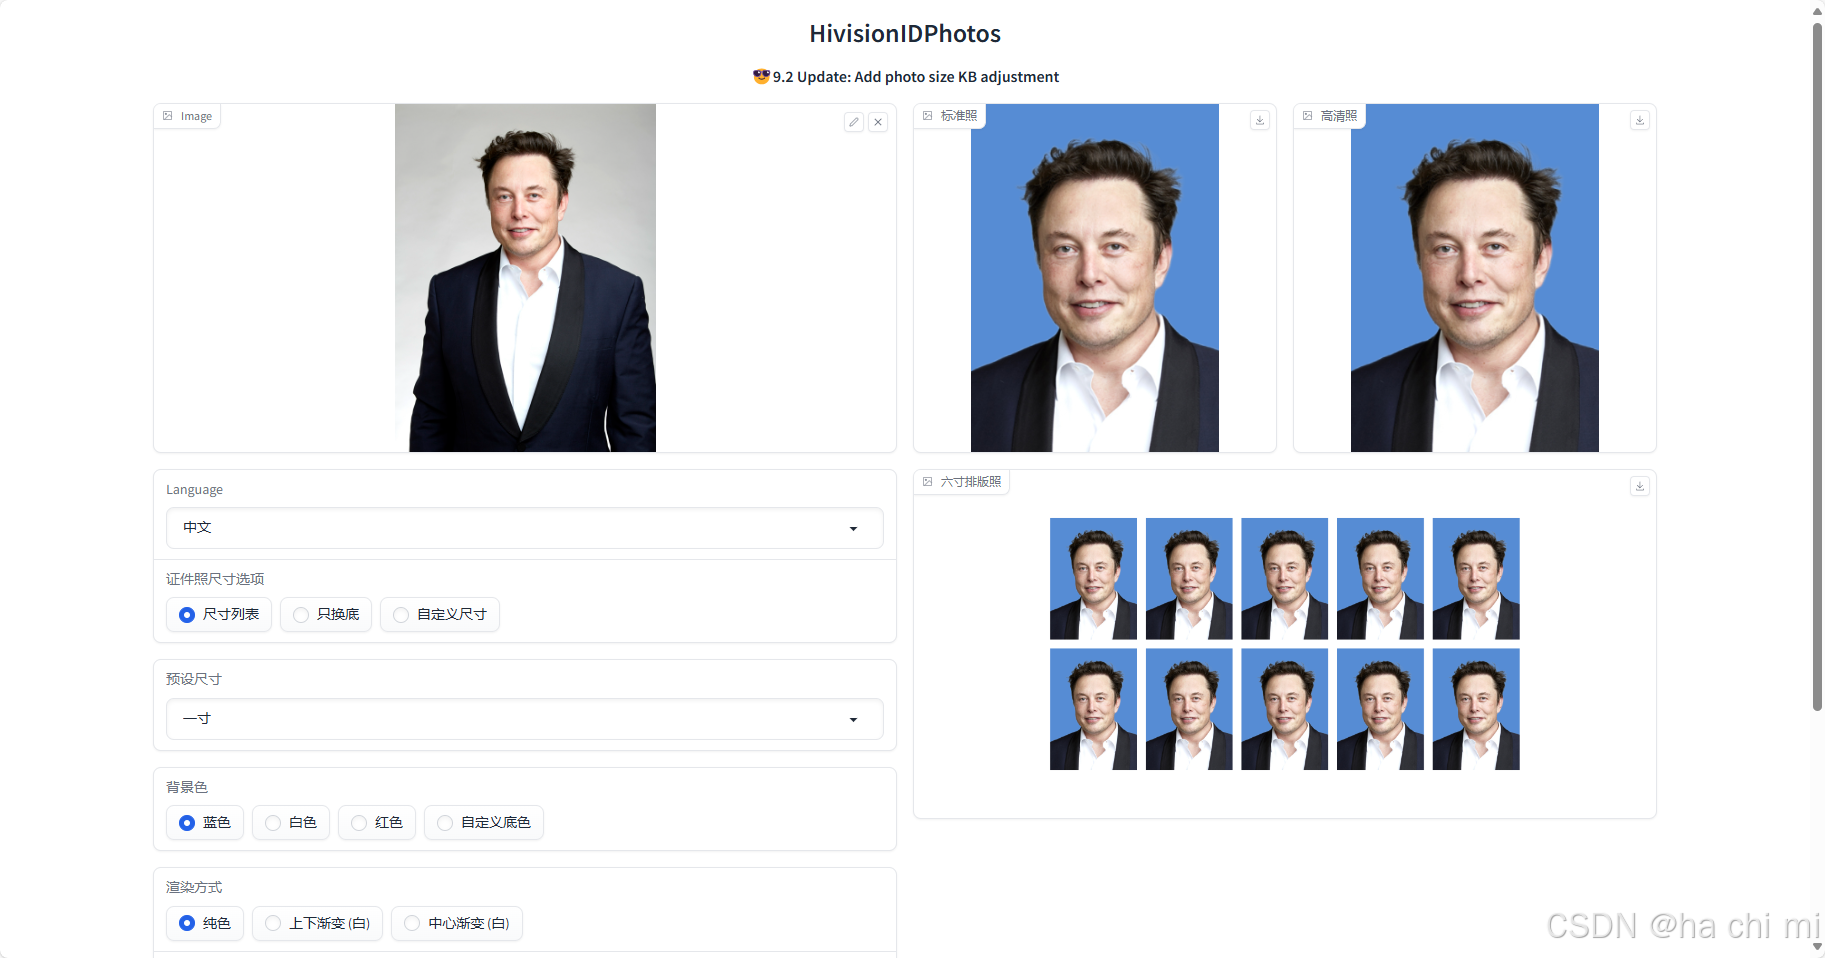
HivisionIDPhotos
在服务器Ubuntu22.04系统下,HivisionIDPhotos的部署
- 一、安装环境:ubuntu基本环境配置
- 1.更新包列表:
- 2. 安装GPU驱动程序
- 3.查看显卡信息
- 4.下载并安装 CUDA 12.3
- 二、安装miniconda环境
- 1. 下载miniconda3
- 2. 安装miniconda3
- 3. 打开用户环境编辑页面
- 4. 重新加载用户环境变量
- 5.conda配置
- 6. 创建HivisionIDPhotos需要的环境
- 三、部署HivisionIDPhotos
一、安装环境:ubuntu基本环境配置
1.更新包列表:
修改配置文件
vi /etc/apt/sources.list
将原有的内容注释(每行最前面加#)
在最后添加以下内容
########   Ubuntu22.04LTS 清华镜像源   ###############
# 默认注释了源码镜像以提高 apt update 速度,如有需要可自行取消注释
deb https://mirrors.tuna.tsinghua.edu.cn/ubuntu/ jammy main restricted universe multiverse
# deb-src https://mirrors.tuna.tsinghua.edu.cn/ubuntu/ jammy main restricted universe multiverse
deb https://mirrors.tuna.tsinghua.edu.cn/ubuntu/ jammy-updates main restricted universe multiverse
# deb-src https://mirrors.tuna.tsinghua.edu.cn/ubuntu/ jammy-updates main restricted universe multiverse
deb https://mirrors.tuna.tsinghua.edu.cn/ubuntu/ jammy-backports main restricted universe multiverse
# deb-src https://mirrors.tuna.tsinghua.edu.cn/ubuntu/ jammy-backports main restricted universe multiverse
deb https://mirrors.tuna.tsinghua.edu.cn/ubuntu/ jammy-security main restricted universe multiverse
# deb-src https://mirrors.tuna.tsinghua.edu.cn/ubuntu/ jammy-security main restricted universe multiverse

# 预发布软件源,不建议启用
# deb https://mirrors.tuna.tsinghua.edu.cn/ubuntu/ jammy-proposed main restricted universe multiverse
# deb-src https://mirrors.tuna.tsinghua.edu.cn/ubuntu/ jammy-proposed main restricted universe multiverse
更新软件列表
sudo apt-get update
更新本地软件
sudo apt upgrade
更新时间较长,请耐心等待
2. 安装GPU驱动程序
- 这个命令会列出您的系统硬件信息,以及推荐的驱动程序版本
ubuntu-drivers devices
- 这里的4090建议安装 nvidia-driver-535 驱动程序
sudo apt update
sudo apt install nvidia-driver-535
- 安装完成后,请务必重启您的系统,以便新的驱动程序生效。
reboot
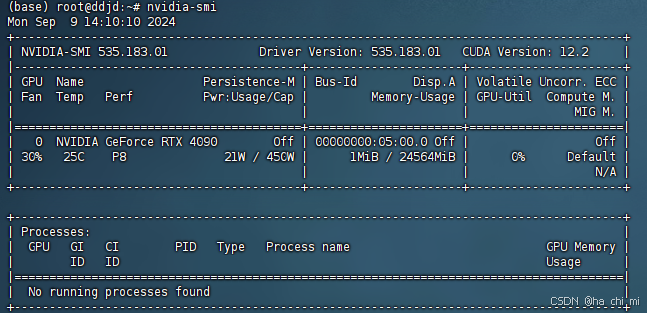
3.查看显卡信息
nvidia-smi

4.下载并安装 CUDA 12.3
访问 NVIDIA CUDA Toolkit 下载页面,选择 CUDA 12.3 版本。对于 Ubuntu,您可能需要运行类似以下的命令:
wget https://developer.download.nvidia.com/compute/cuda/repos/ubuntu2204/x86_64/cuda-ubuntu2204.pin
sudo mv cuda-ubuntu2204.pin /etc/apt/preferences.d/cuda-repository-pin-600
wget https://developer.download.nvidia.com/compute/cuda/12.3.0/local_installers/cuda-repo-ubuntu2204-12-3-local_12.3.0-545.23.06-1_amd64.deb
sudo dpkg -i cuda-repo-ubuntu2204-12-3-local_12.3.0-545.23.06-1_amd64.deb
sudo cp /var/cuda-repo-ubuntu2204-12-3-local/cuda-*-keyring.gpg /usr/share/keyrings/
sudo apt-get update
sudo apt-get -y install cuda-toolkit-12-3
- 设置环境变量: 编辑 vi ~/.bashrc 文件,添加以下行:
export PATH=/usr/local/cuda-12.3/bin${PATH:+:${PATH}}
export LD_LIBRARY_PATH=/usr/local/cuda-12.3/lib64${LD_LIBRARY_PATH:+:${LD_LIBRARY_PATH}}
- 应用环境变量更改:
source ~/.bashrc
- 验证安装:
nvcc --version

二、安装miniconda环境
1. 下载miniconda3
wget https://mirrors.cqupt.edu.cn/anaconda/miniconda/Miniconda3-py310_23.10.0-1-Linux-x86_64.sh
2. 安装miniconda3
bash Miniconda3-py310_23.10.0-1-Linux-x86_64.sh -u
直接一直enter键,到输入路径和yes
这边建议路径为:miniconda3
3. 打开用户环境编辑页面
vim ~/.bashrc
- 点击键盘I键进入编辑模式,在最下方输入以下代码
export PATH="/root/miniconda3/bin:$PATH"
4. 重新加载用户环境变量
source ~/.bashrc
- 初始化conda
conda init bash
5.conda配置
- 配置清华镜像源
conda config --add channels https://mirrors.tuna.tsinghua.edu.cn/anaconda/pkgs/free/
conda config --add channels https://mirrors.tuna.tsinghua.edu.cn/anaconda/pkgs/main/
conda config --add channels https://mirrors.tuna.tsinghua.edu.cn/anaconda/cloud/conda-forge/
- 设置搜索时显示通道地址
conda config --set show_channel_urls yes
- 配置pip 镜像源
pip config set global.index-url https://pypi.tuna.tsinghua.edu.cn/simple
6. 创建HivisionIDPhotos需要的环境
conda create -n HP python=3.9
conda activate HP
三、部署HivisionIDPhotos
- 克隆HivisionIDPhotos
官网地址:HivisionIDPhotos的GitHub地址
git clone https://github.com/Zeyi-Lin/HivisionIDPhotos.git
如果下载速度较慢可添加https://mirror.ghproxy.com/镜像源
git clone https://mirror.ghproxy.com/https://github.com/Zeyi-Lin/HivisionIDPhotos.git
- 进入到HivisionIDPhotos文件夹内
cd HivisionIDPhotos
- 安装依赖库
pip install -r requirements.txt
pip install -r requirements-app.txt
设置镜像地址
- 下载权重文件
方式一:脚本下载
python scripts/download_model.py --models all
方式二:直接下载
存到项目的hivision/creator/weights目录下:
-
modnet_photographic_portrait_matting.onnx(24.7MB): MODNet官方权重,下载 -
hivision_modnet.onnx(24.7MB): 对纯色换底适配性更好的抠图模型,下载 -
rmbg-1.4.onnx(176.2MB): BRIA AI 开源的抠图模型,下载后重命名为rmbg-1.4.onnx -
birefnet-v1-lite.onnx(224MB): ZhengPeng7 开源的抠图模型,下载后重命名为birefnet-v1-lite.onnx -
启动服务
python app.py --host 0.0.0.0 --port 15120
port变量为设置服务器监听的端口为业务端口,此处改为业务端口。
启动成功后,访问http://主机IP:端口

