dolphinscheduler 2.0.6 资源中心改造方案二:通过NFS挂载共享目录
目录
- 调度资源中心存储概要
- 安装NFS
- 服务器
- 客户端
- 调度验证
- 关闭SFTP开关(可忽略)
- 重新上传资源文件
- worker执行任务验证
- 服务器woker
- 客户端worker
- 其它
- nfs共享目录的配置文件`/etc/exports`说明
调度资源中心存储概要
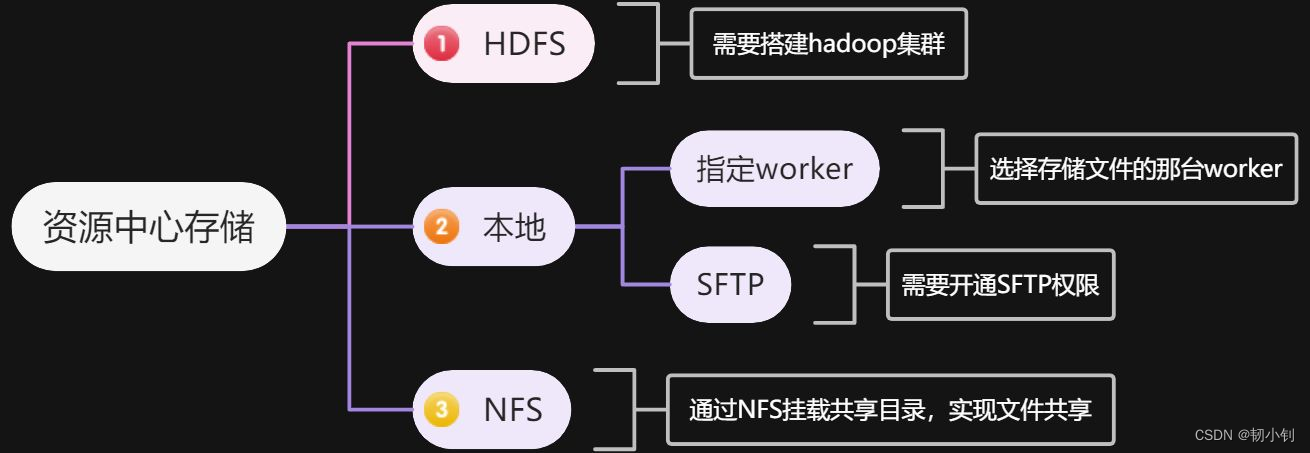
针对现有的单机存储可以做哪些扩展?
- 指定worker:运行工作流时选择存储文件的那台worker,缺点很明显,执行资源文件必须指定worker,而且只能指定存储文件的那台worker
- SFTP:详见dolphinscheduler 2.0.6 资源中心改造方案一:通过SFTP下载文件,问题是需要开通SFTP权限,对于安全性要求比较高的系统不允许开放该权限
- NFS:通过挂载共享目录,实现文件共享,本文主要据此展开(以上传文件那台主机作为NFS服务器,其它worker安装NFS客户端)
安装NFS
服务器
- 查看是否安装NFS
[dolphinscheduler@bigdata01 ~]$ rpm -qa | grep nfs
[dolphinscheduler@bigdata01 ~]$ rpm -qa | grep rpcbind
[dolphinscheduler@bigdata01 ~]$ rpm -q rpcbind nfs-utils
未安装软件包 rpcbind
未安装软件包 nfs-utils
[dolphinscheduler@bigdata01 ~]$
- 安装NFS
sudo yum install -y rpcbind nfs-utils
- 配置共享目录
[dolphinscheduler@bigdata01 rsfiles]$ sudo vi /etc/exports
/home/dolphinscheduler/rsfiles 221.221.221.0/24(rw,sync,no_root_squash)
- 生效配置文件
[dolphinscheduler@bigdata01 rsfiles]$ # 生效配置信息
[dolphinscheduler@bigdata01 rsfiles]$ sudo exportfs -r
[dolphinscheduler@bigdata01 rsfiles]$ # 查看配置信息
[dolphinscheduler@bigdata01 rsfiles]$ sudo exportfs -v

- 启动NFS
先启动rpcbind
[dolphinscheduler@bigdata01 rsfiles]$ # 必须先开启rpcbind服务
[dolphinscheduler@bigdata01 rsfiles]$ sudo systemctl start rpcbind
[dolphinscheduler@bigdata01 rsfiles]$ # 启动nfs
[dolphinscheduler@bigdata01 rsfiles]$  sudo systemctl start nfs
- 查看服务器共享信息
[dolphinscheduler@bigdata01 rsfiles]$ sudo showmount -e
Export list for bigdata01:
/home/dolphinscheduler/rsfiles 221.221.221.0/24
[dolphinscheduler@bigdata01 rsfiles]$
[dolphinscheduler@bigdata01 rsfiles]$
客户端
-
安装启动NFS,同上

-
挂在共享目录
[dolphinscheduler@bigdata03 ~]$ # 创建要挂载的目录
[dolphinscheduler@bigdata03 ~]$ mkdir rsfiles
[dolphinscheduler@bigdata03 ~]$
[dolphinscheduler@bigdata03 ~]$ # 挂载目录
[dolphinscheduler@bigdata03 ~]$ sudo  mount -t nfs 221.221.221.5:/home/dolphinscheduler/rsfiles /home/dolphinscheduler/rsfiles
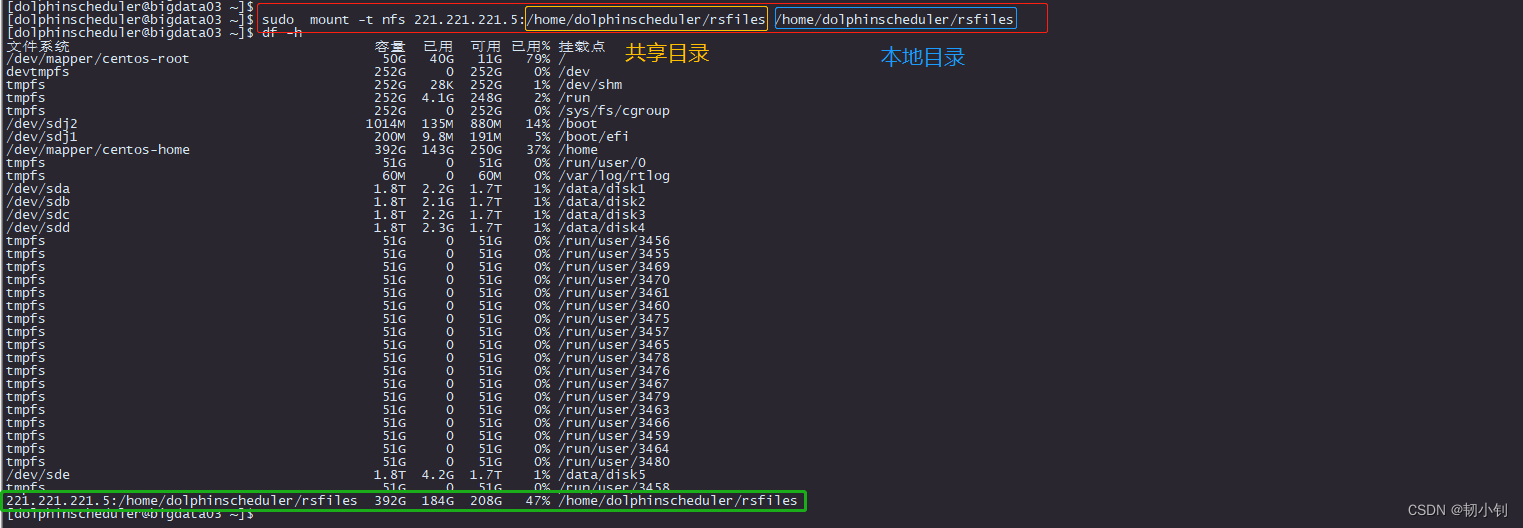
- 验证

调度验证
关闭SFTP开关(可忽略)
在dolphinscheduler 2.0.6 资源中心改造方案一:通过SFTP下载文件中添加的该配置,需要关闭掉,此步可直接忽略掉,原始的开源版本是没有改配置的

重新上传资源文件
-
创建/上传文件
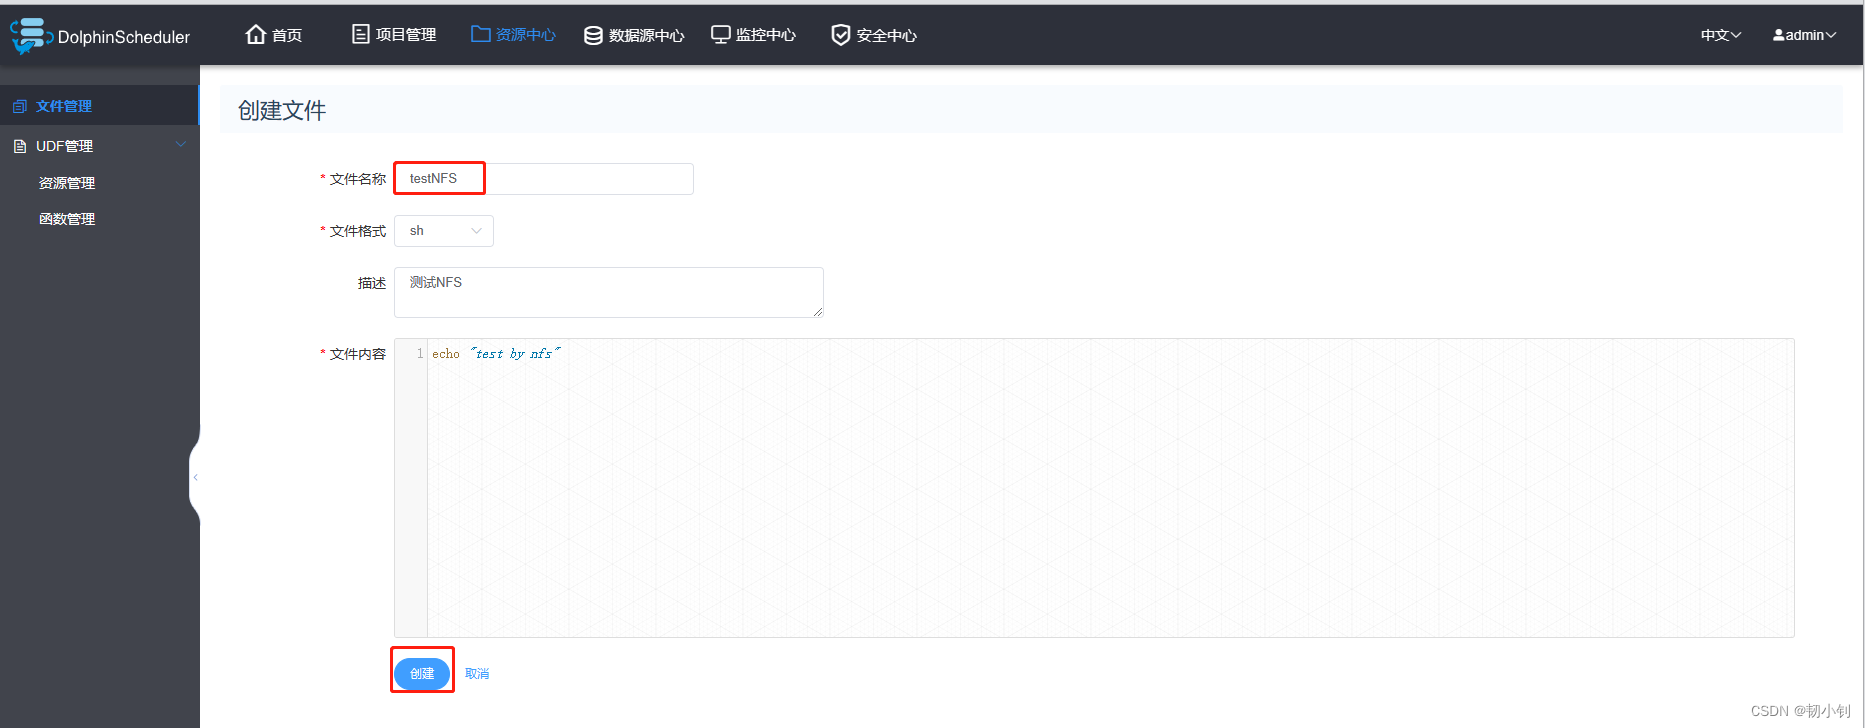

-
查看共享目录


worker执行任务验证
- 创建worker分组

- 创建测试工作流
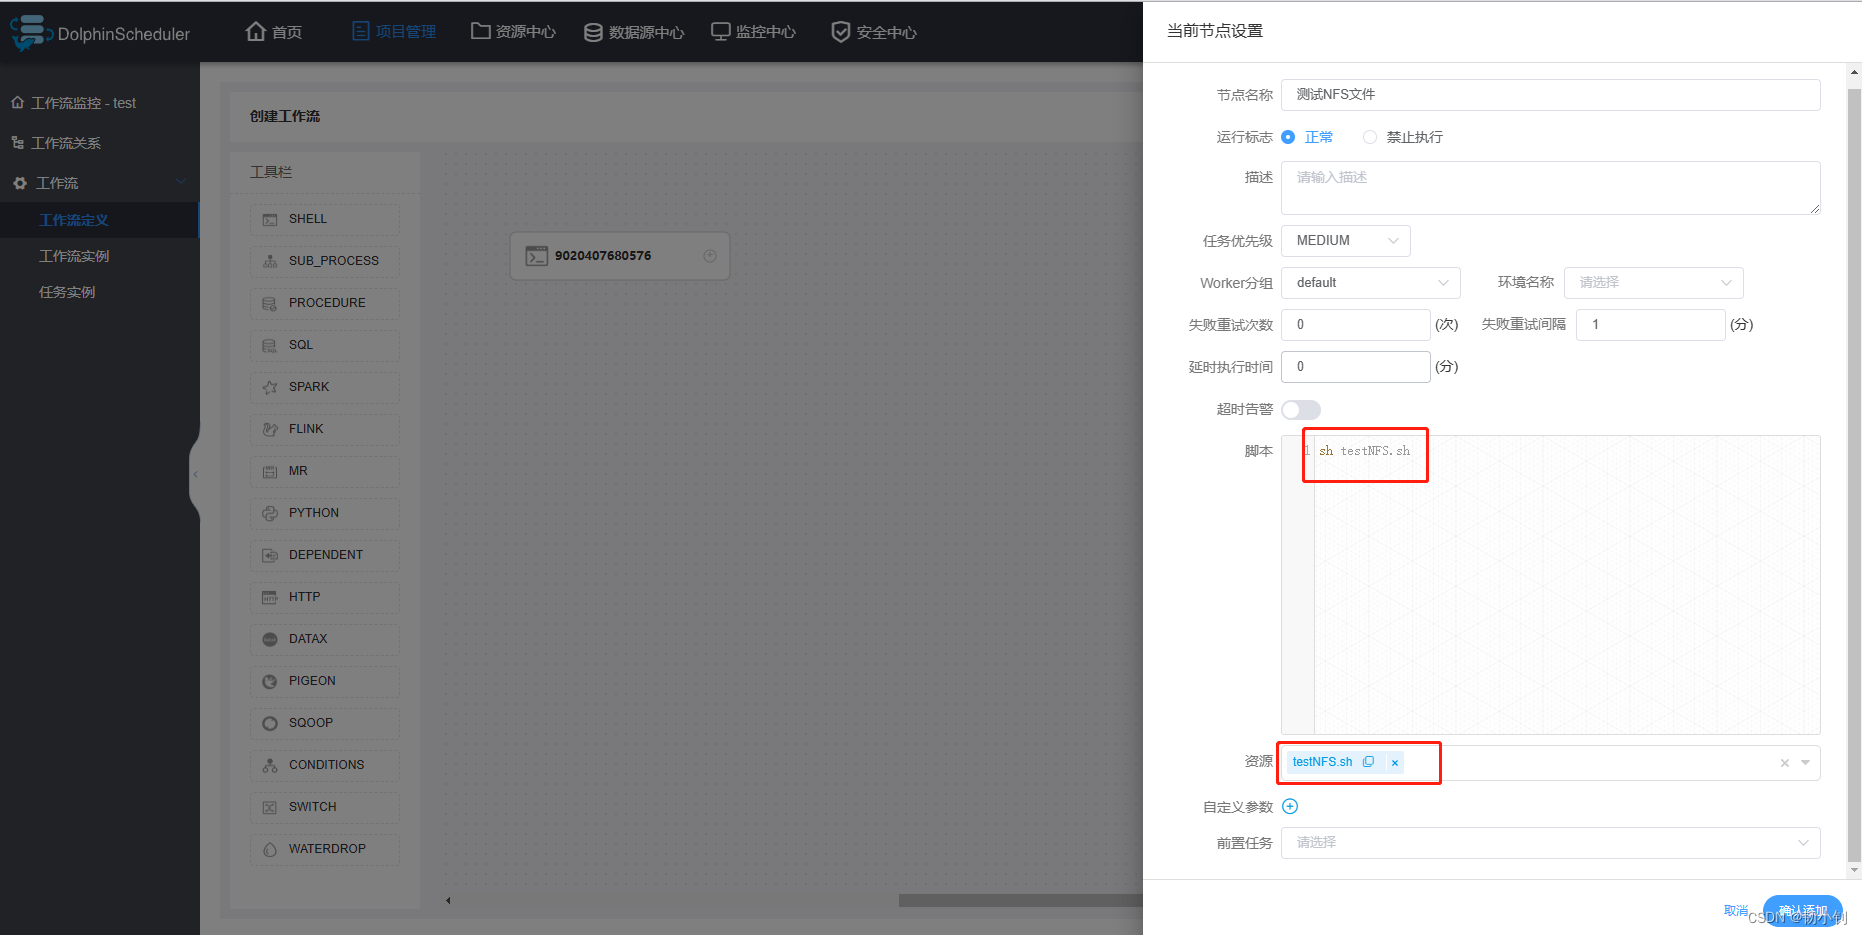
服务器woker
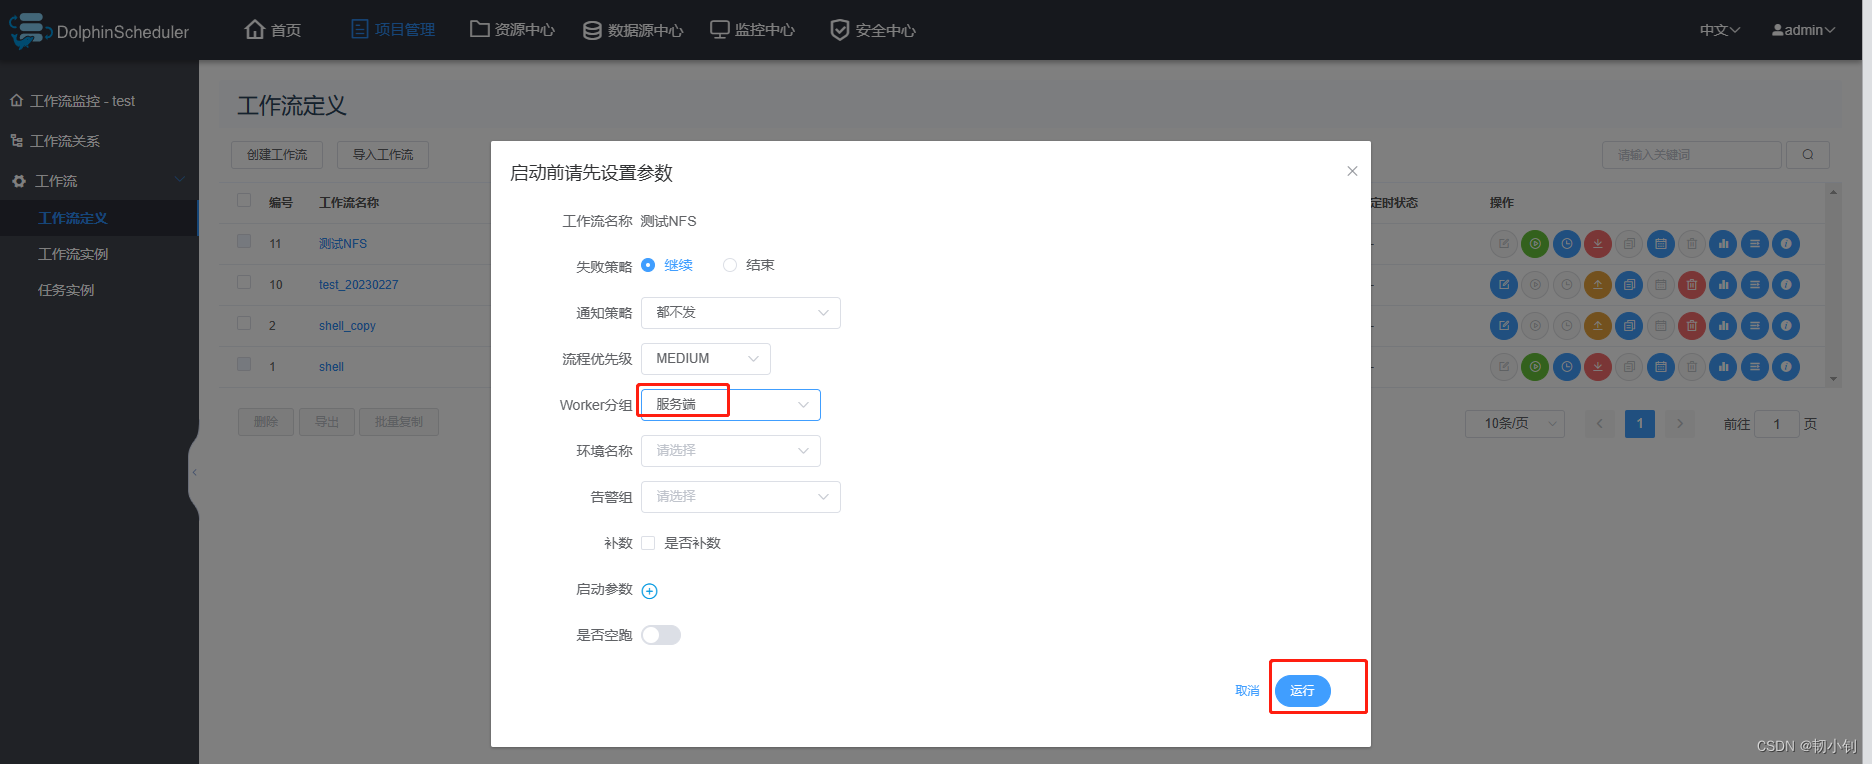


客户端worker
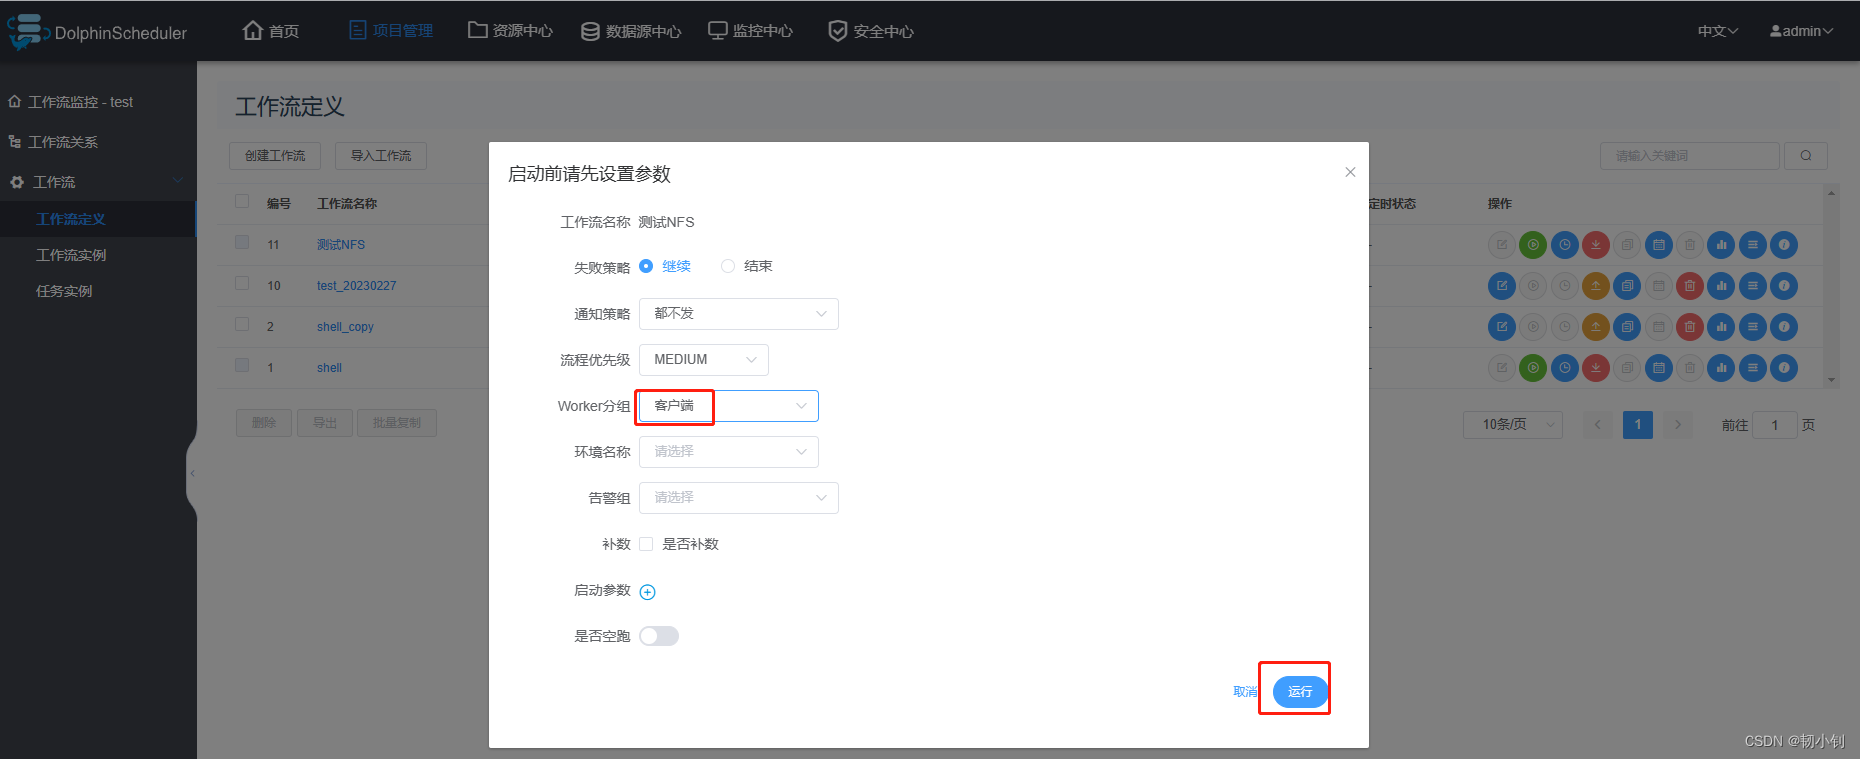
-
执行报错,原因忘了修改客户端的文件存放路径,读取的还是原来路径

-
修改配置文件,重启worker服务,再次验证

-
重新运行


其它
nfs共享目录的配置文件/etc/exports说明
语法:
[共享的目录] [主机名或IP(参数,参数)]
[共享的目录] [主机名1或IP1(参数1,参数2)] [主机名2或IP2(参数3,参数4)]
其中参数是可选的,当不指定参数时, nfs 将使用默认选项。默认的共享选项是 sync , ro , root_squash , no_delay 。
当主机名或IP地址为空时,则代表共享给任意客户机提供服务。
常用参数释义:
ro:只读访问
rw :读写访问
sync:所有数据在请求时写入共享
async:NFS在写入数据前可以相应请求
secure:NFS通过1024以下的安全TCP/IP端口发送
insecure:NFS通过1024以上的端口发送
wdelay:如果多个用户要写入NFS目录,则归组写入(默认)
no_wdelay:如果多个用户要写入NFS目录,则立即写入,当使用async时,无需此设置。
hide:在NFS共享目录中不共享其子目录
no_hide:共享NFS目录的子目录
subtree_check:如果共享/usr/bin之类的子目录时,强制 NFS检查父目录的权限(默认)
no_subtree_check:和上面相对,不检查父目录权限
all_squash:共享文件的UID和GID映射匿名用户anonymous,适合公用目录。
no_all_squash:保留共享文件的UID和GID(默认)
root_squash:root用户的所有请求映射成如anonymous用户一样的权限(默认)
no_root_squash:root用户具有根目录的完全管理访问权限
anonuid=xxx:指定NFS服务器/etc/passwd文件中匿名用户的UID
anongid=xxx:指定NFS服务器/etc/passwd文件中匿名用户的GID
