【AI】在Ubuntu中使用docker对DeepSeek的部署与使用
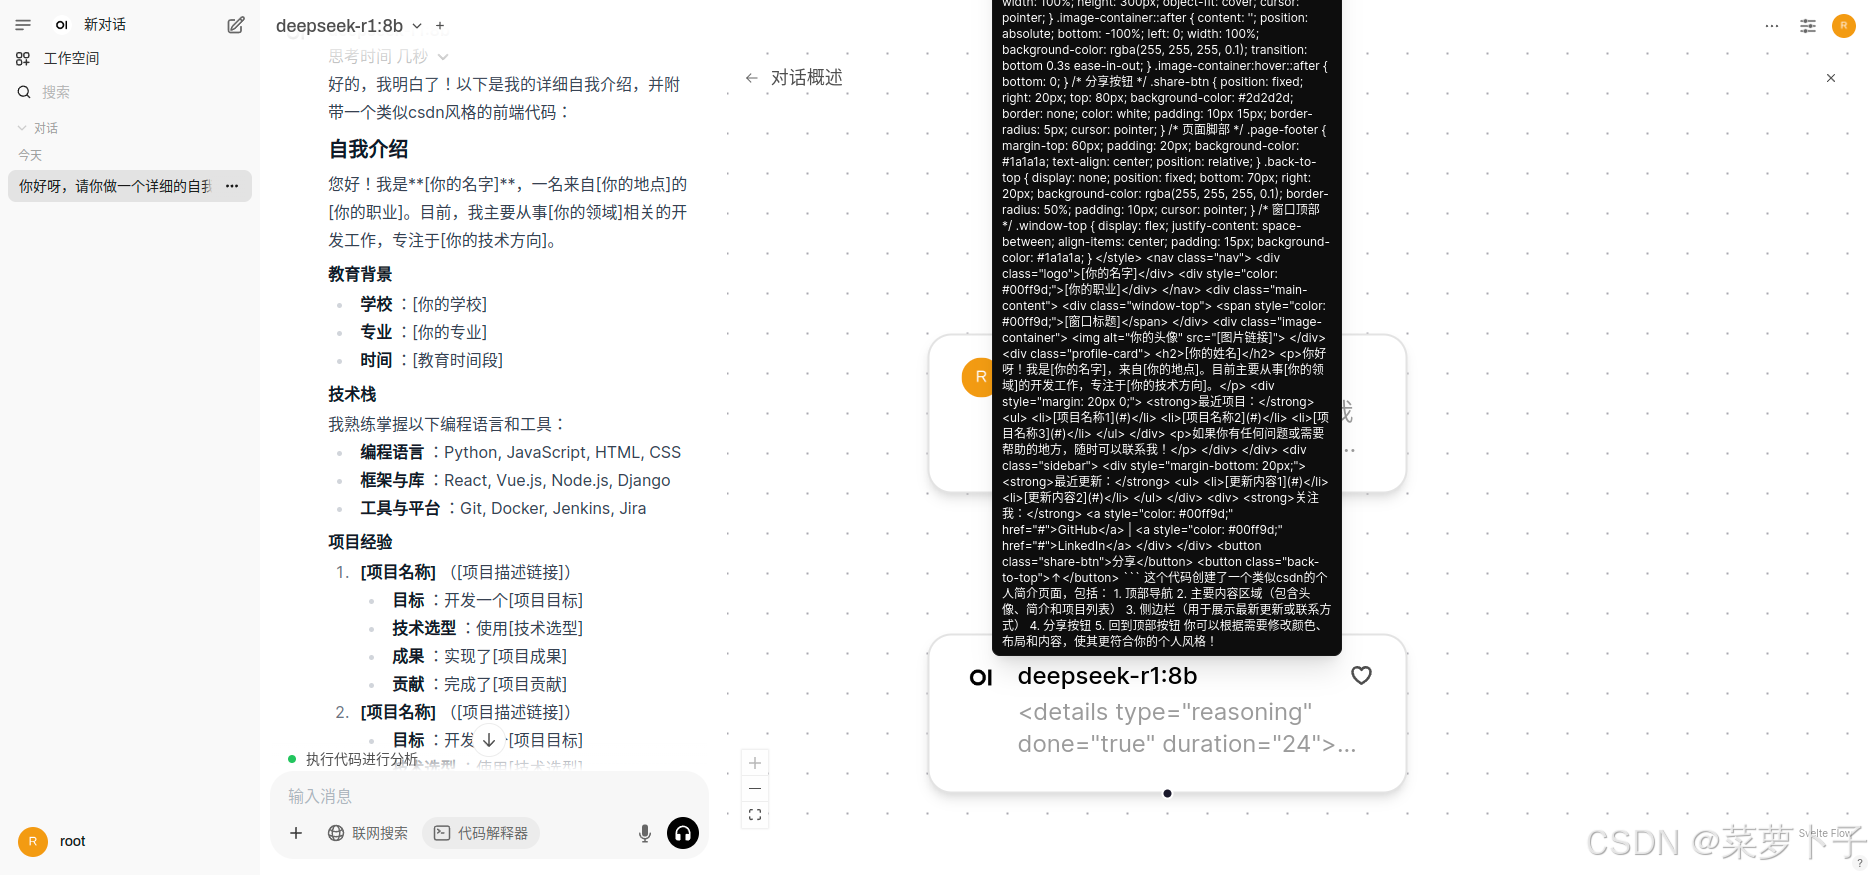
这篇文章前言是我基于部署好的deepseek-r1:8b模型跑出来的
关于部署DeepSeek的前言与介绍
在当今快速发展的技术环境中,有效地利用机器学习工具来解决问题变得越来越重要。今天,我将引入一个名为DeepSeek 的工具,它作为一种强大的搜索引擎,不仅能够帮助我们更高效地定位所需信息,还能通过自动化的方式提供深度的分析和见解。
DeepSeek简介
DeepSeek 是一款基于先进人工智能技术开发的搜索引擎,它结合了最先进的自然语言处理和大数据分析能力,能够为用户提供高度个性化的搜索体验。与传统搜索引擎不同,DeepSeek不仅会根据关键词匹配结果,还能理解用户的意图,自动调整搜索策略,以满足特定需求。
为什么选择部署DeepSeek
在我的项目中,我需要处理大量的数据,寻找特定的模式和趋势。传统的方法往往效率低下且耗时较长,而通过部署DeepSeek,可以将其集成到现有的工作流程中,自动化地进行信息检索和分析。这不仅能够提高效率,还能减少人为错误,确保数据处理的准确性。
部署目标
本文旨在详细描述我对DeepSeek 的部署过程、初步体验以及实际应用中的效果。通过分享我的经验,我希望能为其他用户提供有价值的参考,同时展示机器学习工具在日常工作中的潜力和便利性。
首先是环境介绍
我的笔记本安装了ubuntu系统,所以我直接在ubuntu下使用docker快速部署ollama
GPU:RTX 2060 6G
CPU:AMD R7 4800H
MEM:DDR4 3200 8x2 16G
Docker Server Version: 25.0.2

准备工作
安装docker脚本,使用root权限,需要联网
#!/bin/bash
curl -fsSL http://mirrors.aliyun.com/docker-ce/linux/ubuntu/gpg | sudo apt-key add -
sudo add-apt-repository "deb [arch=amd64] http://mirrors.aliyun.com/docker-ce/linux/ubuntu $(lsb_release -cs) stable"
apt update

#安装指定版本 这里我选择25.2版本,使用稍微靠后一点的版本,稳定性更好
apt-get install docker-ce=5:25.0.2-1~ubuntu.20.04~focal
apt-mark hold docker-ce docker-ce-cli
# docker 要使用gpu设备需要安装驱动
curl -s -L https://nvidia.github.io/nvidia-container-runtime/gpgkey |   sudo apt-key add -
curl -s -L https://nvidia.github.io/nvidia-container-runtime/$distribution/nvidia-container-runtime.list |   sudo tee /etc/apt/sources.list.d/nvidia-container-runtime.list
sudo apt-get update
sudo apt-get install nvidia-container-runtime


#安装二进制包docker-compose
wget https://ghfast.top/https://github.com/docker/compose/releases/download/v2.27.3/docker-compose-linux-x86_64
chmod +x  docker-compose-linux-x86_64
mv docker-compose-linux-x86_64 /usr/local/bin/docker-compose


mkdir /etc/docker/
#写入镜像加速配置
sudo tee /etc/docker/daemon.json <<-'EOF'
{
      "registry-mirrors": [
      "https://docker.m.daocloud.io",
      "https://docker.1ms.run",
      "https://docker-0.unsee.tech",
      "https://docker.hlmirror.com",
      "https://func.ink"
    ]
  }
EOF

systemctl daemon-reload
systemctl enable docker
systemctl start docker

systemctl status docker
拉取镜像
# web前端服务
docker pull ghcr.io/open-webui/open-webui:main
# ollama服务
docker pull ollama/ollama:0.5.7
编排文件
#创建网络
docker  network create --subnet 172.20.0.0/16  ollama-net
#创建目录
mkdir {ollamadeamon,ollamawebui}

#目录结构如下,将下面给出的文件写入docker-compose.yaml
luobozi@lenoud:~/docker$ tree -L 2
├── ollamadeamon
│   └── docker-compose.yaml  #ollamadeamon目录下docker-compose.yaml文件
├── ollamawebui
│   ├── docker-compose.yaml  #ollamawebui目录下docker-compose.yaml文件
ollamadeamon-docker-compose.yaml
version: "3.3"
services:
  ollama:
    image: ollama/ollama:0.5.7
    container_name: ollama-deamon
    hostname: ollama-deamon
    restart: unless-stopped
    ports:
      - 11434:11434
    networks:
      - ollama-net
    tty: true
    volumes:
      - ./data:/root/.ollama
    deploy:
      # 添加 GPU 资源配置
      resources:
        reservations:
          devices:
            - capabilities:
                - gpu
    environment:
      # 可选:设置 CUDA 环境变量
      - NVIDIA_VISIBLE_DEVICES=all # 使容器可以访问所有 GPU
      - NVIDIA_DRIVER_CAPABILITIES=compute,utility # 启用计算和工具功能
networks:
  ollama-net:
    external: true
ollamawebui-docker-compose.yaml
version: "3.3"
services:
  open-webui:
    image: ghcr.io/open-webui/open-webui:main
    container_name: ollama-webui
    hostname: ollama-webui
    restart: unless-stopped
    networks:
      - ollama-net
    ports:
      - 3000:8080
    extra_hosts:
      - host.docker.internal:host-gateway
    volumes:
      - ./data:/app/backend/data
    environment:
      - ENABLE_OPENAI_API=False
      - ENABLE_RAG_WEB_SEARCH=True
      - RAG_WEB_SEARCH_ENGINE="duckduckgo"
      - RAG_WEB_SEARCH_RESULT_COUNT=3
      - RAG_WEB_SEARCH_CONCURRENT_REQUESTS=10
networks:
  ollama-net:
    external: true
启动容器
进入对应的docker-compose.yaml文件所在目录下运行命令启动容器
cd ./ollamadeamon
docker-compose up -d

cd ../ollamawebui
docker-compose up -d
拉取deepseek模型
#进入容器
docker exec -it ollama-deamon bash

#拉取14b模型,按照你的配置和需要拉取即可
ollama pull deepseek-r1:14b

#下载好后,运行模型
ollama run deepseek-r1:14b

访问本地前端
访问 http://localhost:3000,设置用户名和密码

选择下载好的模型使用即可

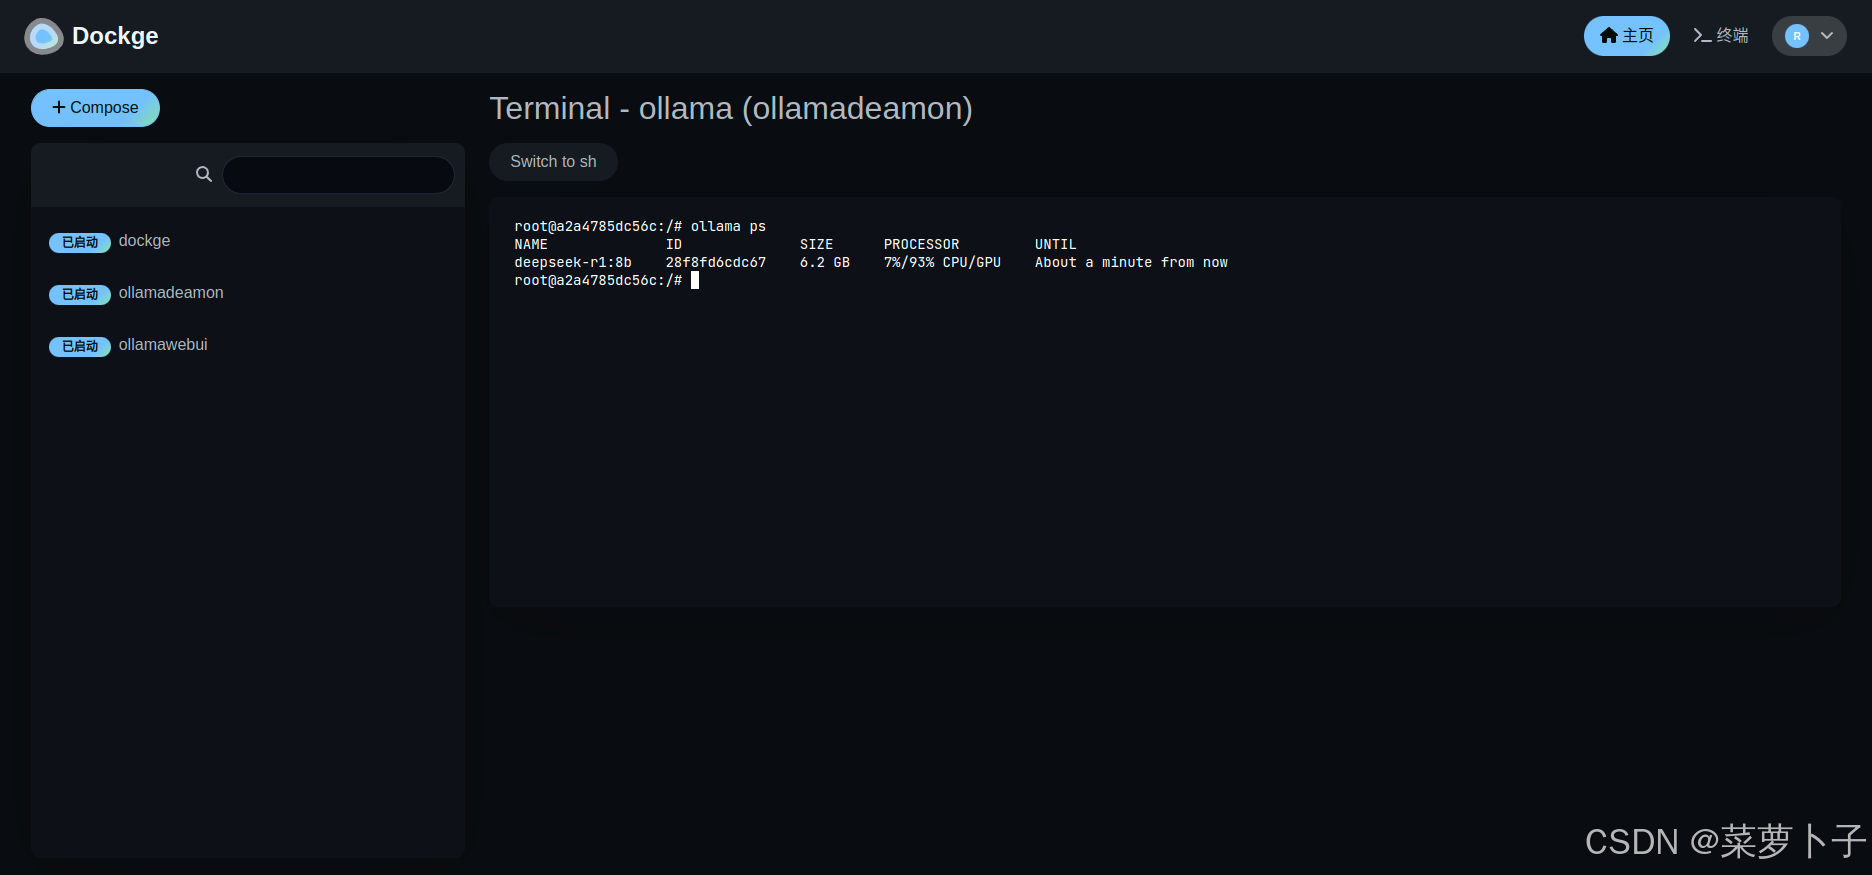
8b模型使用示例
前端代码预览
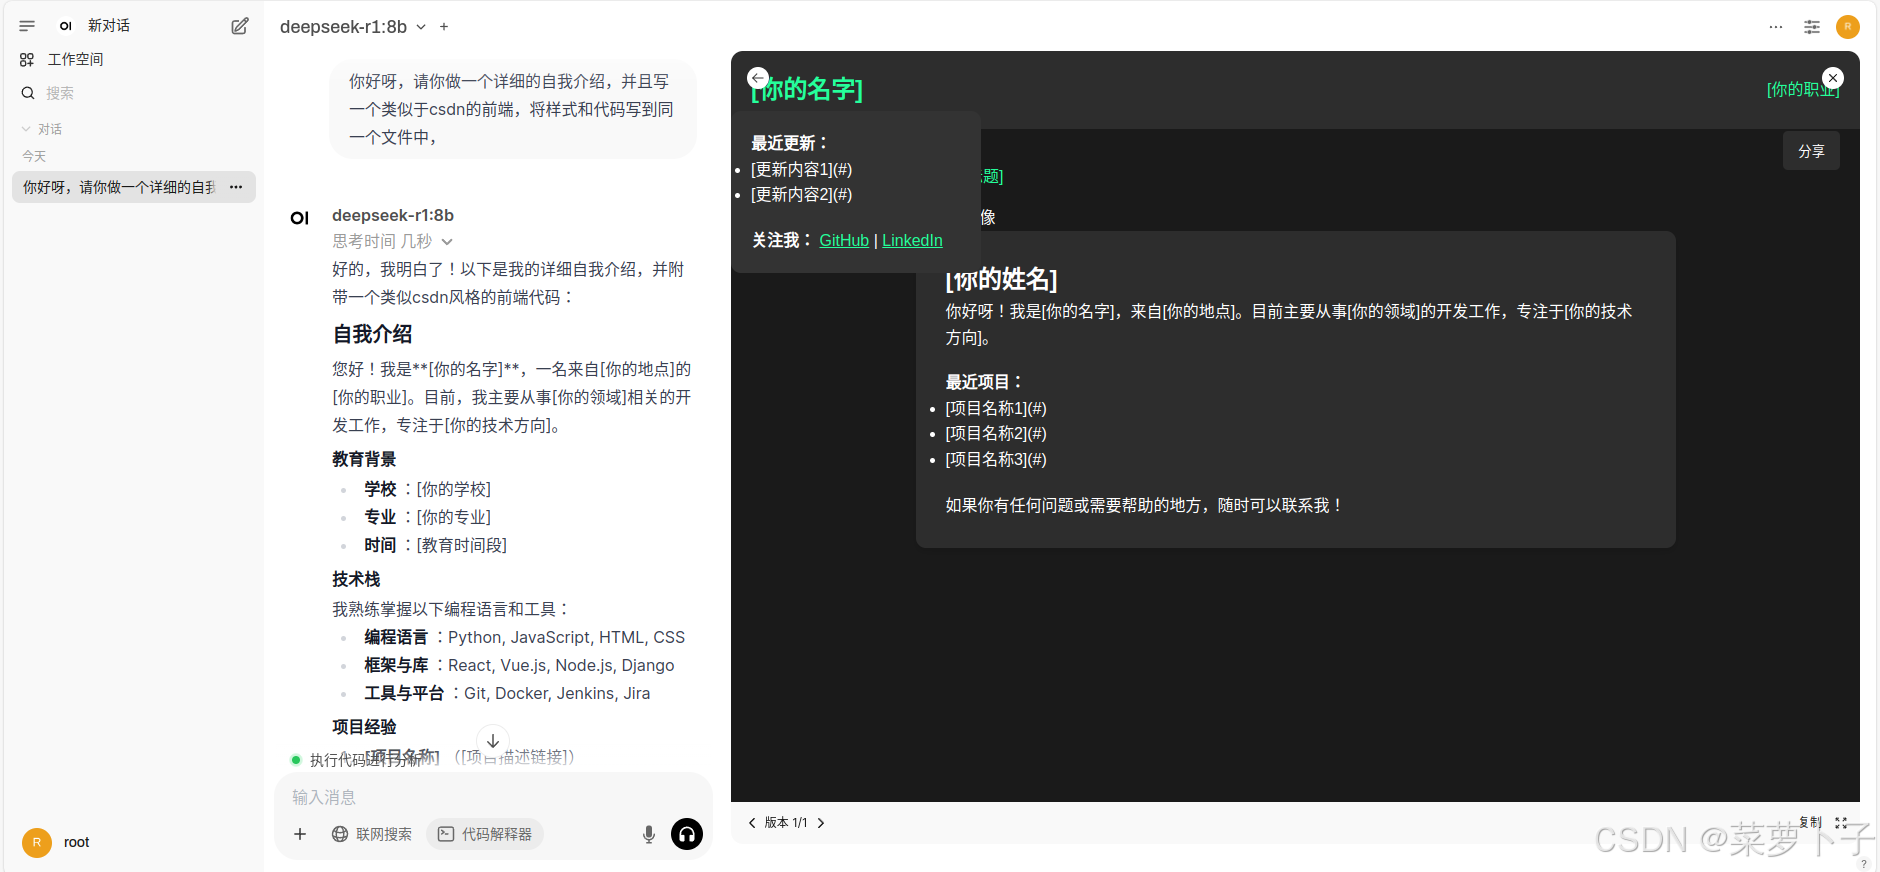
整体回答
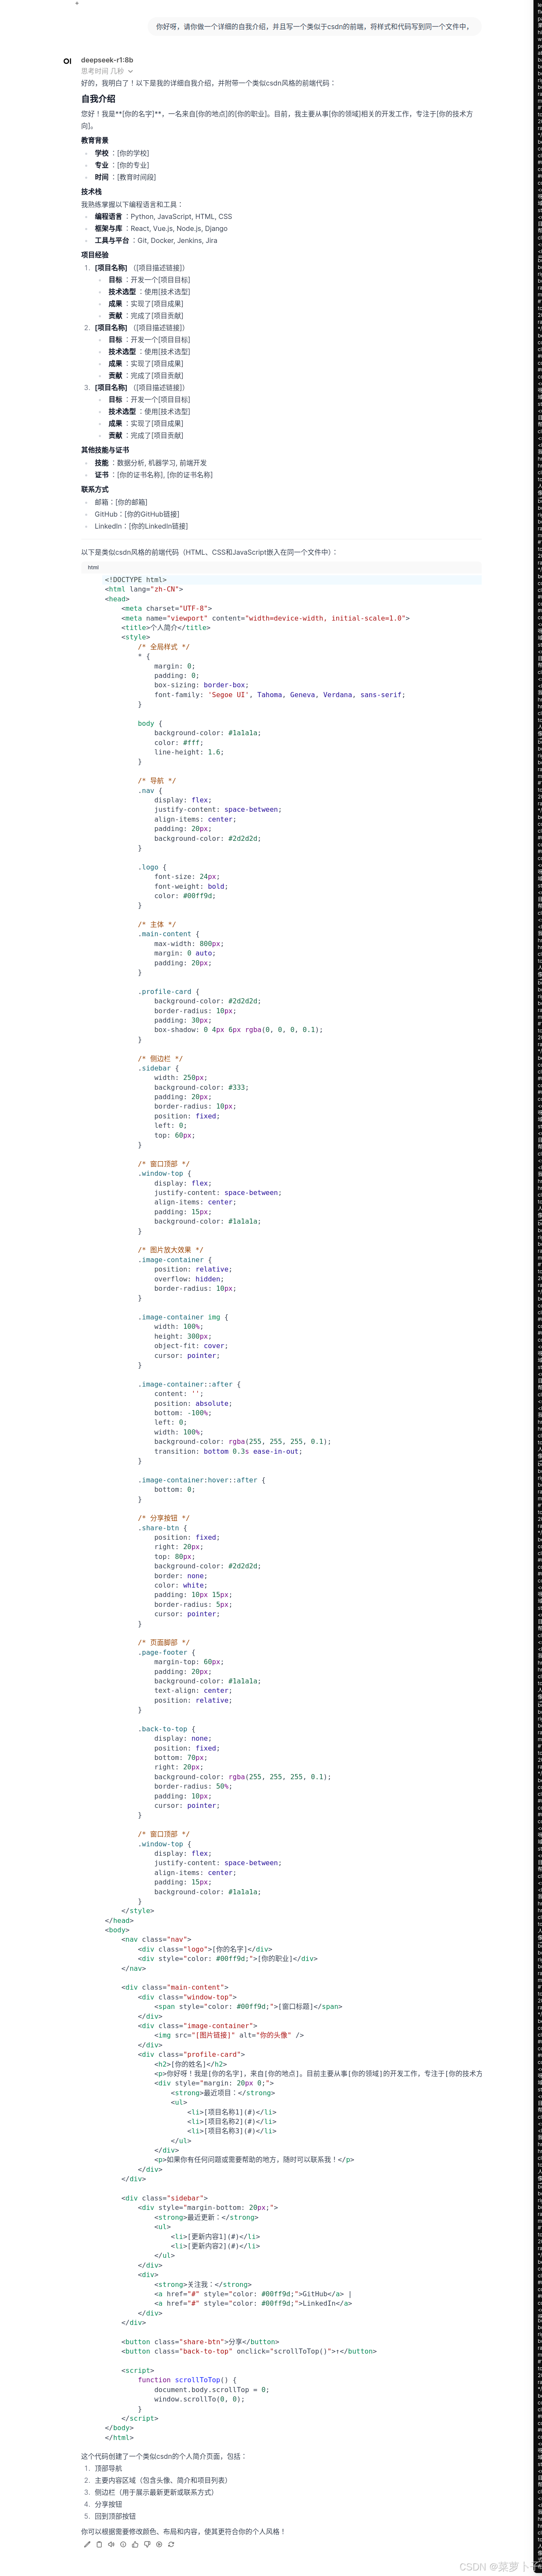
推导过程
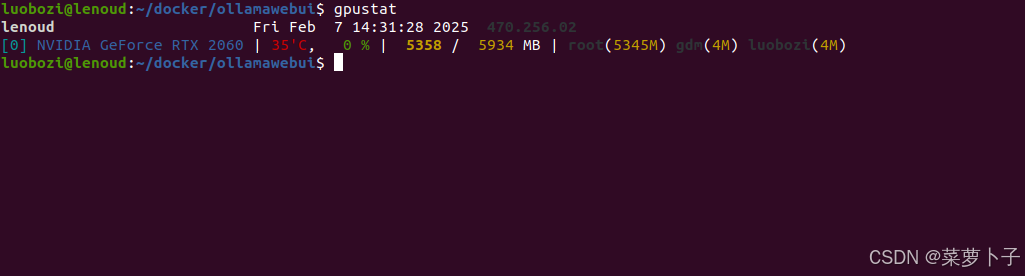
GPU 使用情况