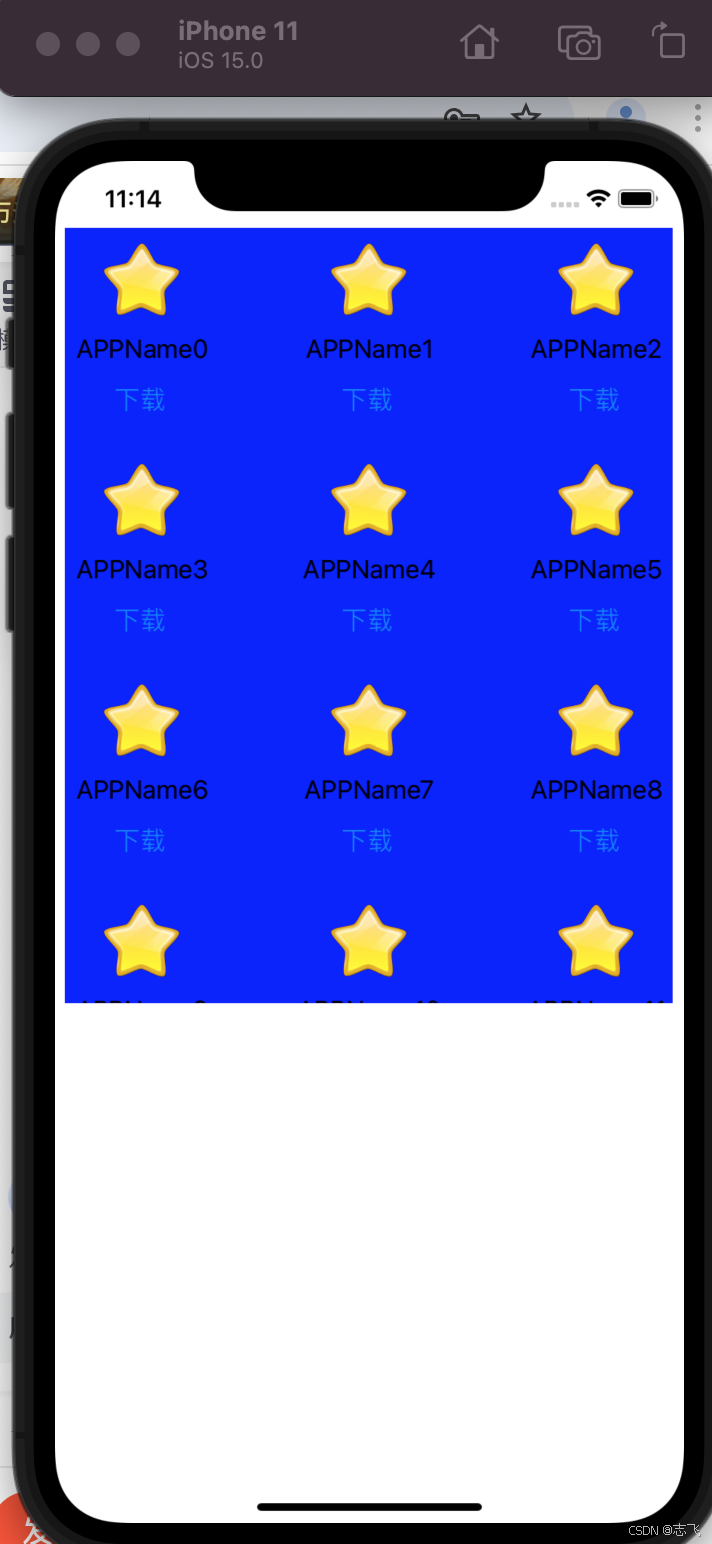
ios UICollectionView使用自定义UICollectionViewCell
和UITableView用法类似,UITableView主要是显示按行排列的数据,UICollectionView则用在显示多行多列的数据,今天我们继续来实现app下载页面的效果。
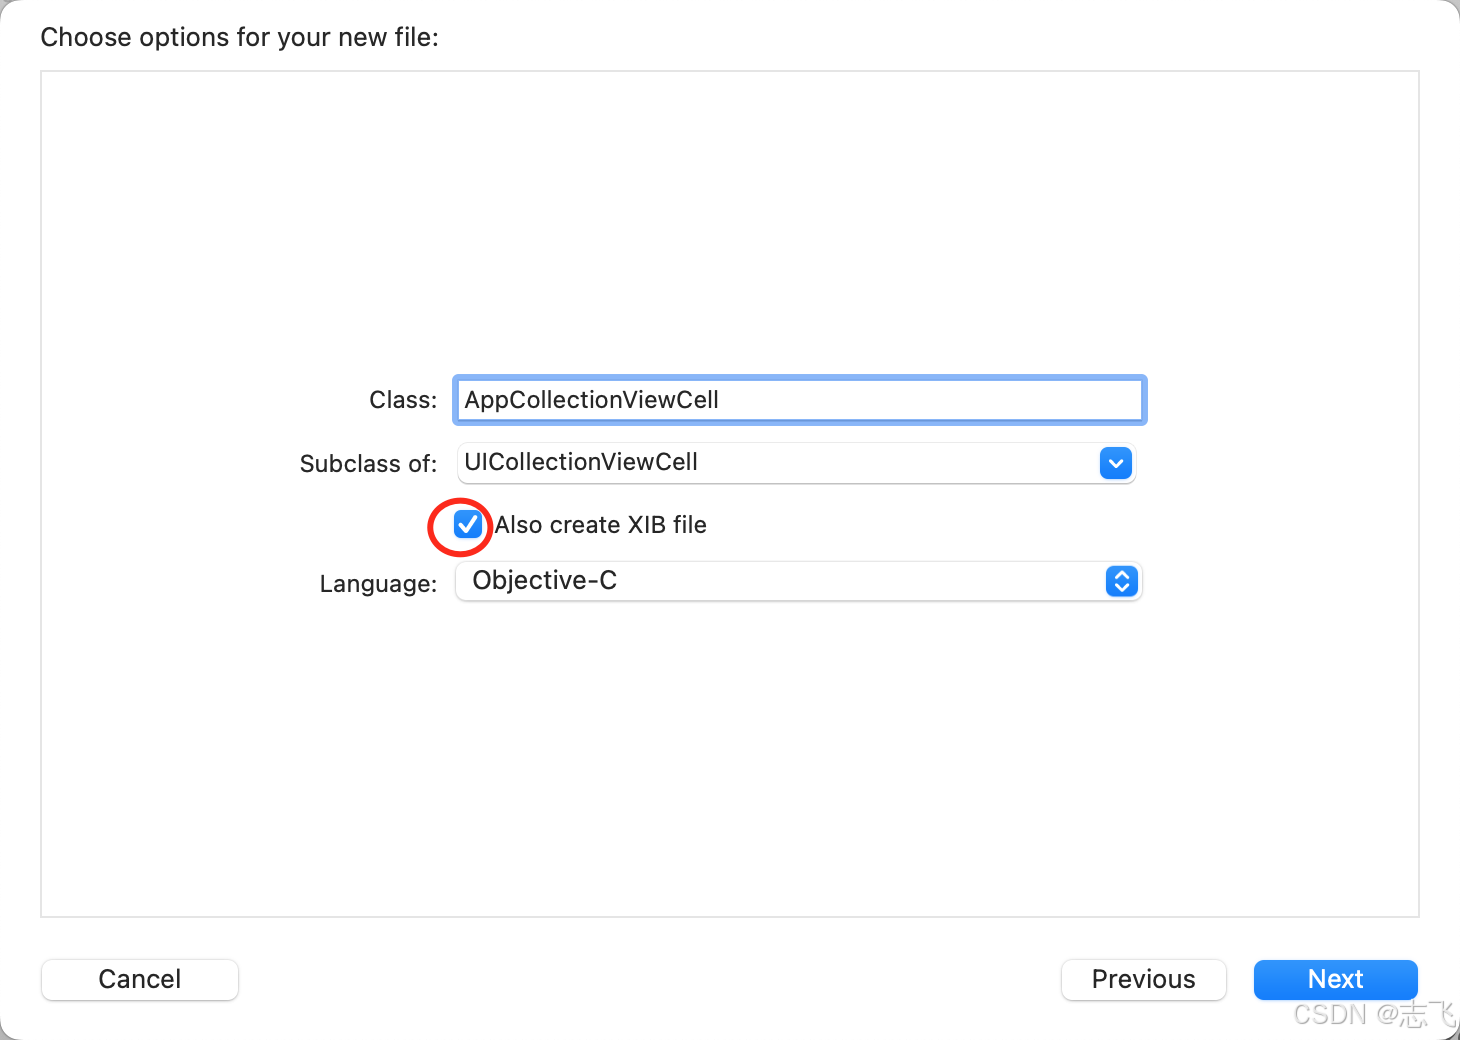
1.先自定义UICollectionViewCell,一个cell就相当于列表中的一项了。
记得勾上,这样就自动创建xib组件了
按住ctrl,鼠标连线到AppCollectionView.h文件,定义好属性
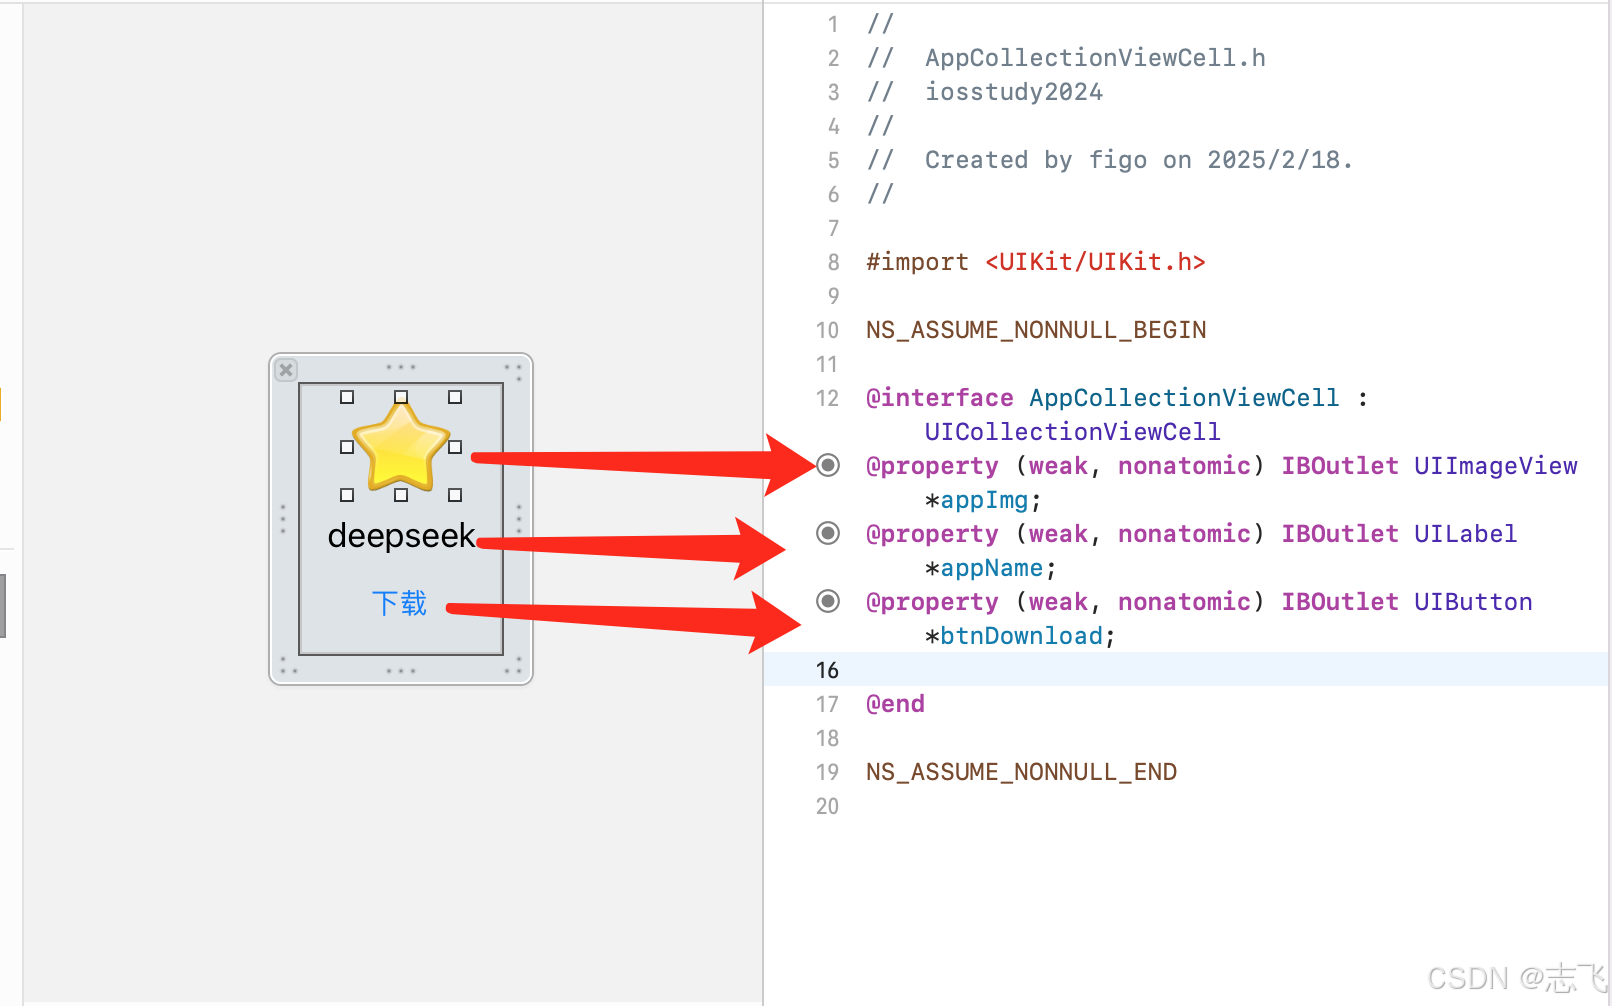
AppCollectionViewCell.h
//
//  AppCollectionViewCell.h
//  iosstudy2024
//
//  Created by figo on 2025/2/18.
//

#import <UIKit/UIKit.h>

NS_ASSUME_NONNULL_BEGIN

@interface AppCollectionViewCell : UICollectionViewCell
@property (weak, nonatomic) IBOutlet UIImageView *appImg;
@property (weak, nonatomic) IBOutlet UILabel *appName;
@property (weak, nonatomic) IBOutlet UIButton *btnDownload;

@end

NS_ASSUME_NONNULL_END
AppCollectionViewCell.m
//
//  AppCollectionViewCell.m
//  iosstudy2024
//
//  Created by figo on 2025/2/18.
//

#import "AppCollectionViewCell.h"

@implementation AppCollectionViewCell

- (void)awakeFromNib {
    [super awakeFromNib];
    // Initialization code
}

@end
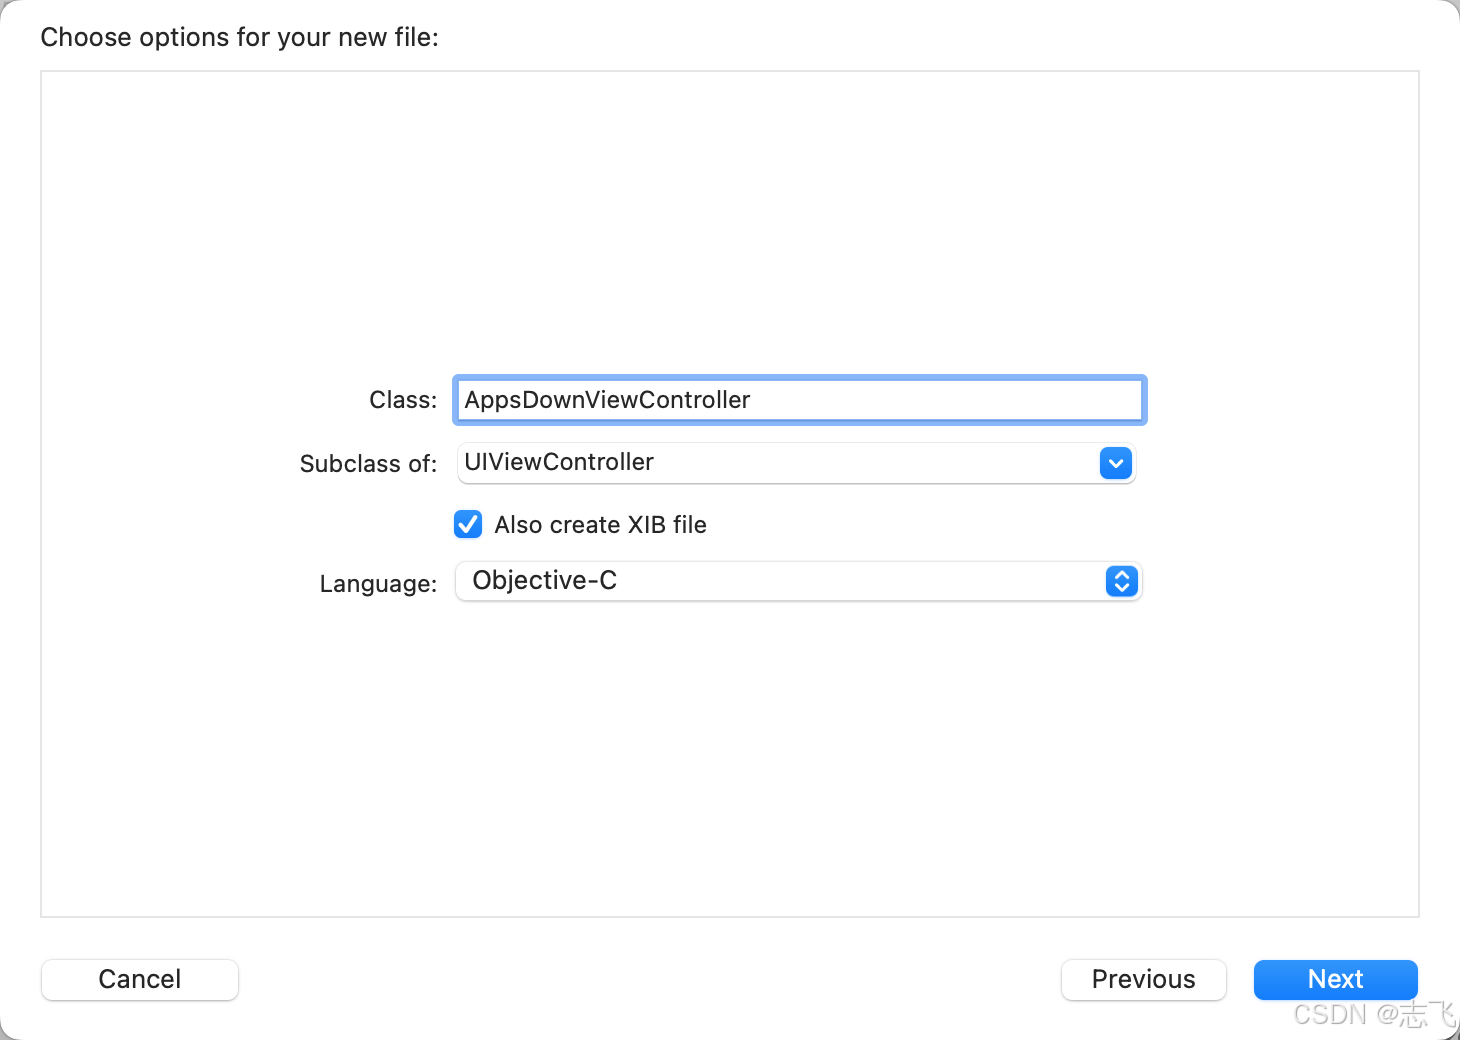
2.创建控制器AppsDownViewController
AppsDownViewController.h
//
//  AppsDownViewController.h
//  iosstudy2024
//
//  Created by figo on 2025/2/18.
//

#import <UIKit/UIKit.h>

NS_ASSUME_NONNULL_BEGIN

@interface AppsDownViewController : UIViewController

@end

NS_ASSUME_NONNULL_END
AppsDownViewController.m
//
//  AppsDownViewController.m
//  iosstudy2024
//
//  Created by figo on 2025/2/18.
//
#import "AppCollectionViewCell.h"
#import "AppsDownViewController.h"

@interface AppsDownViewController ()<UICollectionViewDelegate,UICollectionViewDataSource>
@property (weak, nonatomic) IBOutlet UICollectionView *appUICollectionView;

@end

@implementation AppsDownViewController

- (void)viewDidLoad {
    [super viewDidLoad];
    // Do any additional setup after loading the view from its nib.
    self.appUICollectionView.delegate = self;
    self.appUICollectionView.dataSource = self;
    //关联自定义AppCollectionViewCell到当前页面的UICollectionView
    UINib * nib=[UINib nibWithNibName:@"AppCollectionViewCell" bundle:nil];
    [self.appUICollectionView registerNib:nib forCellWithReuseIdentifier:@"testCell"];
    //设置布局格式
    UICollectionViewFlowLayout *layout=[[UICollectionViewFlowLayout alloc]init];
    layout.scrollDirection = UICollectionViewScrollDirectionVertical;
//    layout.scrollDirection = UICollectionViewScrollDirectionHorizontal;

//    CGFloat w=(UIScreen.mainScreen.bounds.size.width-3*30)/2;
    layout.itemSize=CGSizeMake(101, 135);
//    layout.minimumLineSpacing=5;
//    layout.minimumInteritemSpacing=5;
//    layout.sectionInset=UIEdgeInsetsMake(0, 5, 0, 5);
    self.appUICollectionView.collectionViewLayout=layout;
    self.appUICollectionView.backgroundColor=[UIColor blueColor];
}


//每一项collectionViewCell
- (nonnull __kindof UICollectionViewCell *)collectionView:(nonnull UICollectionView *)collectionView cellForItemAtIndexPath:(nonnull NSIndexPath *)indexPath {
    AppCollectionViewCell *cell=[collectionView dequeueReusableCellWithReuseIdentifier:@"testCell" forIndexPath:indexPath];

    //使用tag传参@"APPName"+indexPath.item;
    cell.appName.text=[NSString stringWithFormat:@"APPName%ld",indexPath.item];
    NSString *imgPath=[[NSBundle mainBundle]pathForResource:@"star" ofType:@".png"];
    //照片拖入Assets件夹会找不到资源,注意需要项目下新建group命名为Supporting Files,再项目外新建文件夹比如icons,然后将图片放入icons,再将icons文件夹拖入Supporting Files才能找到,否则返回nil
    UIImage *uiImage=[UIImage imageWithContentsOfFile:imgPath];
    cell.appImg.image=uiImage;
    cell.btnDownload.tag=indexPath.item;
    //给按钮添加事件
    [cell.btnDownload addTarget:self action:@selector(btnClick:) forControlEvents:UIControlEventTouchUpInside];


    return cell;
}
-(void)btnClick:(UIButton *) btn  {

    NSLog(@"Selected item at index %ld", btn.tag);
}

//选中某一项
- (void)collectionView:(UICollectionView *)collectionView didSelectItemAtIndexPath:(NSIndexPath *)indexPath {
    NSLog(@"didSelectItemAtIndexPath %ld", (long)indexPath.item);
}

//每个Section里面有多少项
- (NSInteger)collectionView:(nonnull UICollectionView *)collectionView numberOfItemsInSection:(NSInteger)section {
    return 12;
}

//定义展示的Section的个数
-(NSInteger)numberOfSectionsInCollectionView:(UICollectionView *)collectionView
{
    return 1;
}
@end
xib文件,就放了一个UICollectionView
3.SceneDelegate.m设置运行当前controller
//
//  SceneDelegate.m
//  iosstudy2024
//
//  Created by figo on 2024/8/5.
//

#import "SceneDelegate.h"
//#import "WidgetViewController.h"
//#import "TableViewTestViewController.h"
//#import "TableViewAddressBookViewController.h"
#import "NewsViewController.h"
#import "UICollectionViewTestController.h"
#import "AppDownloadViewController.h"
#import "AppsDownViewController.h"
@interface SceneDelegate ()

@end

@implementation SceneDelegate


- (void)scene:(UIScene *)scene willConnectToSession:(UISceneSession *)session options:(UISceneConnectionOptions *)connectionOptions {
    // Use this method to optionally configure and attach the UIWindow `window` to the provided UIWindowScene `scene`.


        AppsDownViewController * viewController = [[AppsDownViewController alloc]init];
        self.window.rootViewController=viewController;
}


- (void)sceneDidDisconnect:(UIScene *)scene {
    // Called as the scene is being released by the system.
    // This occurs shortly after the scene enters the background, or when its session is discarded.
    // Release any resources associated with this scene that can be re-created the next time the scene connects.
    // The scene may re-connect later, as its session was not necessarily discarded (see `application:didDiscardSceneSessions` instead).
}


- (void)sceneDidBecomeActive:(UIScene *)scene {
    // Called when the scene has moved from an inactive state to an active state.
    // Use this method to restart any tasks that were paused (or not yet started) when the scene was inactive.
    NSLog(@"%s",__func__);

}


- (void)sceneWillResignActive:(UIScene *)scene {
    // Called when the scene will move from an active state to an inactive state.
    // This may occur due to temporary interruptions (ex. an incoming phone call).
    NSLog(@"%s",__func__);
}


- (void)sceneWillEnterForeground:(UIScene *)scene {
    // Called as the scene transitions from the background to the foreground.
    // Use this method to undo the changes made on entering the background.
    NSLog(@"%s",__func__);
}


- (void)sceneDidEnterBackground:(UIScene *)scene {
    // Called as the scene transitions from the foreground to the background.
    // Use this method to save data, release shared resources, and store enough scene-specific state information
    // to restore the scene back to its current state.
    NSLog(@"%s",__func__);
}


@end