鸿蒙(HarmonyOS)应用开发——基础语法例子
前言
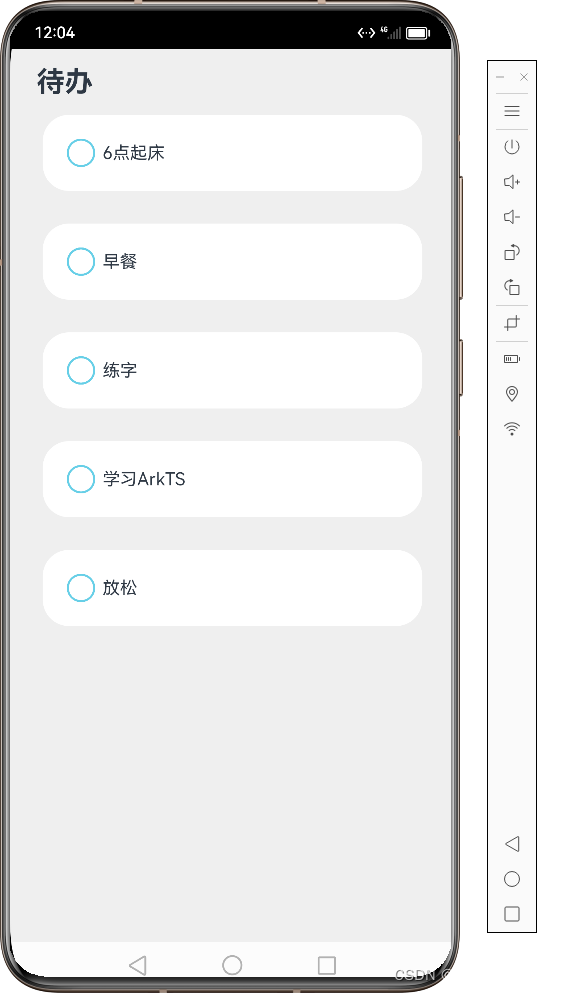
在前面几篇文章中,已经介绍了ArkTs中装饰器、声明式UI、自定义组件。知识都是很零散的,我们可以做一个Demo。现在我们一步一步完成下面这样的页面
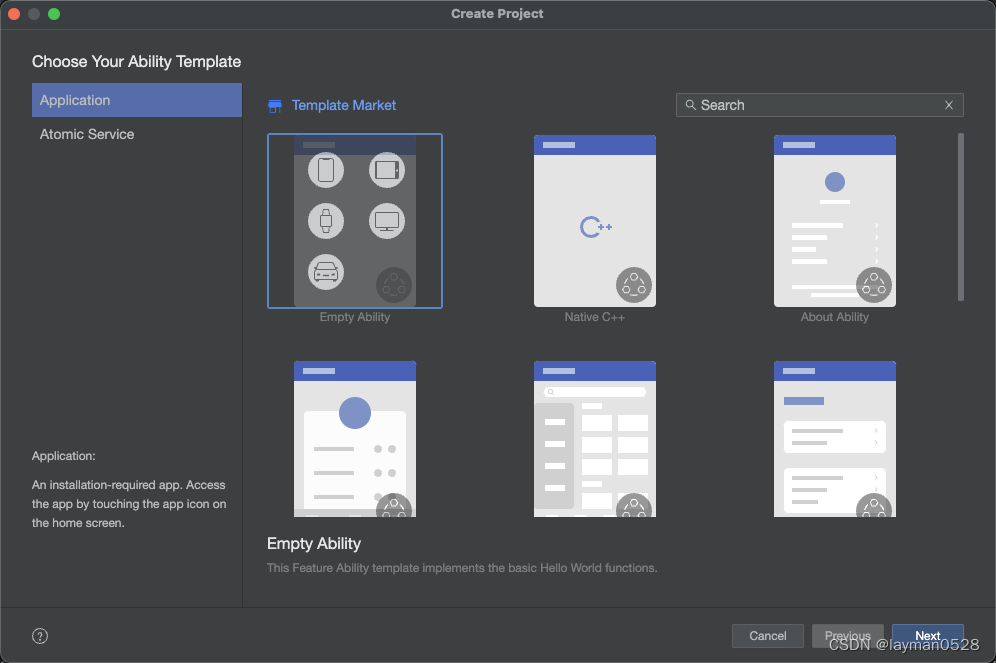
创建ToDo项目
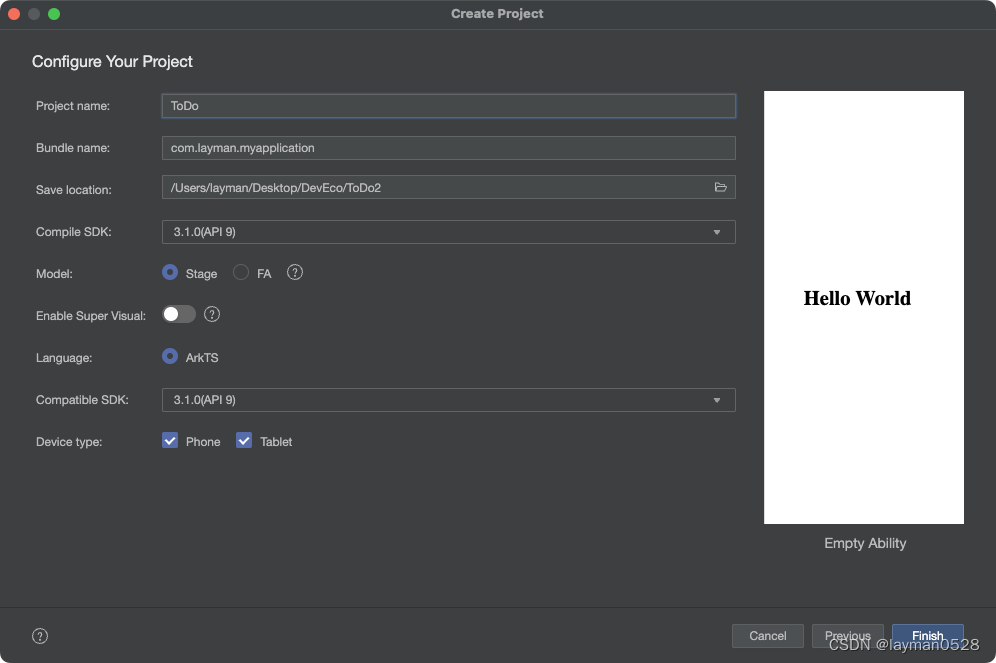
输入项目的名称,存放的位置,点击完成。IDE创建项目,并加载依赖
创建自定义组件
页面中 我们分为两部分,一部分是标题、一部分待办信息;我们创建两个自定义组件,一个用来显示标题,一个用来显示待办信息
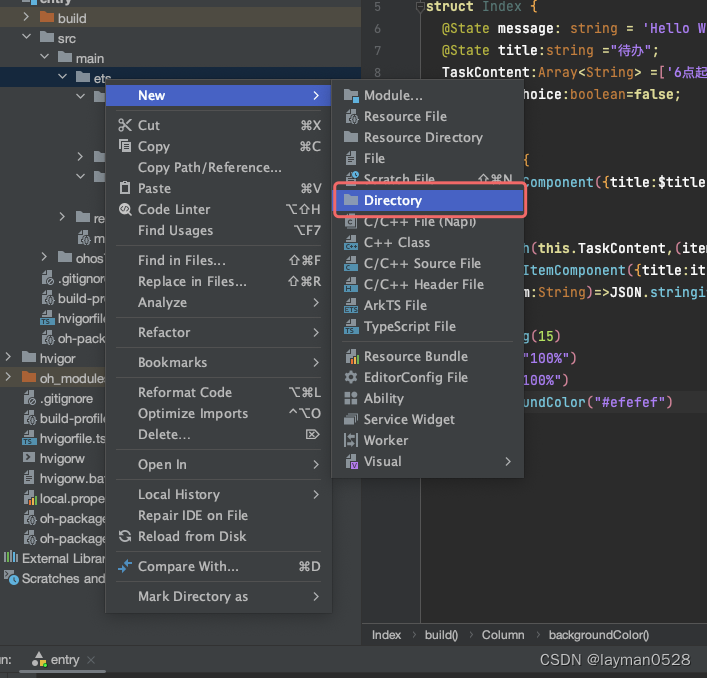
创建自定义组件文件夹
在ets 文件夹下创建 components 文件夹(这个文件夹,可以换成自己想要的名字)
创建组件
创建HeaderComponent和ToDoItemComponent 两个组件
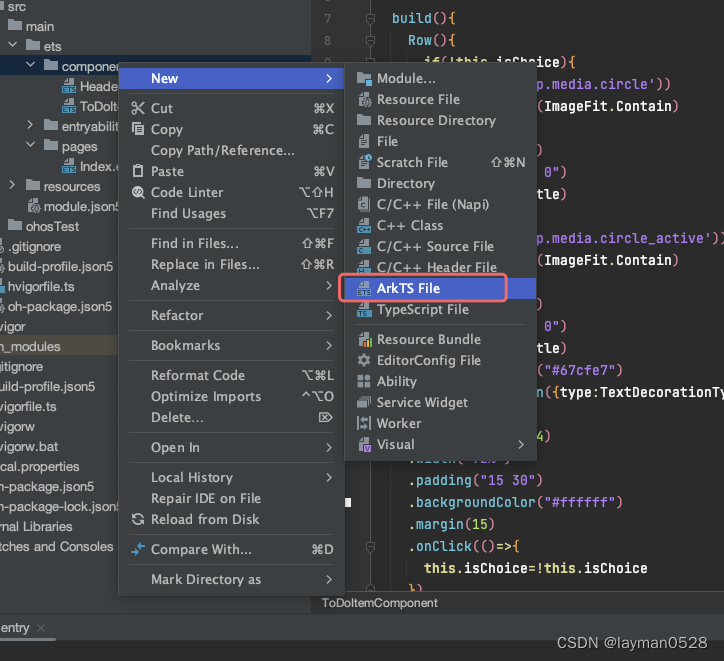
编写标题组件
@Component
export  struct HeaderComponent{
  @Link title:string;

  build(){
    Text(this.title)
      .width("95%")
      .textAlign(TextAlign.Start)
      .fontSize(26)
      .fontWeight(FontWeight.Bold)
  }
}
从上面的代码中,我们可以看出 使用@Component 和struct 自定义组件;export 将组件导出供父组件使用; @Link 标题文件的双向绑定
使用Text 属性来创建文字
编写待办信息组件
@Component
export struct ToDoItemComponent{
  @State isChoice:boolean= false;
  private  title?:string ;

  build(){
    Row(){
      if(!this.isChoice){
        Image($r('app.media.circle'))
          .objectFit(ImageFit.Contain)
          .width(30)
          .height(30)
          .margin("5 0")
        Text(this.title)
      }else{
        Image($r('app.media.circle_active'))
          .objectFit(ImageFit.Contain)
          .width(30)
          .height(30)
          .margin("5 0")
        Text(this.title)
          .fontColor("#67cfe7")
          .decoration({type:TextDecorationType.LineThrough})
      }
    }.borderRadius(24)
    .width("92%")
    .padding("15 30")
    .backgroundColor("#ffffff")
    .margin(15)
    .onClick(()=>{
      this.isChoice=!this.isChoice
    })
  }
}
其中 Image($r(‘app.media.circle_active’)),是从资源文件夹中引入图片文件
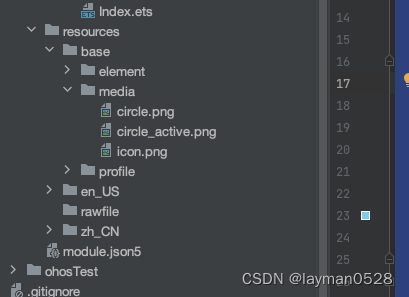
编写入口页面
import {HeaderComponent} from '../components/HeaderComponent'
import {ToDoItemComponent} from '../components/ToDoItemComponent'
@Entry
@Component
struct Index {
  @State message: string = 'Hello World'
  @State title:string ="待办";
  TaskContent:Array<String> =['6点起床','早餐','练字','学习ArkTS','放松']
  @State isChoice:boolean=false;

  build() {
    Column(){
      HeaderComponent({title:$title})


      ForEach(this.TaskContent,(item:string)=>{
        ToDoItemComponent({title:item})
      },(item:String)=>JSON.stringify(item))

    }.padding(15)
    .height("100%")
    .width("100%")
    .backgroundColor("#efefef")
  }
}
通过import 引入 自定义组件;
TaskContent 创建显示待办信息数组数据;
ForEach 循环 列表数据
编写完成之后,就完成了整个页面的编写。
