Win11安装Docker
一、进入Docker官网
首先先到Docker官网下载最新官方Docker for Windows链接:Docker下载
在官网内可以查看到Docker的开发文档:
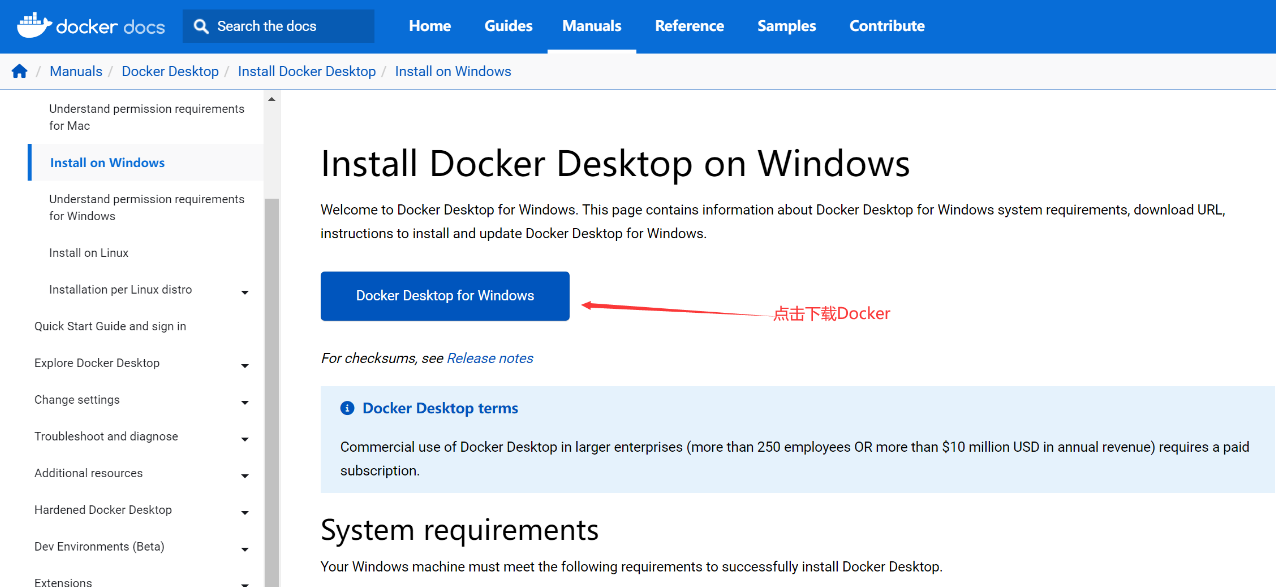
根据官网提示,Windows环境下下载Docker必须满足:Docker for Windows requires 64bit Windows 11 Pro and Microsoft Hyper-V(即需要64位Windows 11 Pro(专业版和企业版都可以)和Microsoft Hyper-V),Hyper-V是微软的虚拟机,在win11上是自带的,我们只需要启动就可以了。
二、启动Microsoft Hyper-V
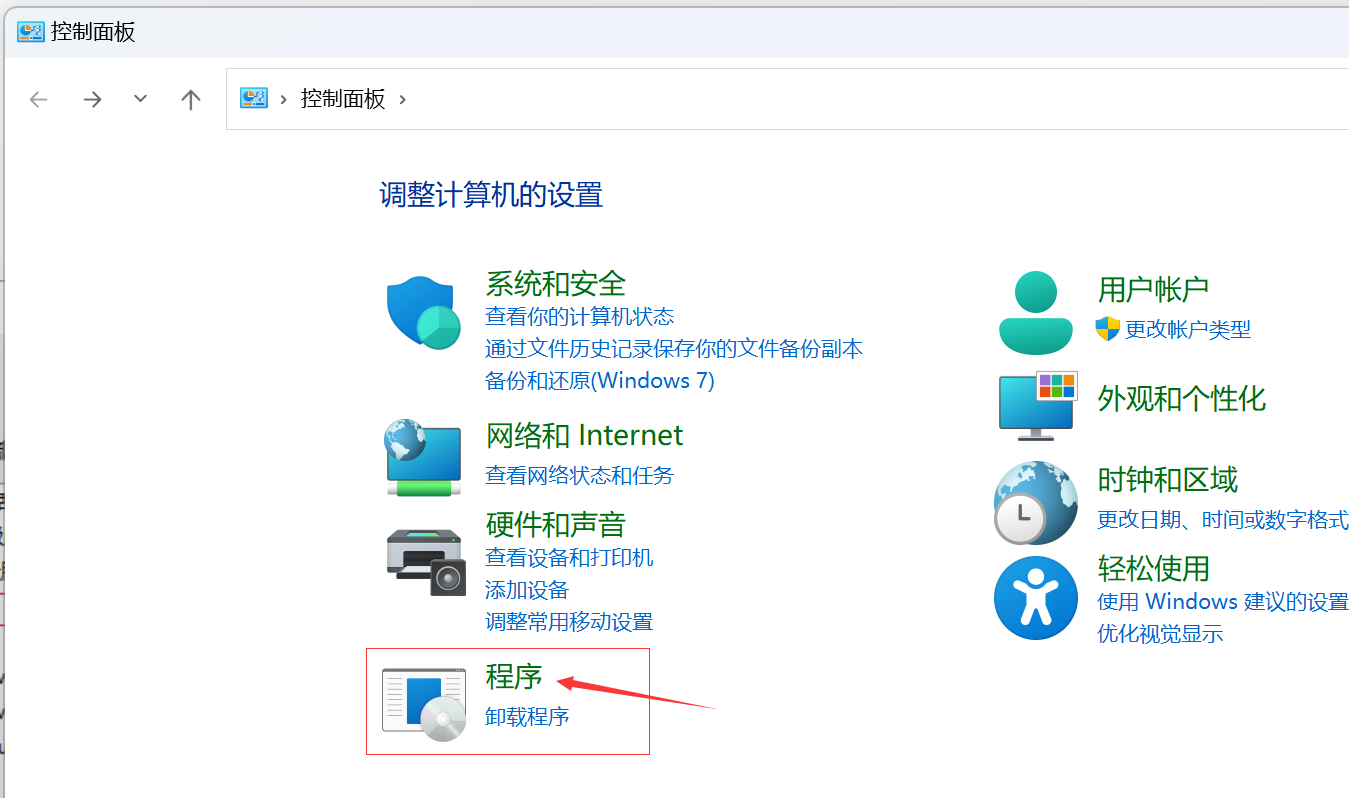
在电脑上打开“控制面板”->“程序”-> “启动或关闭Windows功能”。分为三步:
如下,点击红框内容:
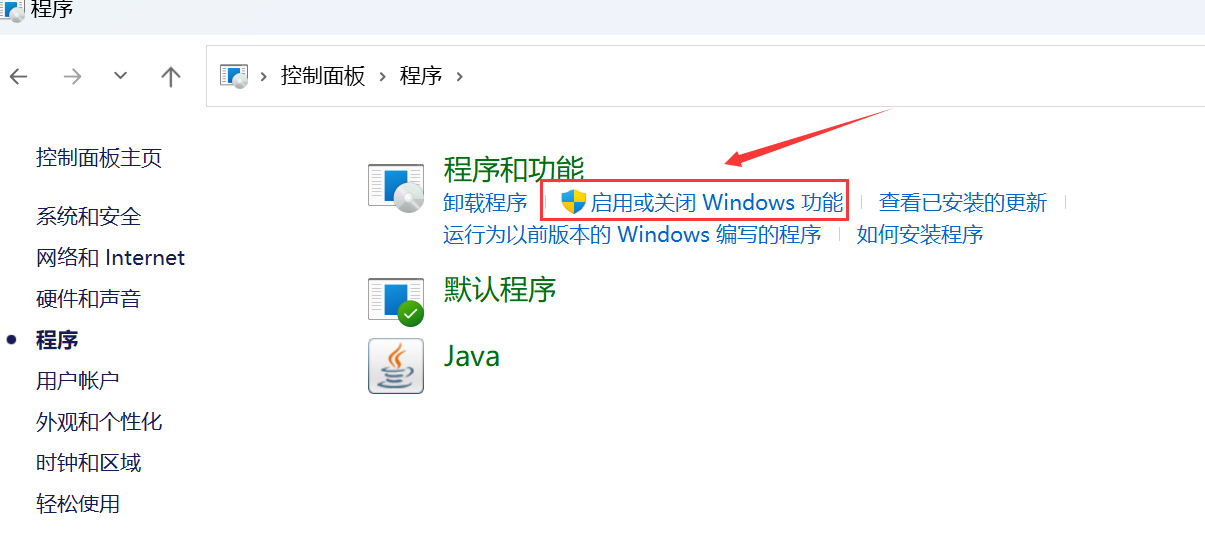
如下,选择:启动或关闭Windows功能:
如下,勾选Hyper-V选项:
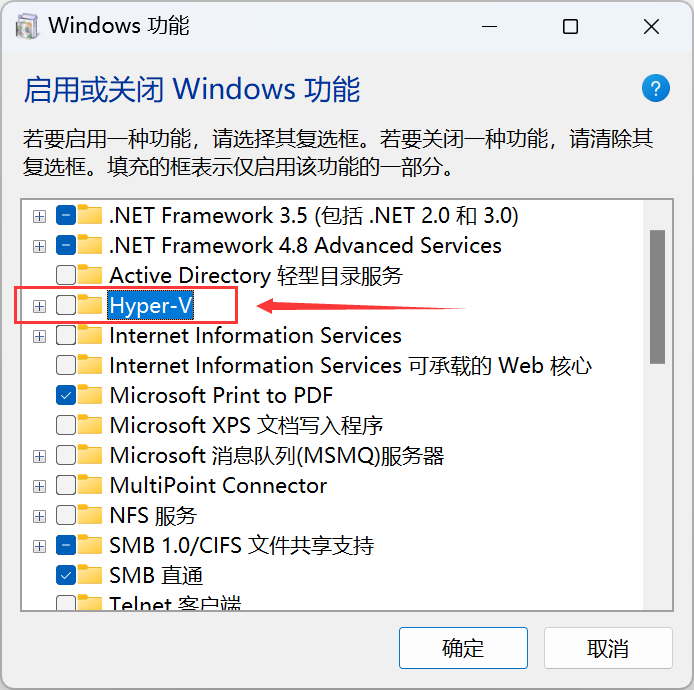
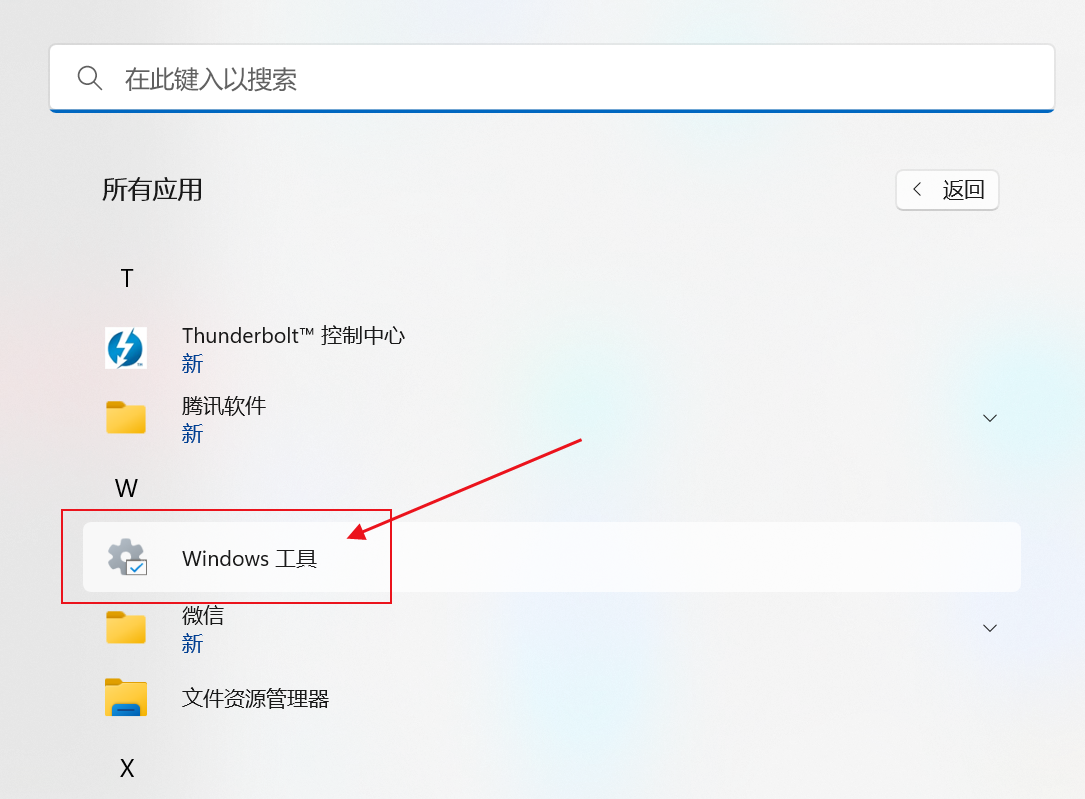
点击确定后,系统会自行更新,更新完成后提示是否重启电脑,要选择立即重启电脑。重启电脑后,左键点击win图标,查看电脑全部应用,找到“windows管理工具”:
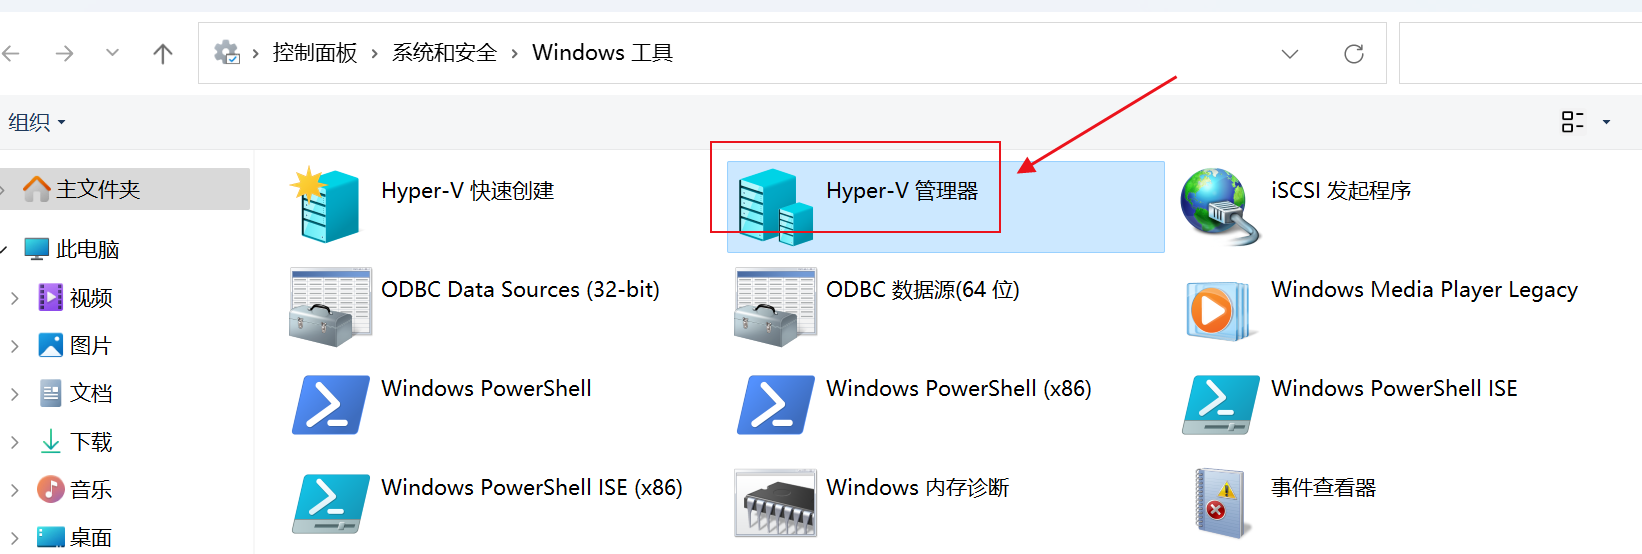
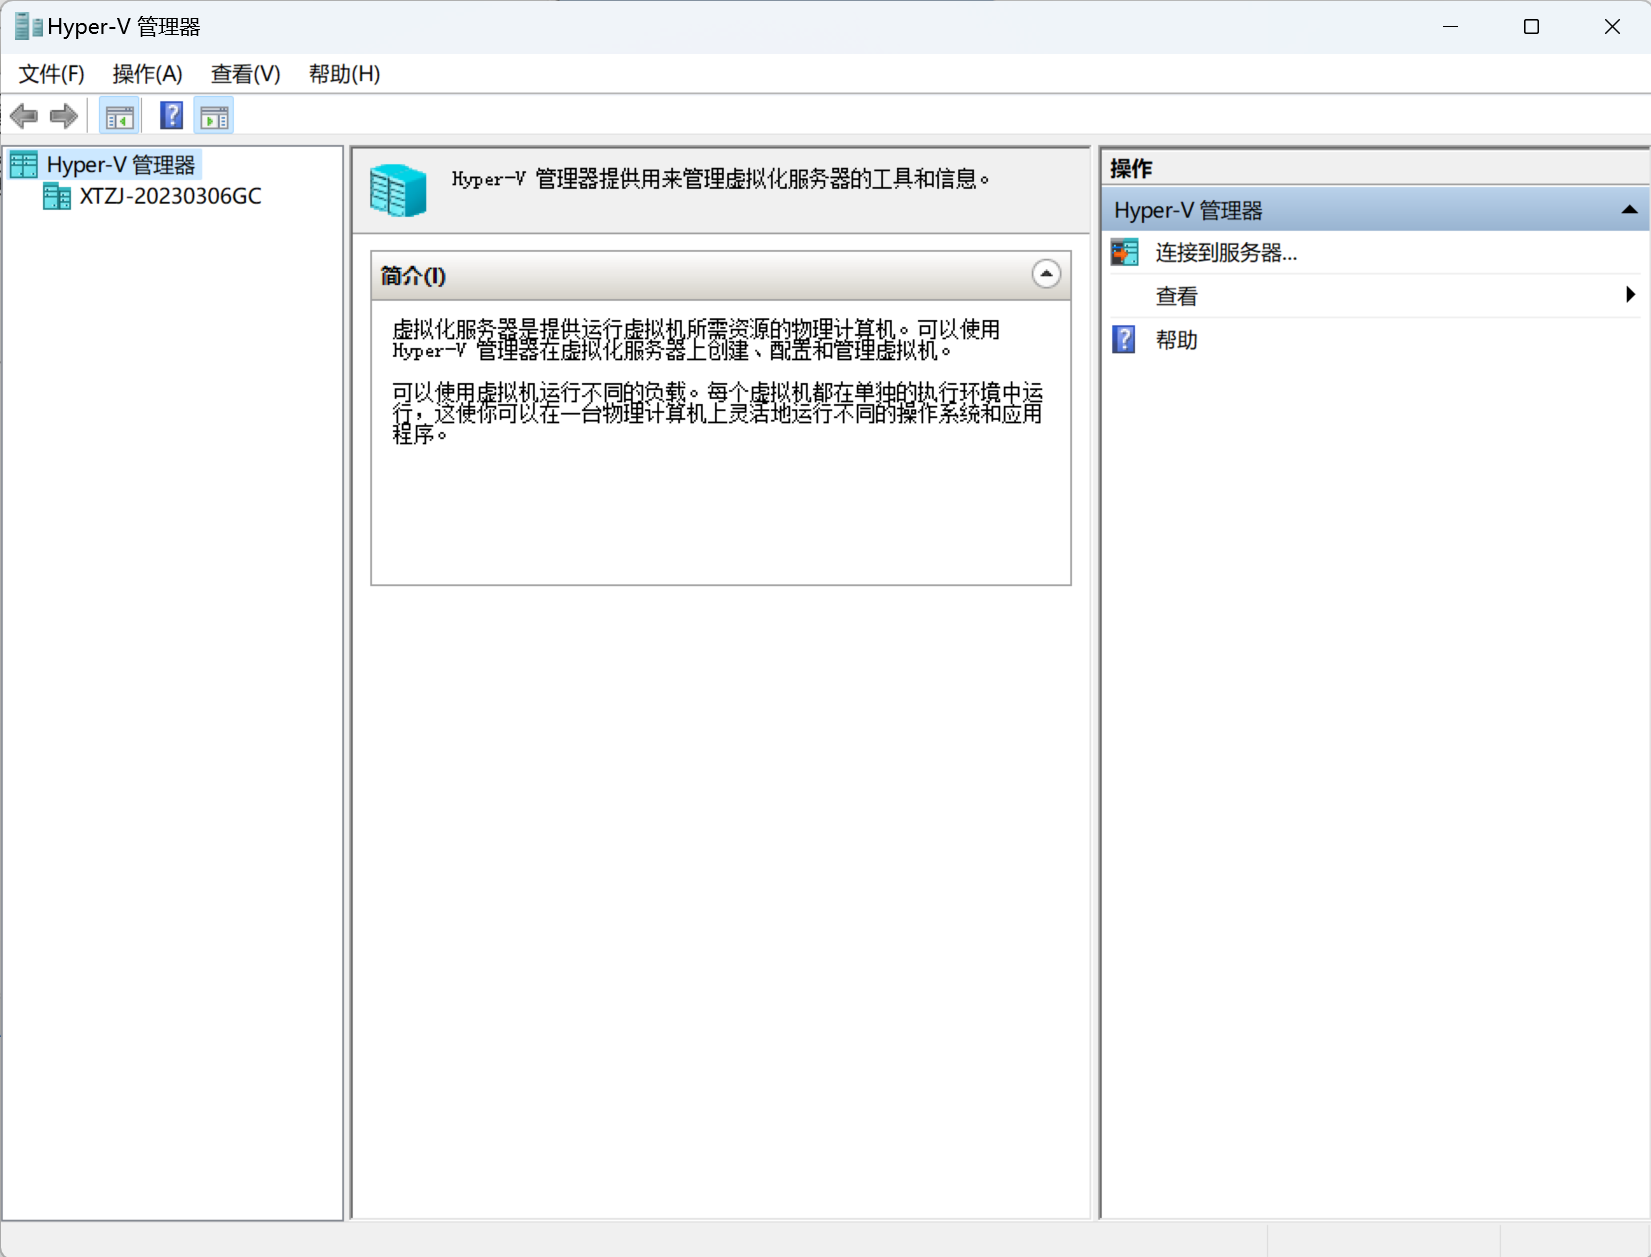
双击点开可以看到有一个Hyper-V管理器则表示已成功打开Hyper-V,点击可以查看管理器内容:
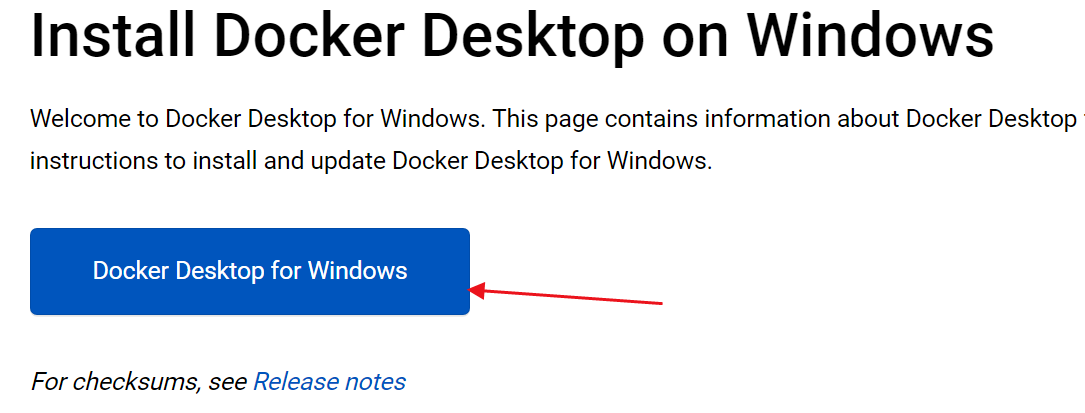
三、安装Docker
在Windows上安装Docker桌面版
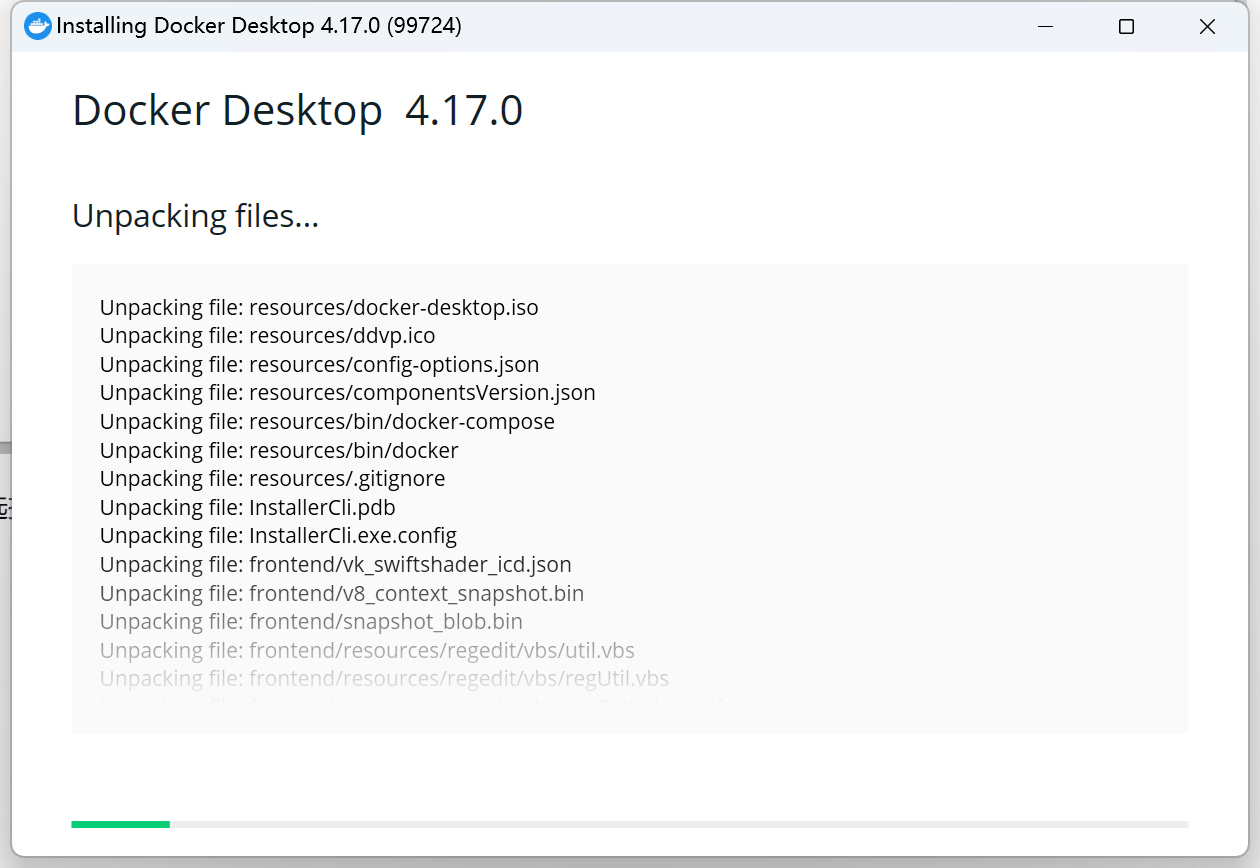
等待安装文件下载好后双击,会弹出:

勾选接受后点击Install,会自动进行安装:
安装成功后会显示:
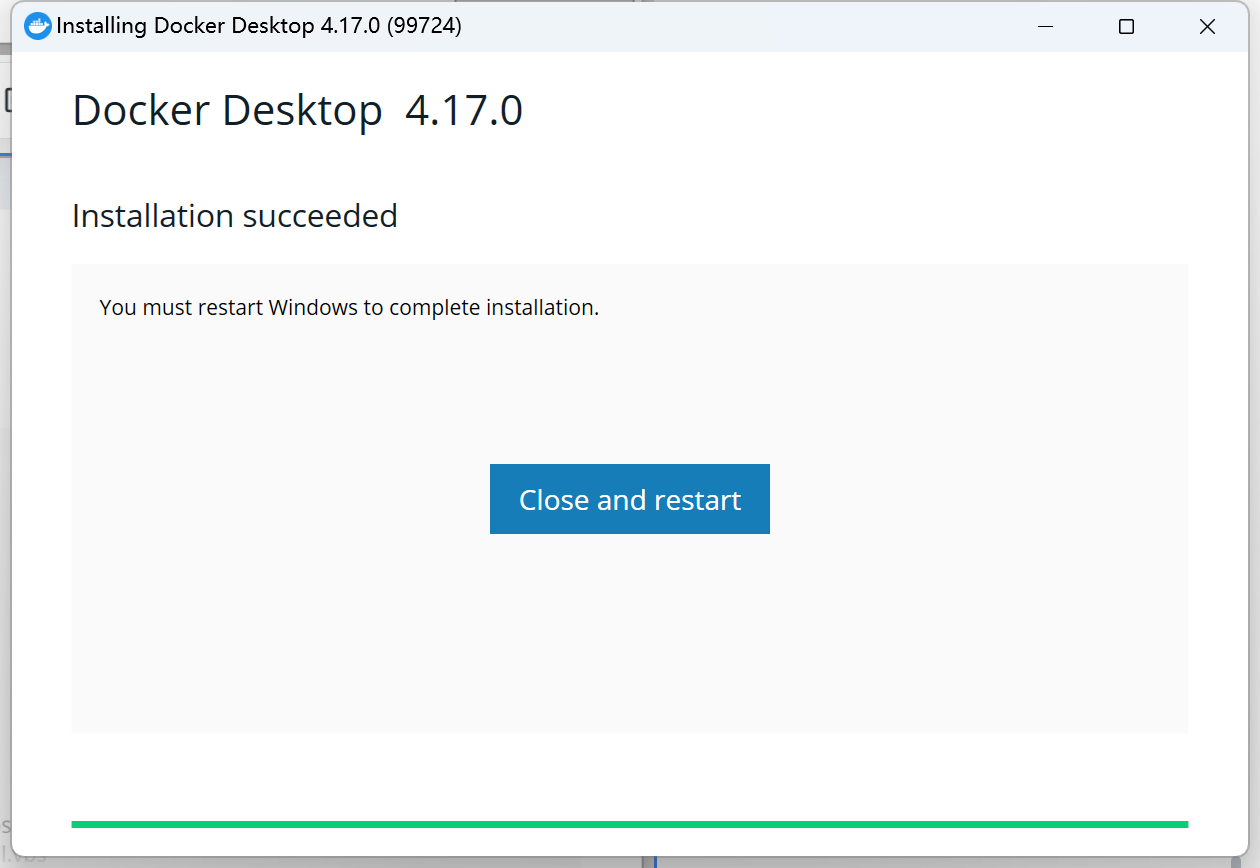
可以看到桌面上多了一个Docker for Windows图标。
在安装完成后,Docker会让你选择重启Close and restart,我在任务管理器内看到Docker是有打开,但是就是运行不起来,所以我把电脑重新启动了,重新启动后弹出了下面的提示:

在等待启动Docker时,弹出错误:Not enough memory to start Docker,无法启动Docker:
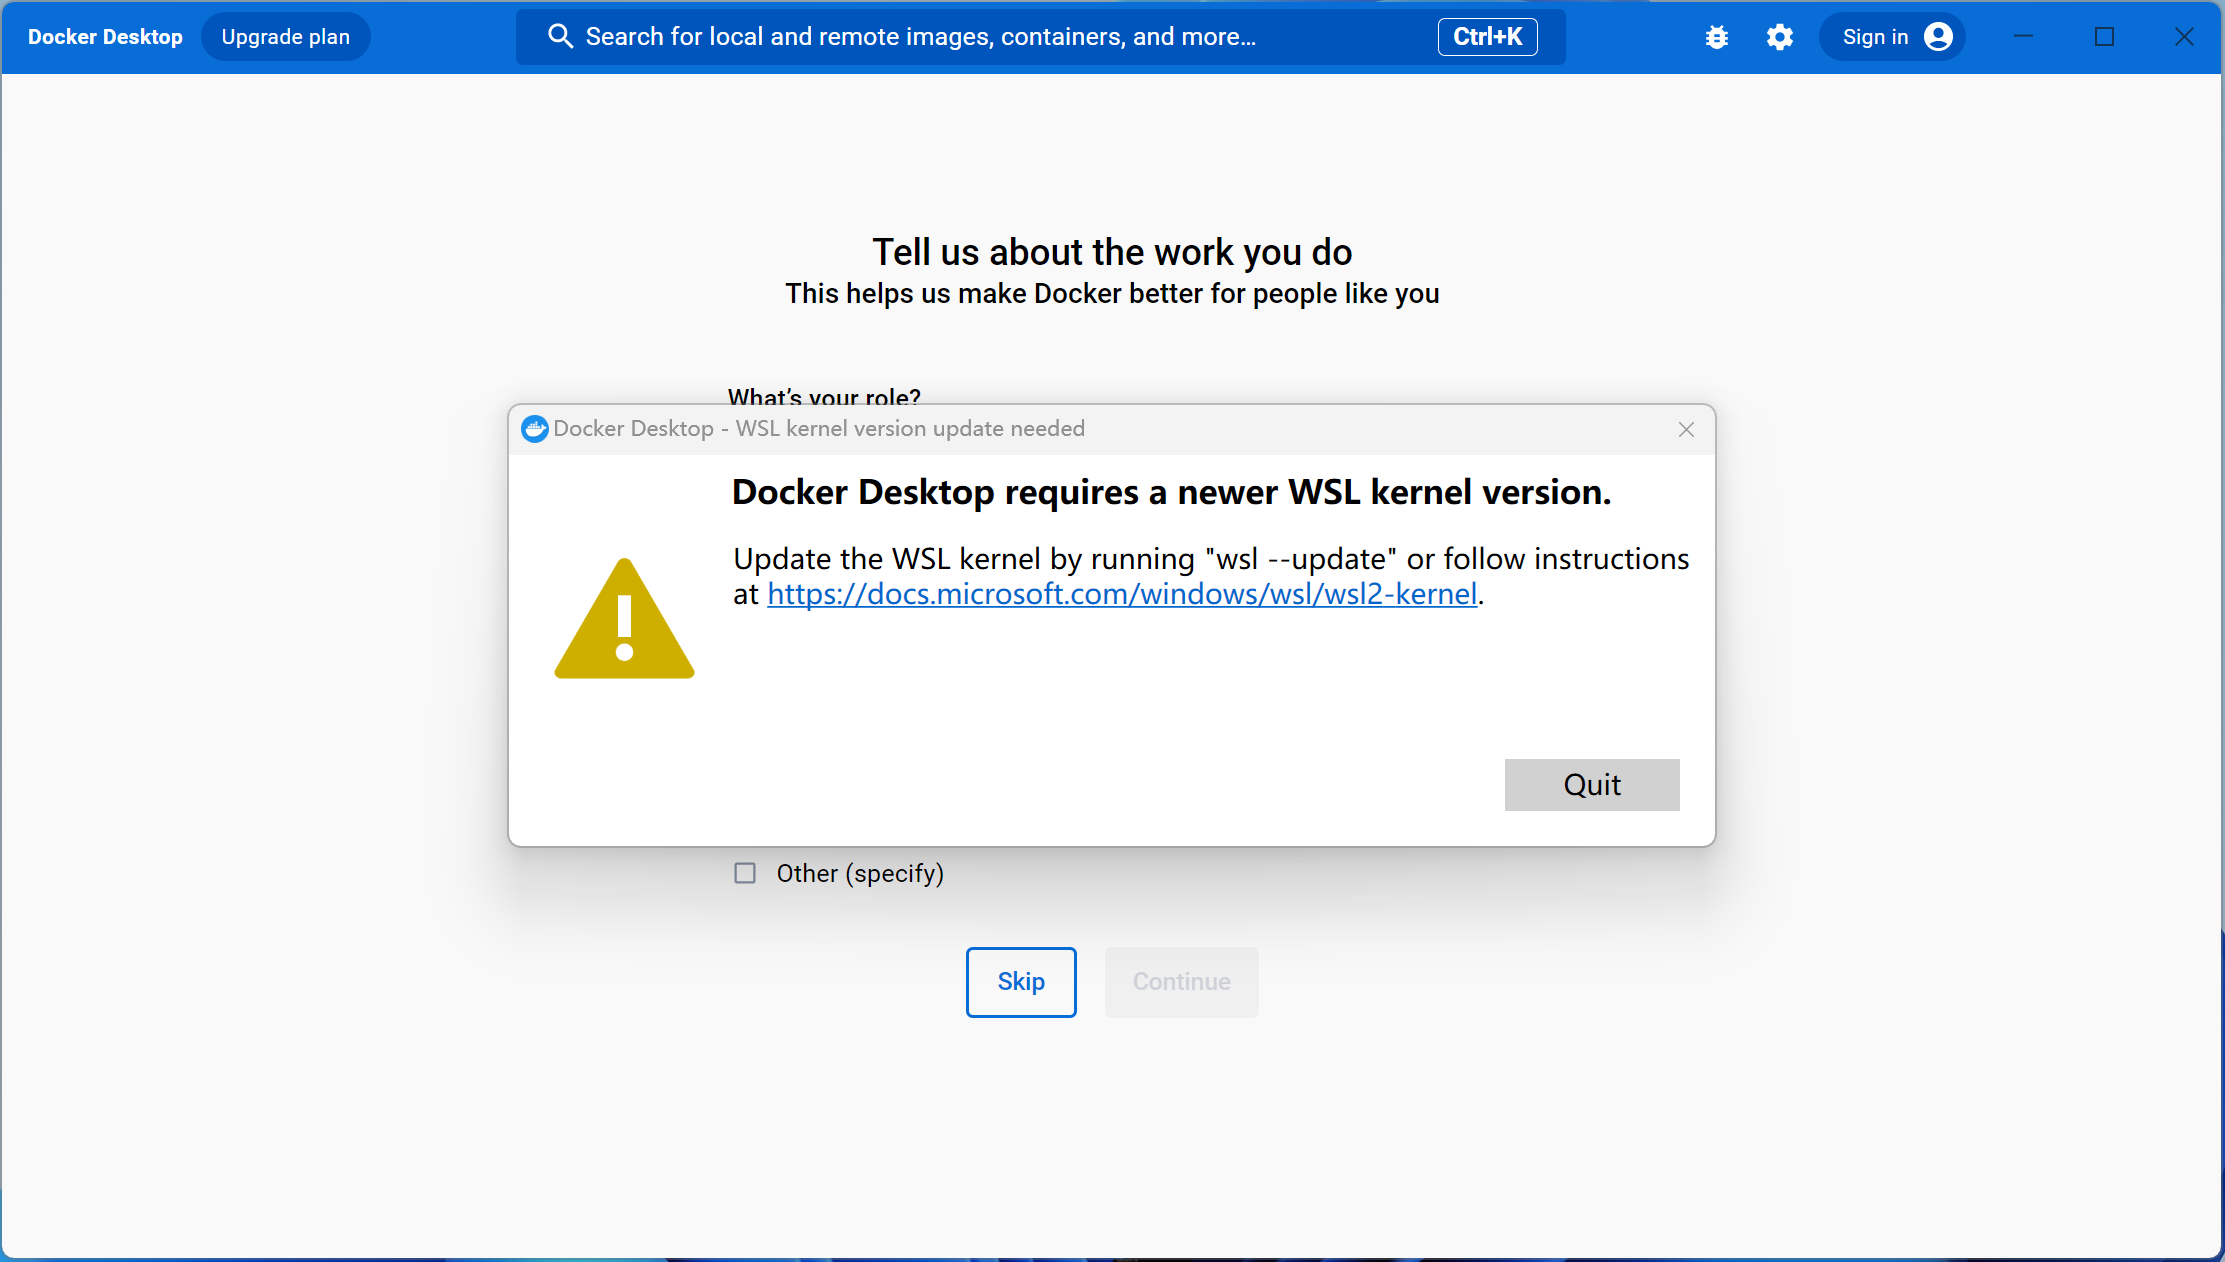
如果,报以上这个问题:
Update the WSL kernel by running "wsl --update" or follow instructions at https://docs.microsoft.com/windows/wsl/wsl2-kernel.
解决办法:访问该链接进行解决.
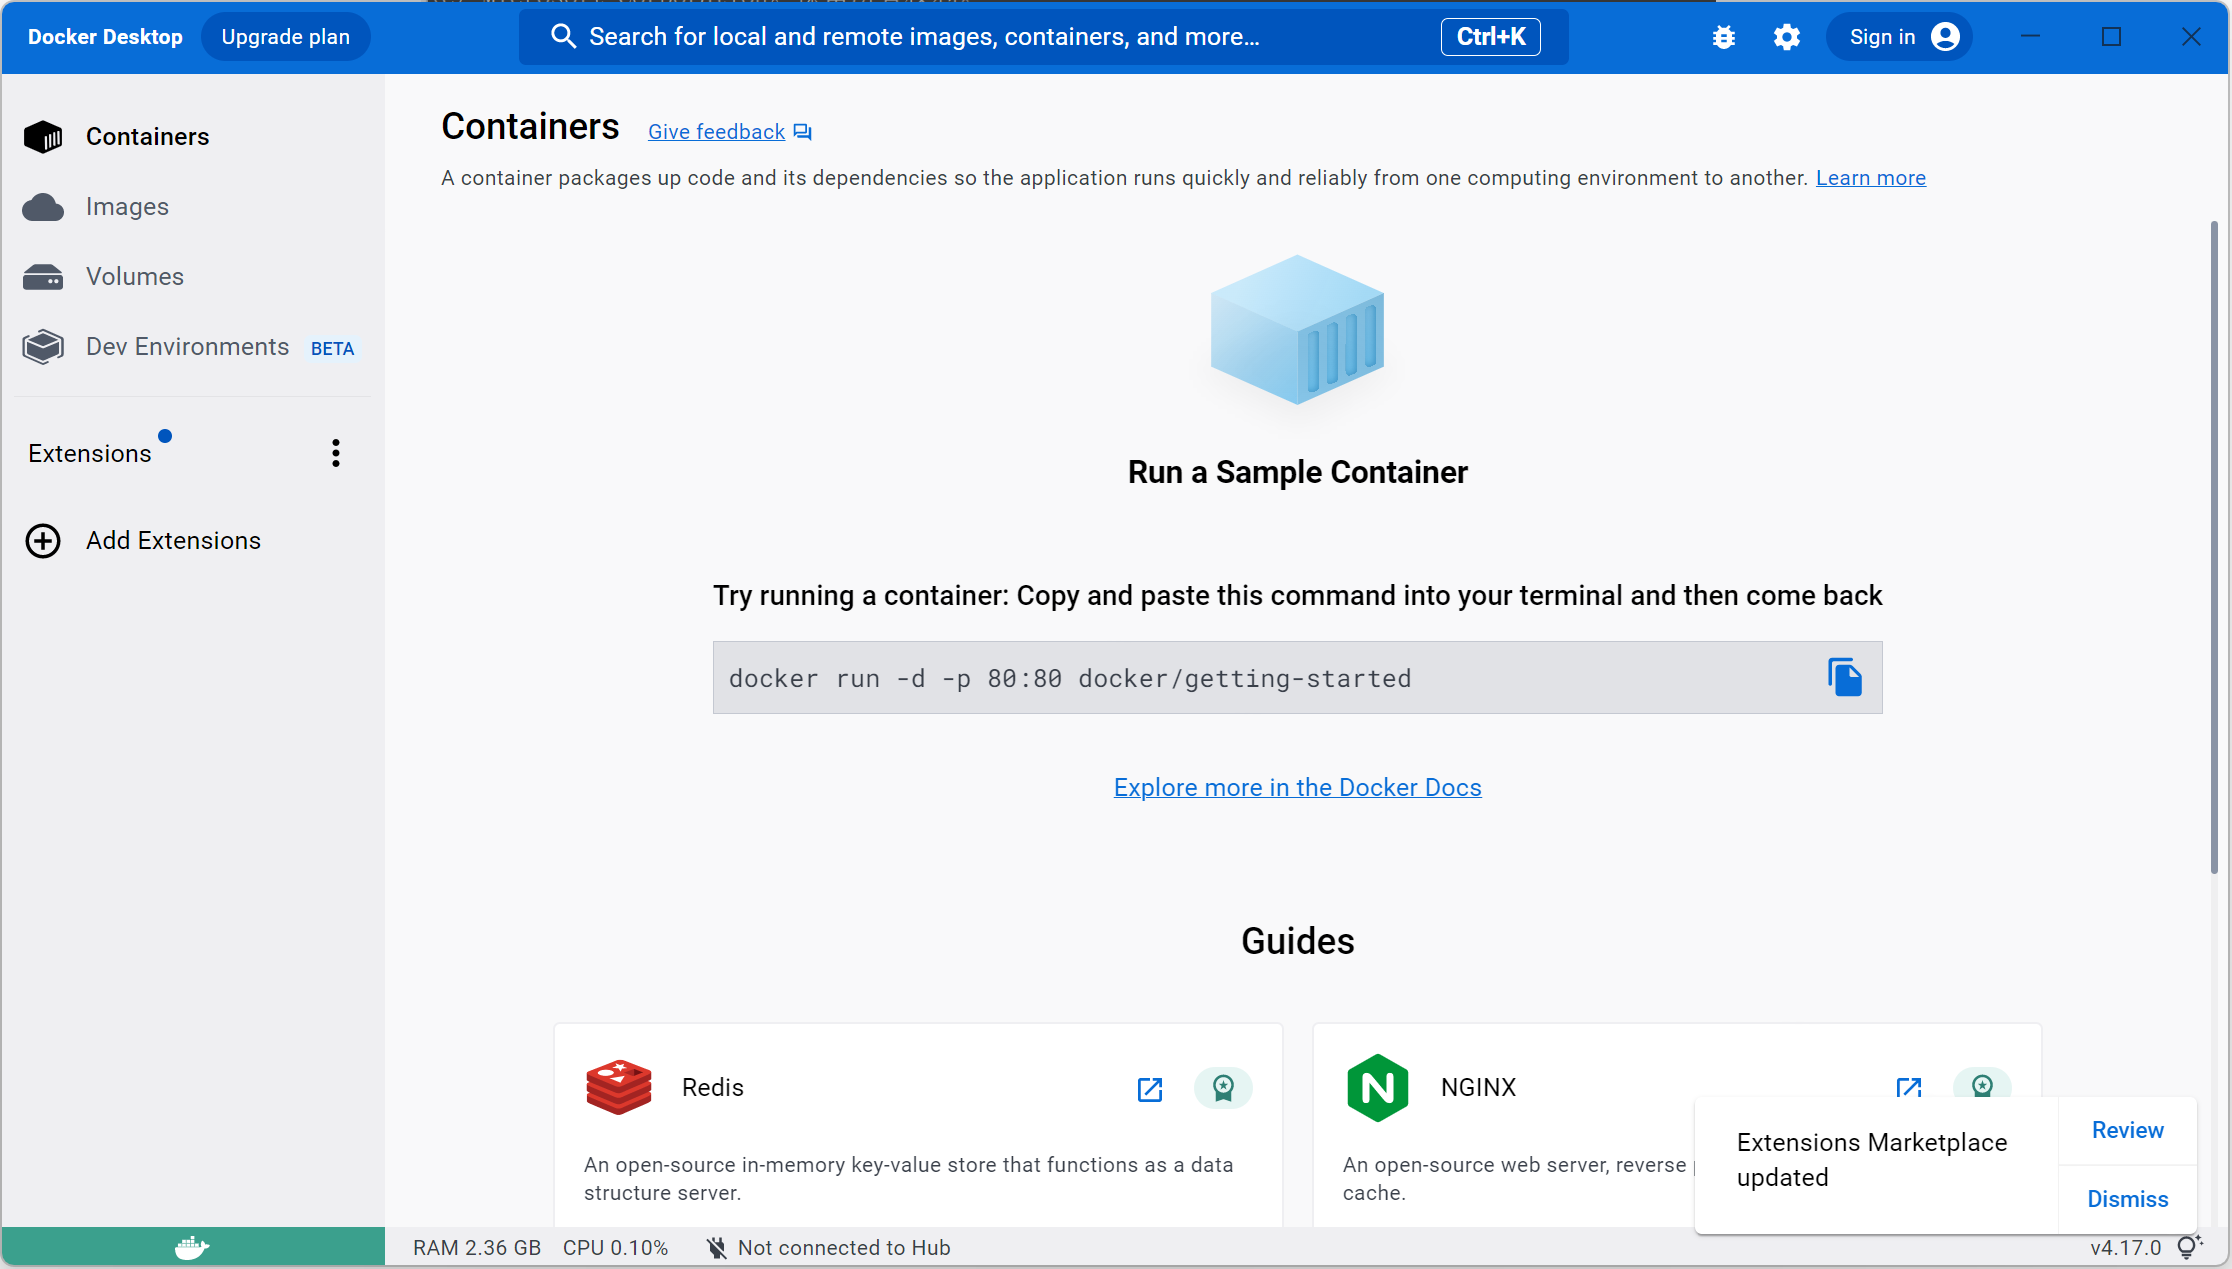
安装成功后会显示:
四、开始Docker之旅
对于Docker的操作是用命令行进行操作的,所以我们需要先打开命令行工具(或者下载其他工具如PowerShell等)。键盘输入:win+R,打开运行工具,输入cmd,打开命令行工具:

可以先尝试查看我们的Docker版本:
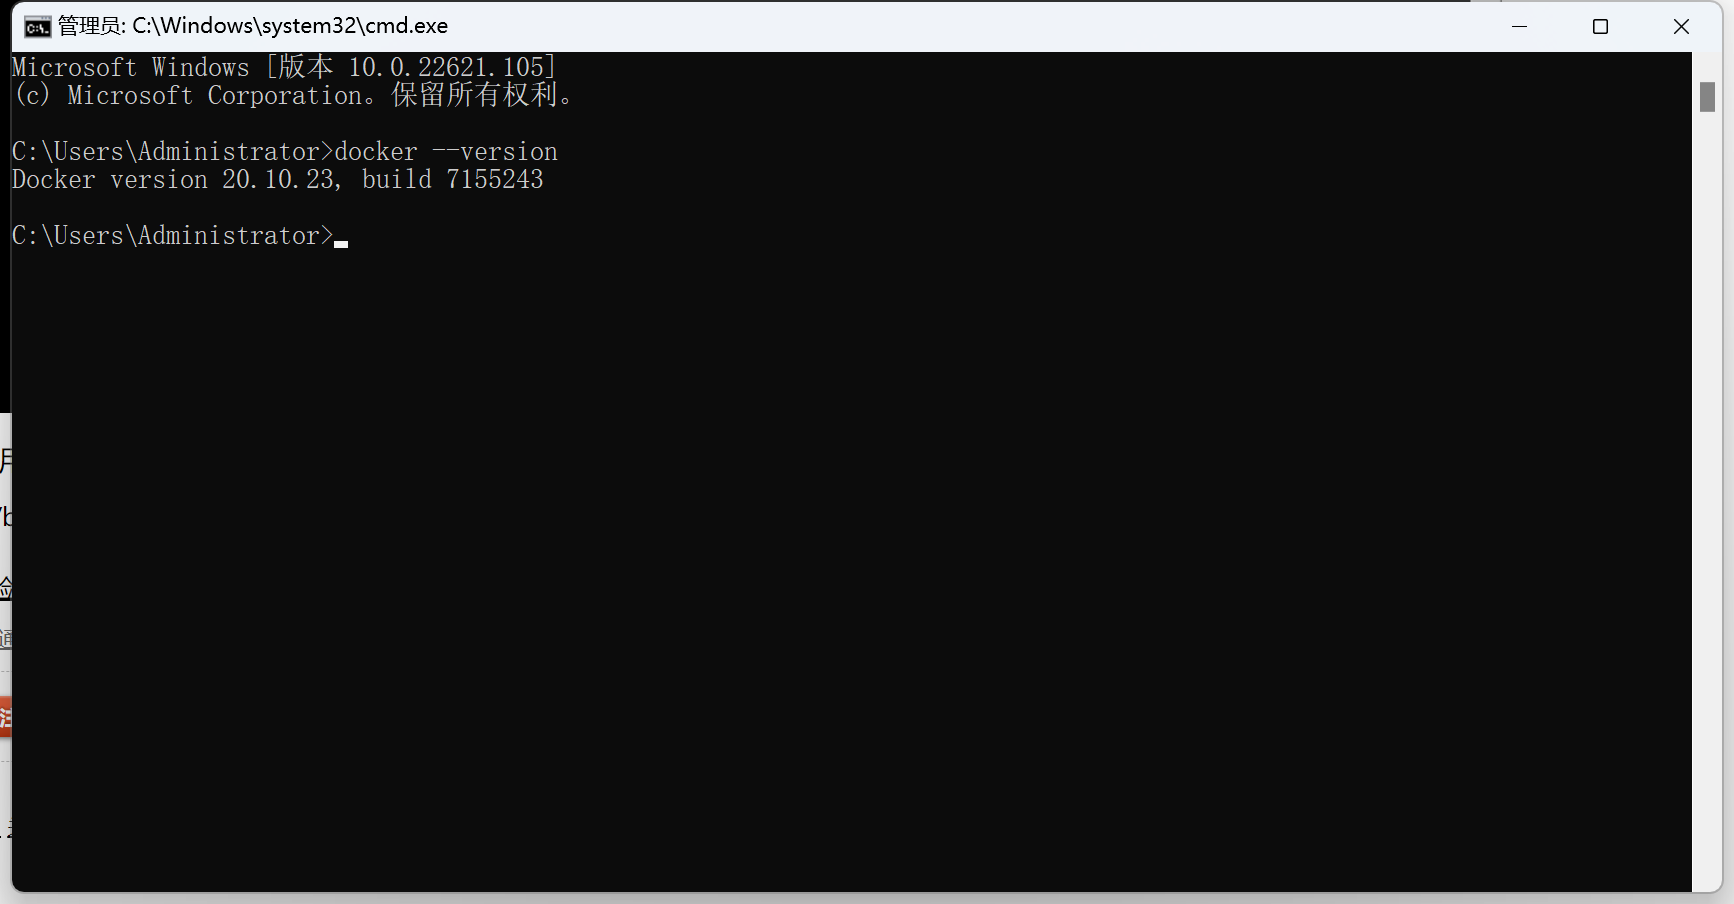
到此就可以愉快的在windows上玩Docker了。
五、win10-Docker切换中国镜像源
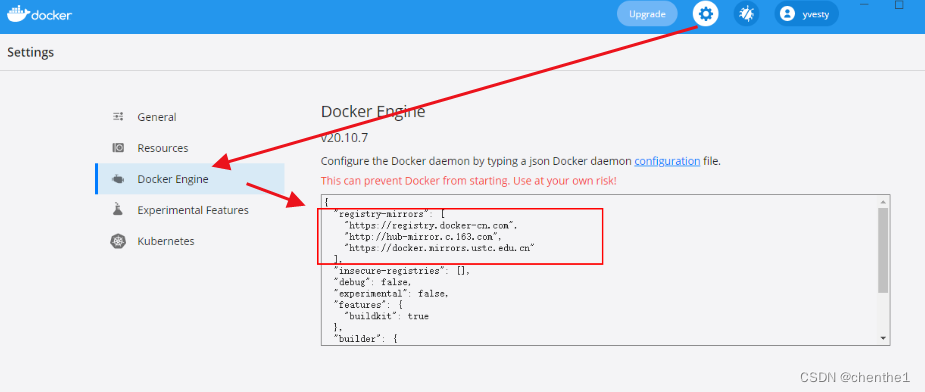
修改配置文件中"registry-mirrors"的值,然后重启应用即可
可以同时添加一个或多个镜像源:
#Docker中国区官方镜像地址
https://registry.docker-cn.com
#网易地址
http://hub-mirror.c.163.com
#中国科技大学地址
https://docker.mirrors.ustc.edu.cn
#阿里巴巴
https://82m9ar63.mirror.aliyuncs.com
{
  "registry-mirrors": [
    "https://82m9ar63.mirror.aliyuncs.com",
    "http://hub-mirror.c.163.com",
    "https://docker.mirrors.ustc.edu.cn"
  ],
  "builder": {
    "gc": {
      "defaultKeepStorage": "20GB",
      "enabled": true
    }
  },
  "experimental": false,
  "features": {
    "buildkit": true
  }
}
修改镜像源参考链接
如果本篇文章对你有帮助的话,很高兴能够帮助上你。
当然,如果你觉得文章有什么让你觉得不合理、或者有更简单的实现方法又或者有理解不来的地方,希望你在看到之后能够在评论里指出来,我会在看到之后尽快的回复你。