持续集成交付CICD:CentOS 7 安装 Nexus 3.63
目录
一、实验
1.CentOS 7 安装Nexus3.63
二、问题
1.安装Nexus报错
2.Nexus启动停止相关命令
一、实验
1.CentOS 7 安装Nexus3.63
(1)当前操作系统版本&JDK版本
cat /etc/redhat-release

java -version

(2)下载Nexus新版本
下载地址:https://help.sonatype.com/repomanager3/product-information/download
官方网址:https://www.sonatype.com/
(3)解压下载文件
tar xf nexus-3.63.0-01-unix.tar.gz
(4)查看文件
[root@tomcat opt]# ll
总用量 408776
……
drwxr-xr-x  10 nexus nexus       181 12月  8 08:32 nexus-3.63.0-01
……
drwxr-xr-x   3 nexus nexus        20 12月  8 08:32 sonatype-work


# nexus-3.63.0-01	Nexus 运行所需要的文件,如运行脚本,依赖jar包等
# sonatype-work	该目录包含Nexus生成的配置文件、日志文件、仓库文件等
(5)启动Nexus
 cd /opt/nexus-3.63.0-01/bin/

 ./nexus run &

#如果出现如下表示启动成功
-------------------------------------------------

Started Sonatype Nexus OSS 3.63.0-01

-------------------------------------------------

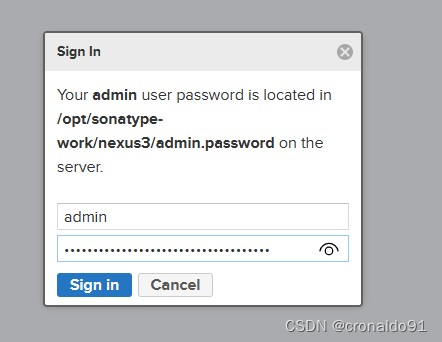
(6)查看密码,然后进入系统
#登录用户名是admin,初始密码位置在指定目录查看
cat /opt/sonatype-work/nexus3/admin.password

#远程访问
http://192.168.204.13:8081

#或本地访问
http://127.0.0.1:8081

#远程访问防火墙可能会拦截,本地测试可以先把防火墙禁用
systemctl status firewalld.service
systemctl stop firewalld.service
systemctl disable firewalld.service

(7) 登录系统

(8)修改密码

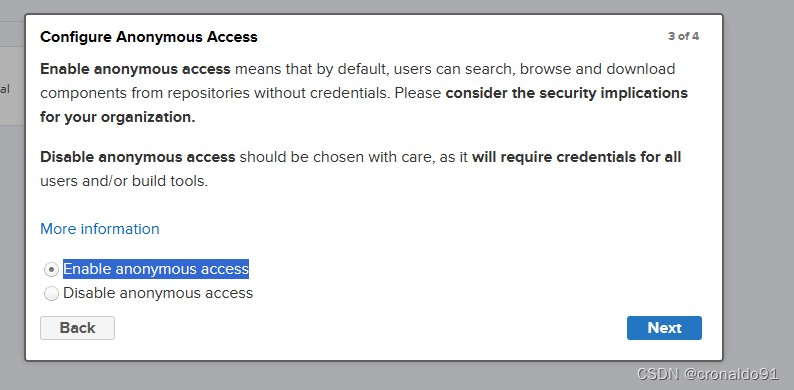
(9) 先设置允许匿名访问

(10)登录成功

(11)优化配置
#设置开机自启
ln -s /opt/nexus-3.63.0-01/bin/nexus /etc/init.d/nexus3
chkconfig --add nexus3
chkconfig nexus3 on

#配置运行用户
useradd nexus
vim nexus.rc

run_as_user="nexus"

#配置之后记得更改目录权限,否则下次启动会没有权限。
chown -R nexus.nexus nexus-3.39.0-01
chown -R nexus.nexus sonatype-work/

配置jdk
cat nexus

#!/bin/sh
# chkconfig:         2345 75 15
# description:       nexus
### BEGIN INIT INFO
# Provides:          nexus
# Required-Start:    $local_fs $network $remote_fs $syslog $time
# Required-Stop:     $local_fs $network $remote_fs $syslog $time
# Default-Start:     2 3 4 5
# Default-Stop:      0 1 6
# Short-Description: nexus
### END INIT INFO

# Uncomment the following line to override the JVM search sequence
 INSTALL4J_JAVA_HOME_OVERRIDE=/usr/java/jdk1.8.0_201-amd64/bin/java
# Uncomment the following line to add additional VM parameters
# INSTALL4J_ADD_VM_PARAMS=


#修改端口(一般使用默认的,如果需要修改,则更改)
vim /root/nexus/nexus-3.39.0-01/etc/nexus-default.properties
设置开机自启

配置JDK


修改端口


(12)查看仓库

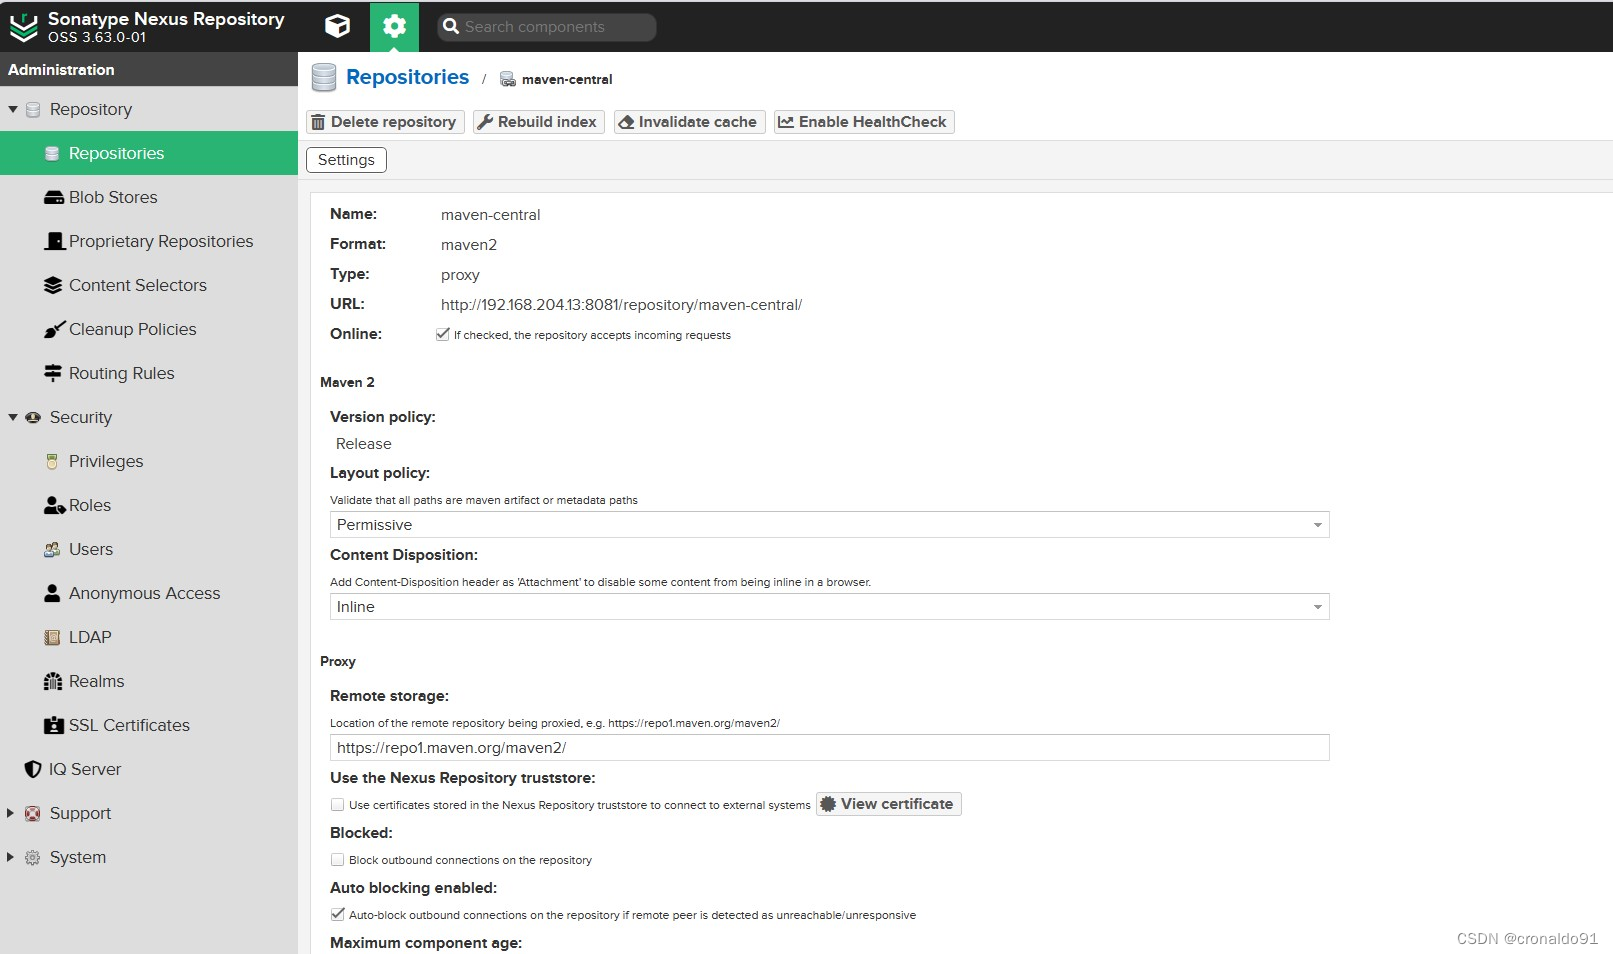
(13)查看仓库配置

(14)系统调用远程库

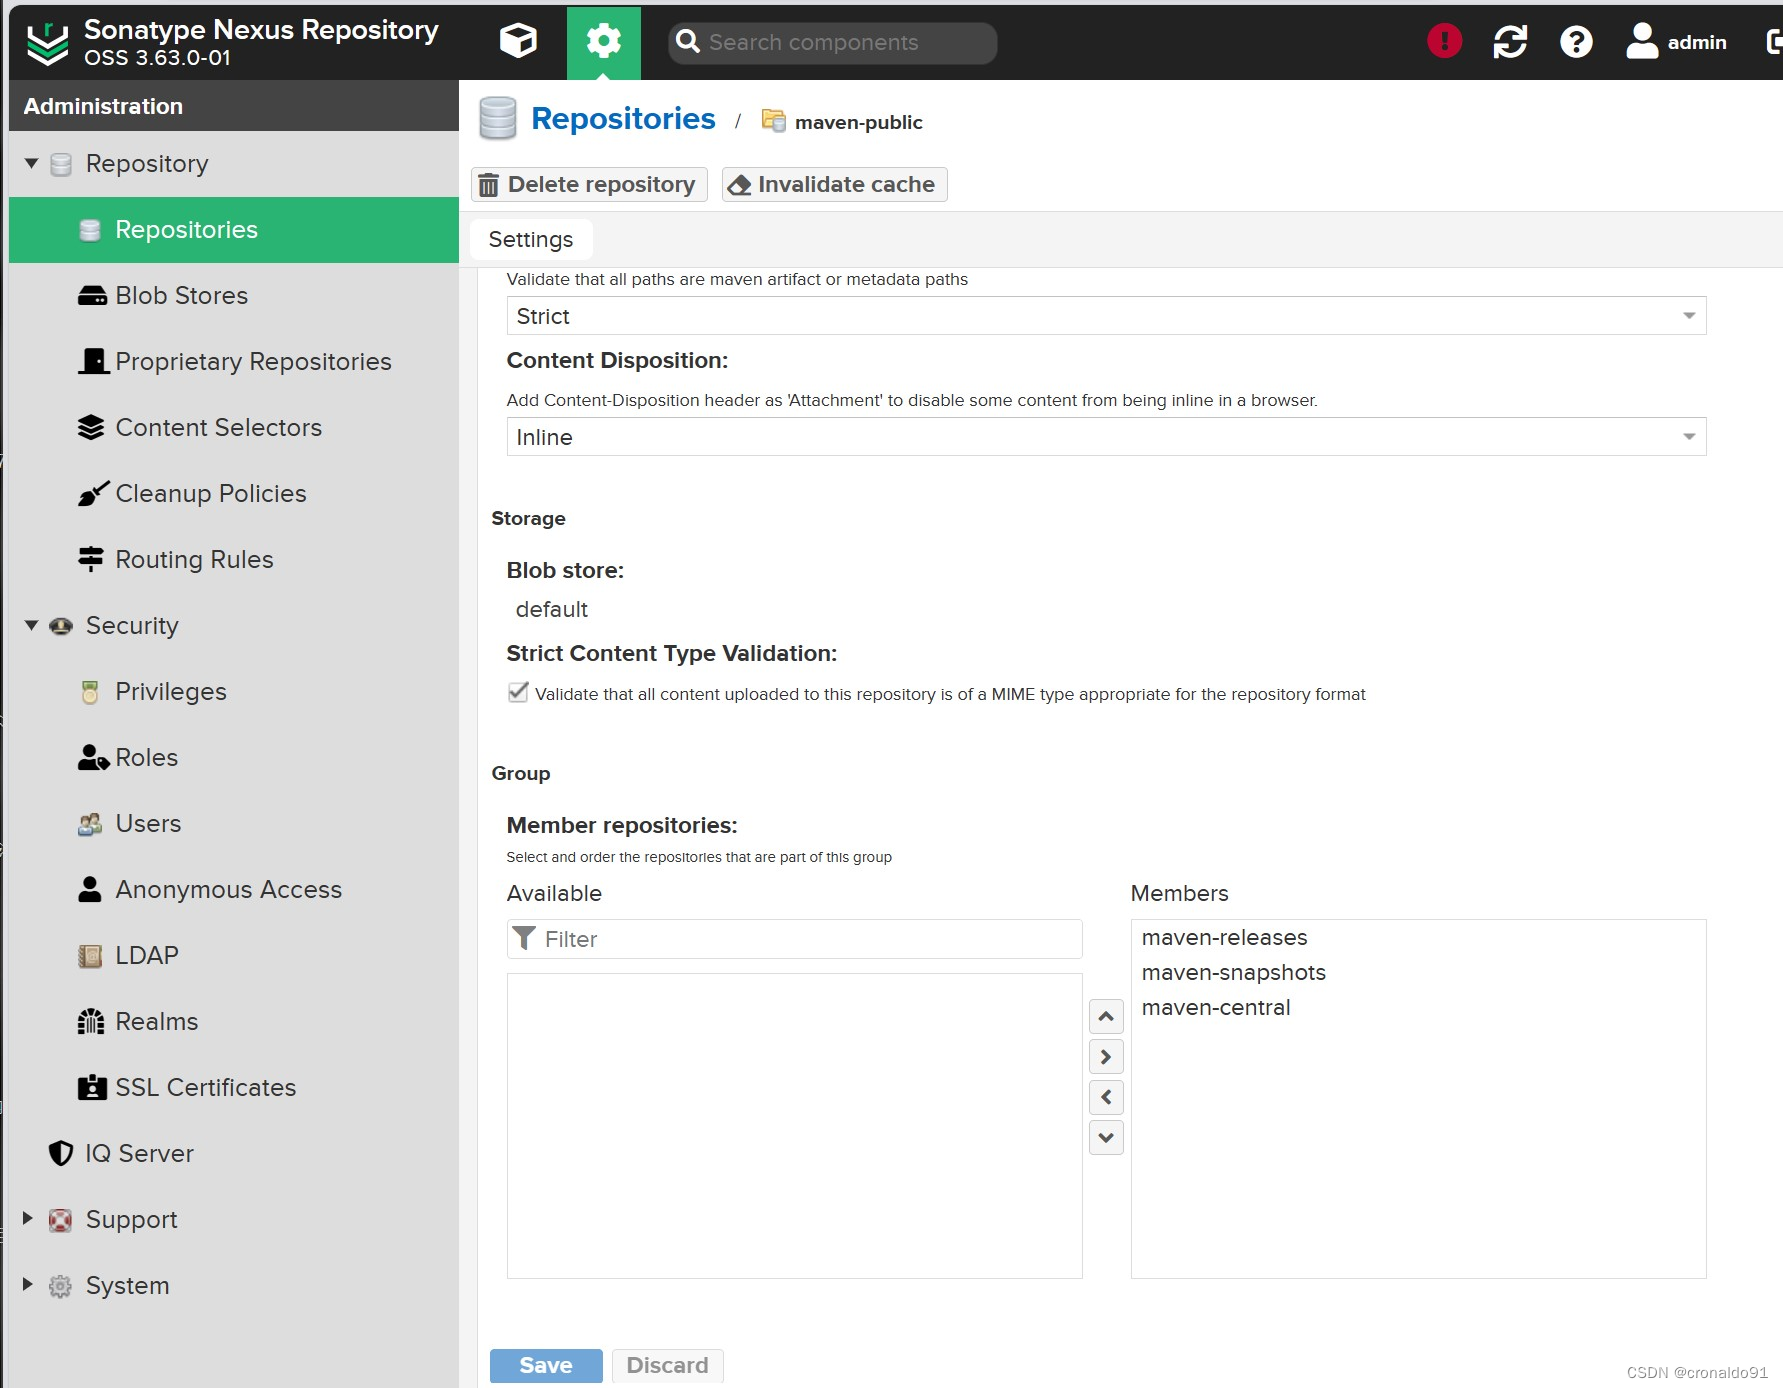
(15)组成员仓库

二、问题
1.安装Nexus报错
(1)报错

(2)原因分析
JVM需要1.8版本
(3)解决方法
因当前主机已安装JDK11的Sonarqube,需要更换一台JVM1.8的主机

已更换:

2.Nexus启动停止相关命令
(1)命令
$ ./nexus start
$ ./nexus restart
$ ./nexus stop
$ ./nexus run &
$ ./nexus status