windows11 安装多个mysql8
安装一个mysql请参考:windows系统安装mysql8 解压缩版安装顺序_csdn_aspnet的博客-CSDN博客
下载mysql:MySQL :: Download MySQL Community Server
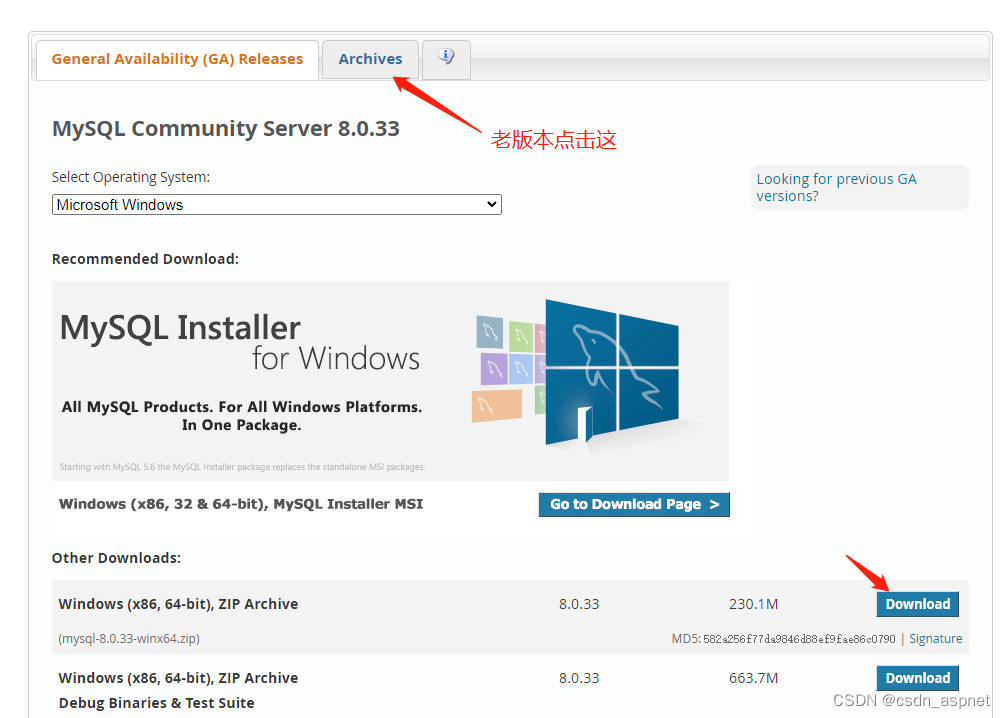
下载后解压到你指定的目录,我下载的非最新版,如图:
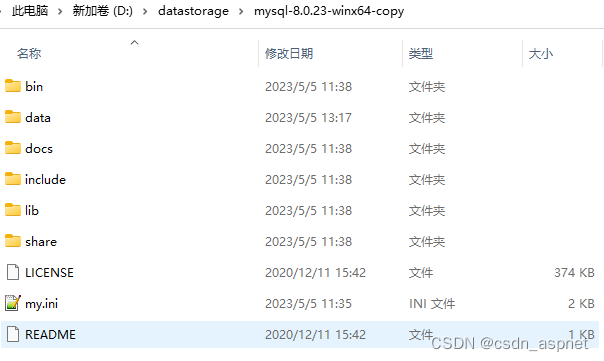
在文件夹下面建一个my.ini文件和一个data目录,ini配置如下:
[mysql]

# 设置mysql客户端默认字符集

# default-character-set=utf8

default-character-set=utf8mb4

[mysqld]

# 绑定IPv4

# bind-address=0.0.0.0

#bind-address=127.0.0.1

# 设置端口号

port=3307
server_id=3307

# 设置mysql的安装目录,即解压目录

basedir=D:\\datastorage\\mysql-8.0.23-winx64-copy

# 设置数据库的数据存放目录

datadir=D:\\datastorage\\mysql-8.0.23-winx64-copy\\data

# 设置允许最大连接数

max_connections=200

# 设置允许连接失败次数

max_connect_errors=10

# 设置服务端的默认字符集

# character-set-server=utf8

character-set-server=utf8mb4

#character_set_database=utf8mb4

#character_set_system=utf8mb4

#collation_connection=utf8mb4_unicode_ci

#collation_server=utf8mb4_unicode_ci

# 创建表使用的默认存储引擎

default-storage-engine=INNODB

# 使用“mysql_native_password”插件认证

default_authentication_plugin=mysql_native_password

#解决This function has none of DETERMINISTIC, NO SQL, or READS SQL DATA in its declaration and binary logging is enabled (you *might* want to use the less safe log_bin_trust_function_creators variable)

log-bin-trust-function-creators=1

max_allowed_packet=1024M

wait_timeout=288000

interactive_timeout = 288000

#secure_file_priv =

sql_mode='STRICT_TRANS_TABLES,NO_ZERO_IN_DATE,NO_ZERO_DATE,ERROR_FOR_DIVISION_BY_ZERO,NO_ENGINE_SUBSTITUTION'
#ONLY_FULL_GROUP_BY,STRICT_TRANS_TABLES,NO_ZERO_IN_DATE,NO_ZERO_DATE,ERROR_FOR_DIVISION_BY_ZERO,NO_ENGINE_SUBSTITUTION
[client]
# 设置mysql客户端连接服务端时默认使用的端口
port=3306
default-character-set=utf8mb4

[WinMySQLAdmin]
Server=D:\\datastorage\\mysql-8.0.23-winx64-copy\\bin\\mysqld.exe
ini文件仅修改port,server_id,basedir,datadir即可。
用管理员方式运行CMD进入mysql的bin目录:
C:\Windows\System32>d:
D:\>cd D:\datastorage\mysql-8.0.23-winx64-copy\bin
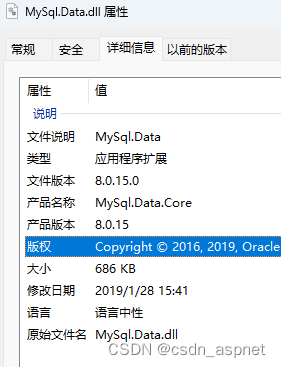
初始化命令与安装第一个mysql略有差别,要指定初始化ini文件(由于我之前安装的是8.0.32版本,再安装低版本时未指定初始化文件,导致启动mysql一直使用的是8.0.32的mysqld,由于一些老程序引用的mysql驱动MySql.Data.dll版本为8.0.1x,导致连接mysql8.0.2x版本失败,具体哪个版本开始的未具体测试,MySQL8.0.23是可以使用8.0.1x的驱动dll的)如图:
初始化成功会有密码,先记住(标红部分):
D:\datastorage\mysql-8.0.23-winx64-copy\bin>mysqld --defaults-file=D:\datastorage\mysql-8.0.23-winx64-copy\my.ini --initialize --console
2023-05-05T03:41:38.380270Z 0 [System] [MY-013169] [Server] D:\datastorage\mysql-8.0.23-winx64-copy\bin\mysqld.exe (mysqld 8.0.23) initializing of server in progress as process 25232
2023-05-05T03:41:38.396472Z 1 [System] [MY-013576] [InnoDB] InnoDB initialization has started.
2023-05-05T03:41:44.270941Z 1 [System] [MY-013577] [InnoDB] InnoDB initialization has ended.
2023-05-05T03:41:54.121980Z 6 [Note] [MY-010454] [Server] A temporary password is generated for root@localhost: XQo5>*+95E_X
安装服务:
D:\datastorage\mysql-8.0.23-winx64-copy\bin>mysqld --install mysql8023c --defaults-file=D:\datastorage\mysql-8.0.23-winx64-copy\my.ini
Service successfully installed.
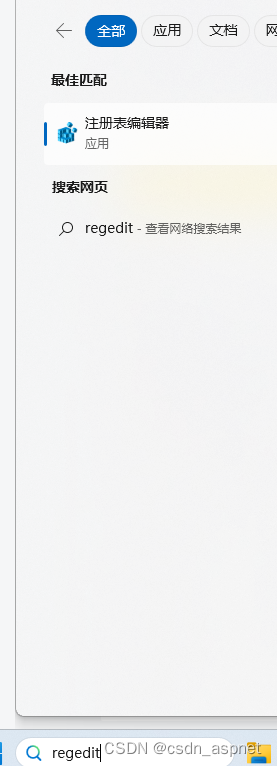
先不要着急启动mysql服务,而是修改注册表项,输入regedit进入注册表:
修改mysql路径,编辑ImagePath:
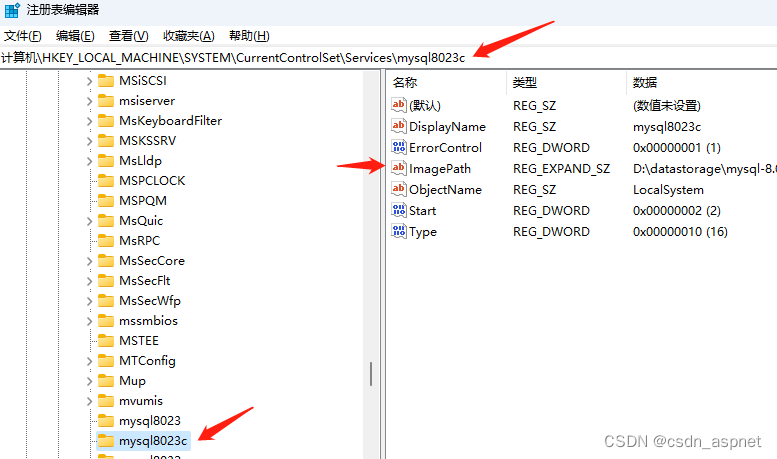
ImagePath右键-修改:

原ImagePath值:D:\datastorage\mysql-8.0.32-winx64\bin\mysqld --defaults-file=D:\datastorage\mysql-8.0.23-winx64-copy\my.ini mysql8023c
修改后:
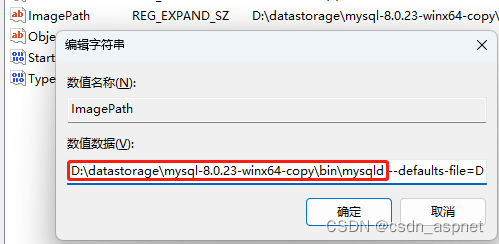
ImagePath值修改后: D:\datastorage\mysql-8.0.23-winx64-copy\bin\mysqld --defaults-file=D:\datastorage\mysql-8.0.23-winx64-copy\my.ini mysql8023c
实际修改mysqld所在目录,点击确定即可。
修改之后再回到cmd窗口,执行:
net start mysql8023c

服务可以正常启动了,在服务里查看:
![]()
使用临时密码(即上面初始化红色部分)登录mysql:
D:\datastorage\mysql-8.0.23-winx64-copy\bin>mysql -uroot -P3307 -p
Enter password: ************
Welcome to the MySQL monitor. Commands end with ; or \g.
Your MySQL connection id is 8
Server version: 8.0.23
Copyright (c) 2000, 2021, Oracle and/or its affiliates.
Oracle is a registered trademark of Oracle Corporation and/or its
affiliates. Other names may be trademarks of their respective
owners.
Type 'help;' or '\h' for help. Type '\c' to clear the current input statement.
修改密码:
mysql> ALTER USER 'root'@'localhost' IDENTIFIED BY '20230505';
Query OK, 0 rows affected (0.05 sec)
mysql> flush privileges;
Query OK, 0 rows affected (0.04 sec)
mysql> exit;
修改密码后使用修改后密码重新登录:
D:\datastorage\mysql-8.0.23-winx64-copy\bin>mysql -uroot -P3307 -p
Enter password: ***************
Welcome to the MySQL monitor. Commands end with ; or \g.
Your MySQL connection id is 9
Server version: 8.0.23 MySQL Community Server - GPL
Copyright (c) 2000, 2021, Oracle and/or its affiliates.
Oracle is a registered trademark of Oracle Corporation and/or its
affiliates. Other names may be trademarks of their respective
owners.
Type 'help;' or '\h' for help. Type '\c' to clear the current input statement.
root远程访问:
mysql> CREATE USER 'root'@'%' IDENTIFIED BY '20230505';
Query OK, 0 rows affected (0.05 sec)
mysql> GRANT ALL ON *.* TO 'root'@'%';
Query OK, 0 rows affected (0.04 sec)
mysql> FLUSH PRIVILEGES;
Query OK, 0 rows affected (0.03 sec)
不想使用root远程连接,可以创建新的用户远程连接,执行后如下:
mysql> CREATE USER 'mysqla'@'%' IDENTIFIED BY 'my8023';
Query OK, 0 rows affected (0.03 sec)
mysql> GRANT ALL PRIVILEGES ON *.* TO 'mysqla'@'%' WITH GRANT OPTION;
Query OK, 0 rows affected (0.03 sec)
mysql> FLUSH PRIVILEGES;
Query OK, 0 rows affected (0.02 sec)
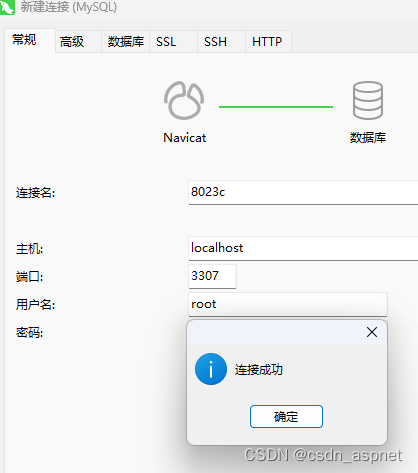
我在本机所以直接使用的root用户开启远程,使用Navicat测试连接: