cc-uploadSomePic图片上传组件:快速开发与用户体验的提升
cc-uploadSomePic图片上传组件:快速开发与用户体验的提升
摘要:
在前端开发中,图片上传功能是一个常见的需求。为了提高开发效率和用户体验,我们开发了一个名为cc-uploadSomePic的图片上传组件。该组件支持单个或多个文件上传,具有自定义上传数量、图片压缩、限制大小等功能。本文将详细介绍cc-uploadSomePic组件的实现原理和使用方法,以及如何通过它快速实现图片上传功能。
一、引言
随着移动互联网的普及,用户上传图片的需求日益增长。为了满足这一需求,许多应用和网站都提供了图片上传功能。然而,实现一个稳定、高效且用户体验良好的图片上传组件并不容易。为了简化这一过程,我们开发了cc-uploadSomePic组件,它封装了图片选择、显示和上传的逻辑,使开发者能够快速实现强大的图片上传功能。
二、cc-uploadSomePic组件介绍
cc-uploadSomePic是一个基于Vue的自定义组件,它提供了以下功能:
-
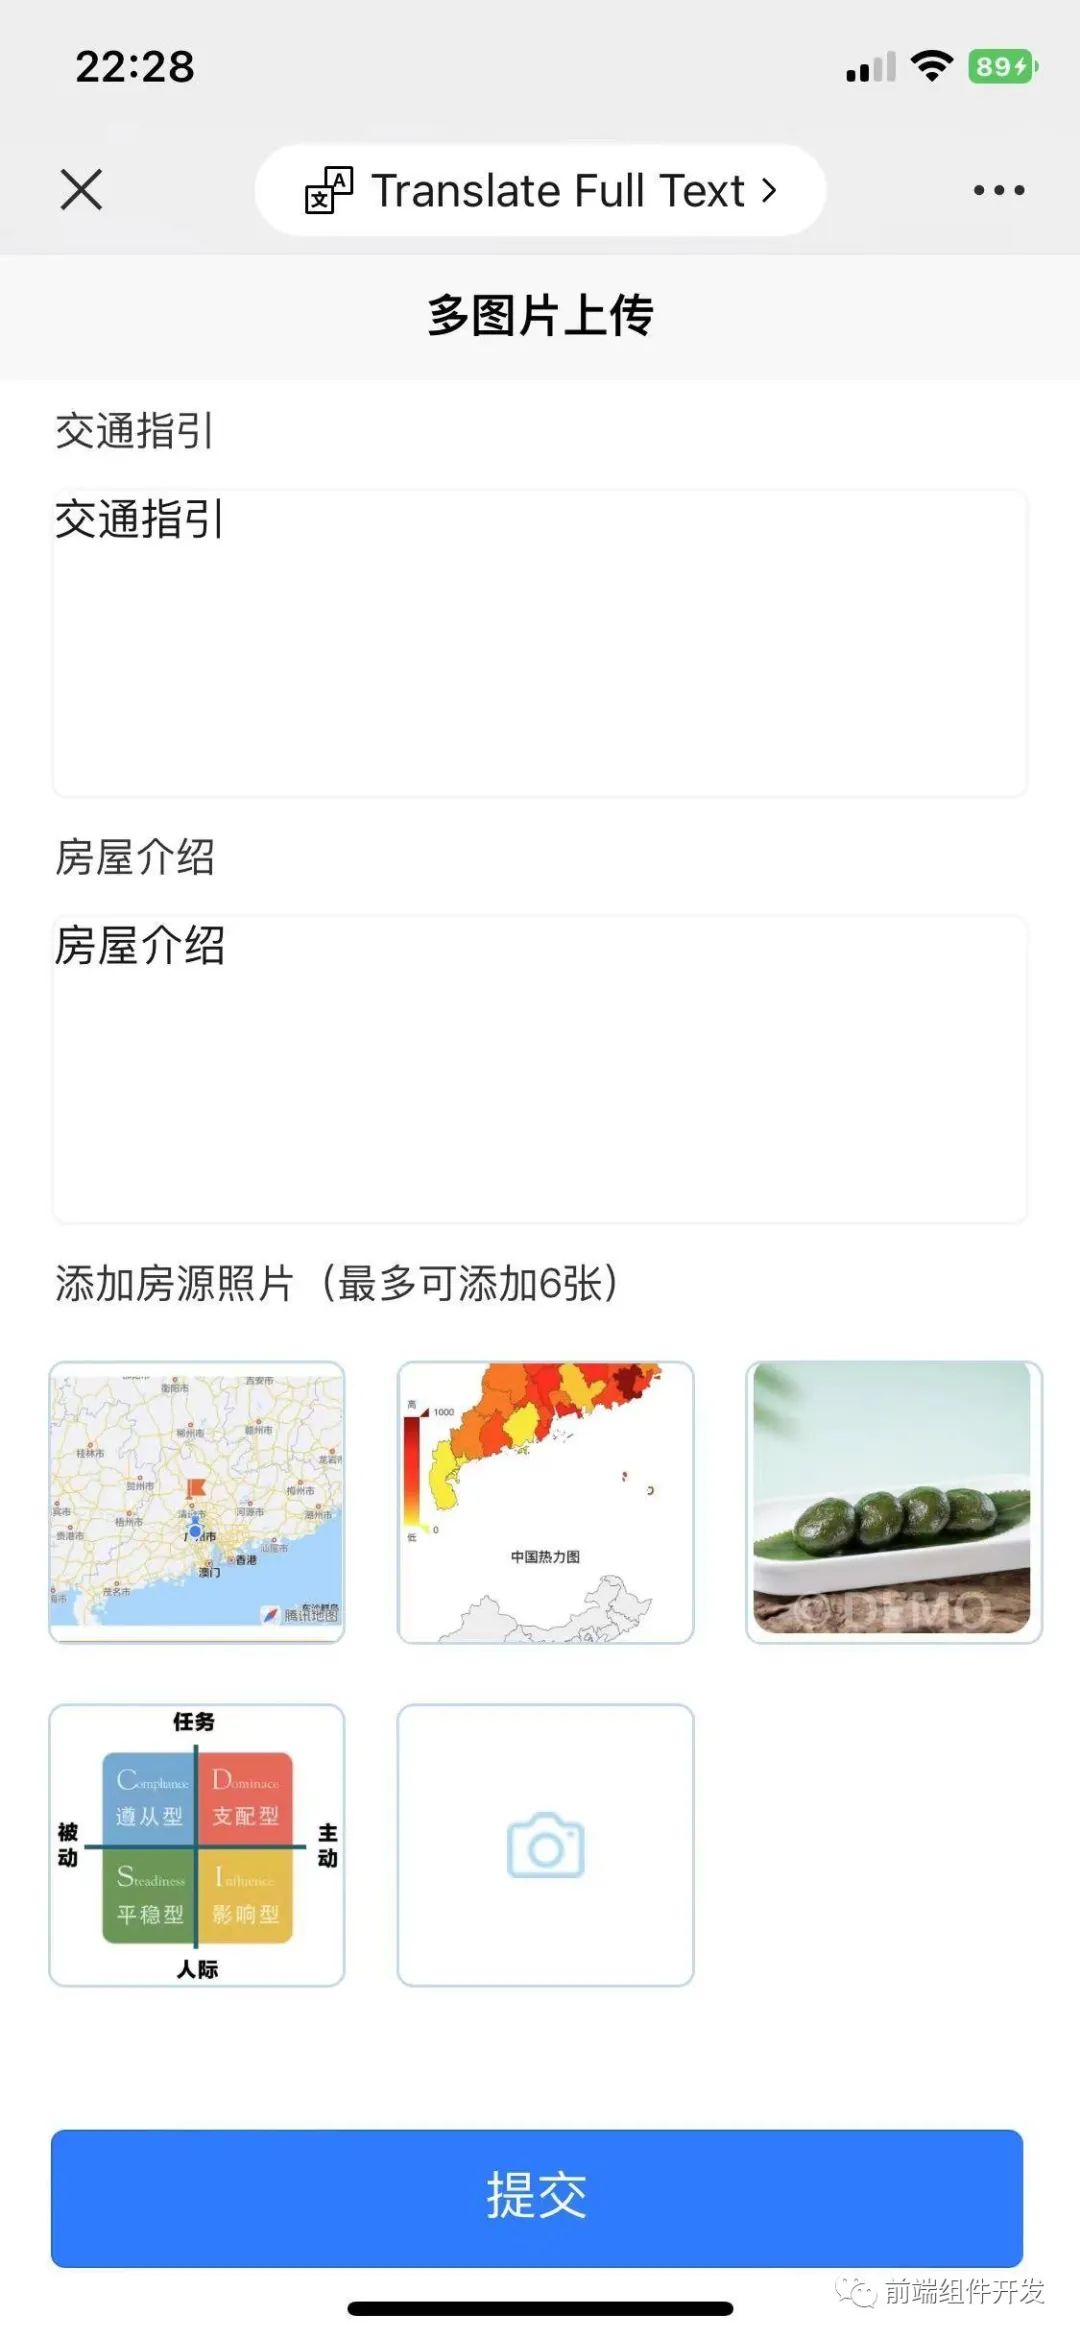
图片选择及预览:用户可以通过点击事件选择图片,并实时预览选择的图片。
-
自定义上传数量:开发者可以根据需要设置上传的图片数量限制。
-
图片压缩:支持对选择的图片进行压缩,以适应不同的需求和上传限制。
-
限制大小:可以限制上传的图片大小,确保不会因过大而导致性能问题。
-
事件处理:通过事件机制,开发者可以轻松处理图片选择、上传等事件。
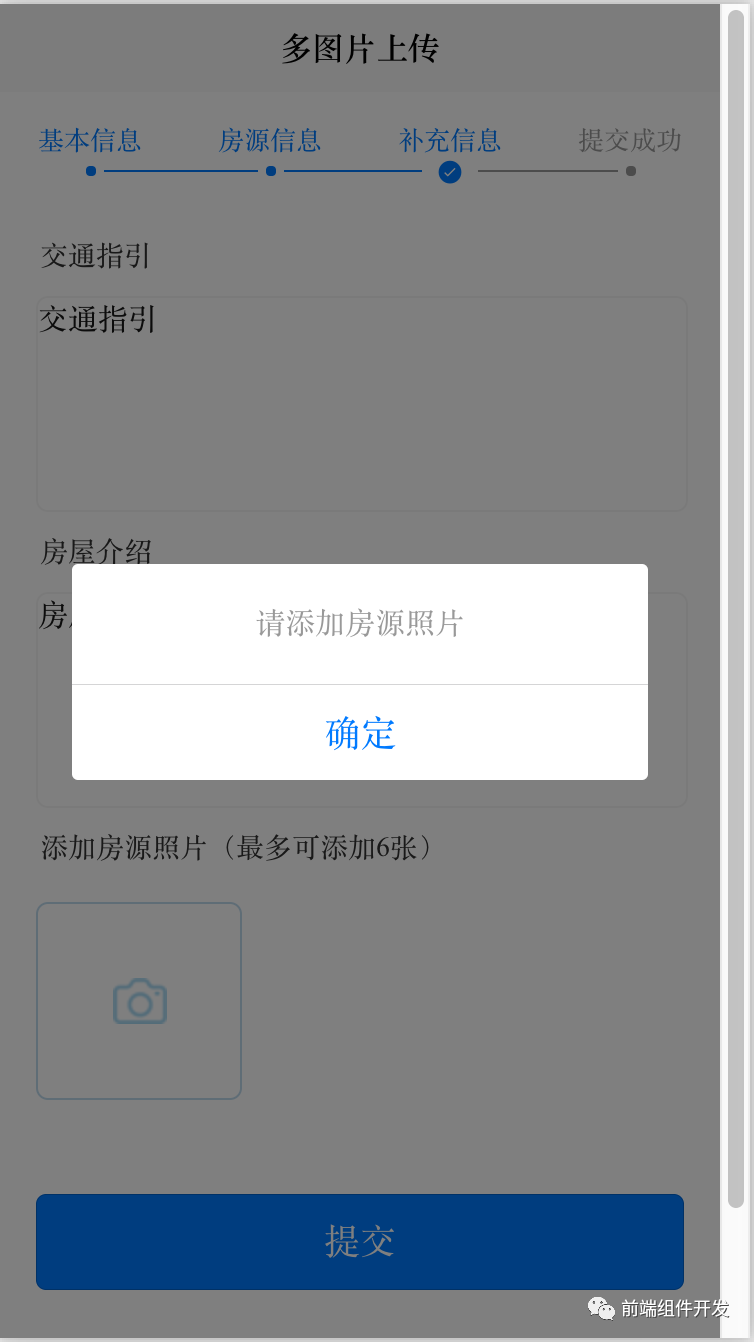
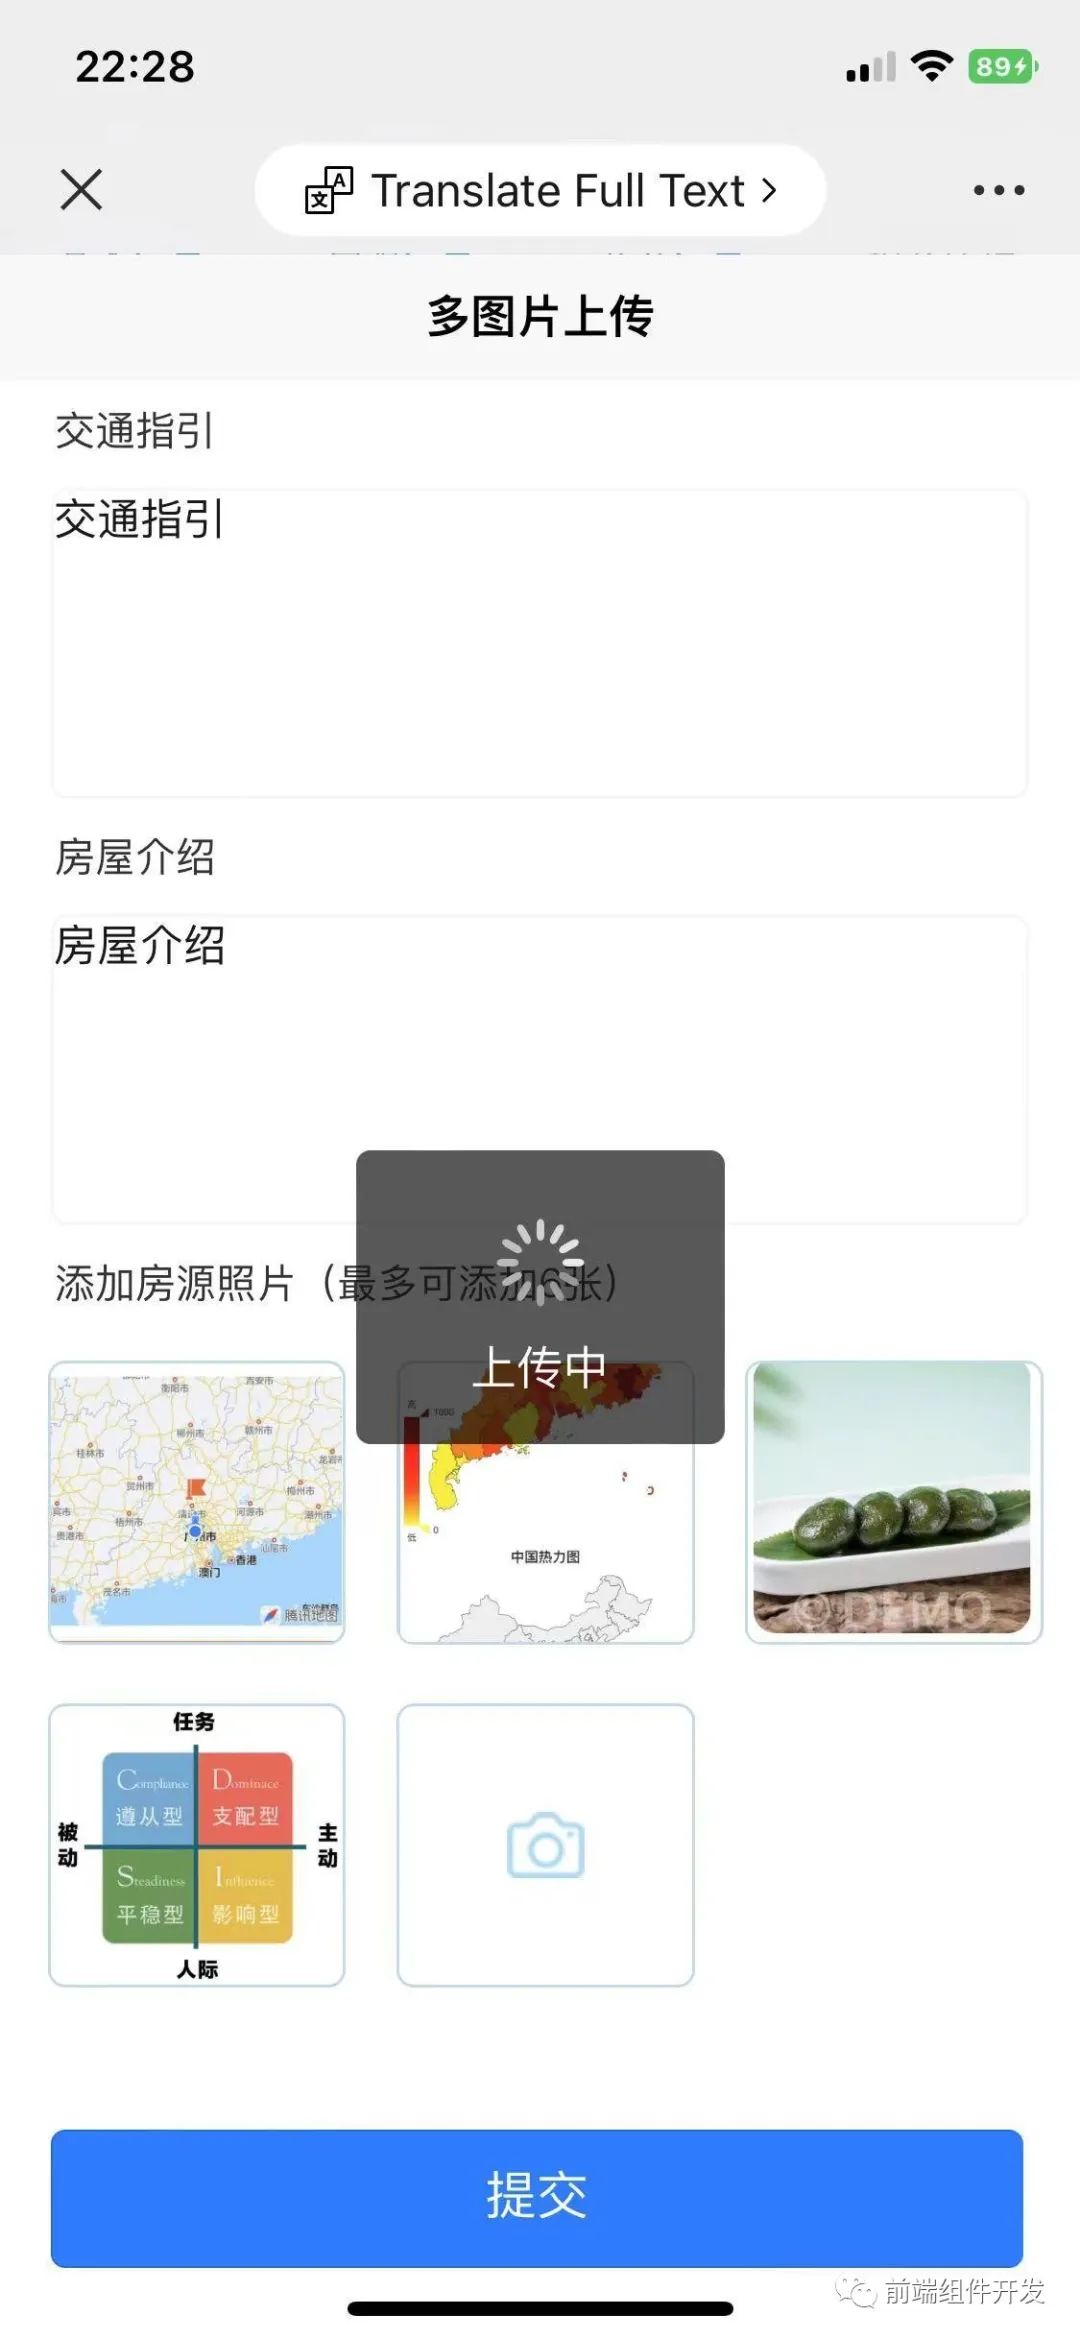
截图如下:
三、使用方法
使用cc-uploadSomePic非常简单,只需在页面中引入并使用该组件即可。以下是使用cc-uploadSomePic的基本步骤:
-
安装cc-uploadSomePic:使用npm或yarn将cc-uploadSomePic添加到项目中。
-
在页面中引入cc-uploadSomePic:在需要使用图片上传的页面中引入cc-uploadSomePic组件。
-
配置属性:根据需求配置cc-uploadSomePic的属性,如:photoList(用于存储已选择的图片数组)等。
-
监听事件:根据需要监听cc-uploadSomePic的事件,如click(图片选择事件)等。
-
处理事件:在事件处理函数中编写逻辑,处理用户的选择事件和上传事件。
-
渲染组件:将cc-uploadSomePic渲染到页面中,即可看到图片上传组件。
四、示例代码
以下是一个简单的示例代码,演示了如何使用cc-uploadSomePic组件:
使用方法
复制代码
 <!-- photoList:选择的图片数组  @click:图片选择事件-->
<cc-uploadSomePic  :photoList="photoList" @click="addPhotoClick"></cc-uploadSomePic>

// 添加多张图片(少于6张)
addPhotoClick() {

                uni.hideLoading();

                let myThis = this;
                if (myThis.photoList.length >= 6) {
                    myThis.photoList = [];
                }
                uni.chooseImage({
                    count: 6,
                    sizeType: ['compressed'], //可以指定是原图还是压缩图,默认二者都有
                    sourceType: ['album'], //从相册选择
                    success: function(res) {

                        for (let j = 0; j < res.tempFilePaths.length; j++) {

                            // name:服务端文件接受key  filePath: 需与服务端文件接收字段保持一致
                            let tmpdict = {
                                'name': 'image',
                                'filePath': res.tempFilePaths[j]
                            };
                            myThis.photoList.push(tmpdict);

                        }

                        console.log('选择图片 =' + JSON.stringify(myThis.photoList));
                    }
                });
            }
HTML代码部分
复制代码
<template>
    <view class="content" v-if="seen">

        <form @submit="formSubmit" @reset="formReset">

            <view class="inputView">
                <text class="leftTitle">交通指引</text>
            </view>

            <textarea class="rightTextarea" name="direct" placeholder=" 请输入交通指引" />

            <view class="inputView">
                <text class="leftTitle">房屋介绍</text>
            </view>

            <textarea class="rightTextarea" name="village" placeholder=" 请输入房屋介绍" />

            <view class="inputView">
                <text class="leftTitle">添加房源照片(最多可添加6张)</text>

            </view>

            <!-- photoList:选择的图片数组  @click:图片选择事件-->
            <cc-uploadSomePic  :photoList="photoList" @click="addPhotoClick"></cc-uploadSomePic>

            <view class="uni-btn-v">
                <button class="botBtn" type="primary" form-type="submit">提交</button>
                <view class="tipText"> 注意事项: 请确保您填写的房屋信息真实无误 </view>

            </view>
        </form>
    </view>
</template>
JS代码 (引入组件 填充数据)
复制代码
<script>
    import Vue from 'vue';

    export default {

        data() {

            return {
                photoList: [],
                seen: true,
                myParamData: {},
                isClick: false,

            };
        },

        onLoad: function(e) {

            if (typeof(e.myParamData) === 'string') {
                this.myParamData = JSON.parse(e.myParamData);
                console.log('页面3 数据 = ' + JSON.stringify(e));

            }

        },
        methods: {

            formSubmit: function(e) {
                console.log('form发生了submit事件,携带数据为:' + JSON.stringify(e.detail.value));

                if (this.isClick) {
                    let that = this;
                    setTimeout(function() {
                        that.isClick = false;
                    }, 600)
                    return;
                }
                this.isClick = true;

                var formdata = e.detail.value;
                this.myParamData = Object.assign(this.myParamData, formdata);

                console.log('页面3 myParamData=' + JSON.stringify(this.myParamData));

                if (formdata['direct'].length < 2) {
                    uni.showModal({
                        content: '请输入交通指引',
                        showCancel: false
                    });
                    return;
                }
                if (formdata['village'].length < 2) {
                    uni.showModal({
                        content: '请输入所在小区介绍',
                        showCancel: false
                    });
                    return;
                }
                if (this.photoList.length < 1) {
                    uni.showModal({
                        content: '请添加房源照片',
                        showCancel: false
                    });
                    return;
                }
                if (this.photoList.length > 6) {
                    uni.showModal({
                        content: '最多只能选择提交6张图片',
                        showCancel: false
                    });
                    return;
                }

                uni.showLoading({
                    title: '上传中'
                })

                // 服务器地址上传地址 仅为示例,非真实的接口地址
                let baseUrl = "http://gzcc.com/cc//appSc/up"
                console.log('图片资源 = ' + JSON.stringify(this.photoList))
                console.log('请求参数 = ' + JSON.stringify(this.myParamData));
                uni.uploadFile({
                    url: baseUrl, //仅为示例,非真实的接口地址
                    files: this.photoList, //请求图片数组
                    formData: this.myParamData, //请求参数
                    success: (uploadFileRes) => {

                        uni.hideLoading();
                        console.log('上传成功 = ' + uploadFileRes.data);
                    }
                });

            },
            // 添加多张图片(少于6张)
            addPhotoClick() {

                uni.hideLoading();

                let myThis = this;
                if (myThis.photoList.length >= 6) {
                    myThis.photoList = [];
                }
                uni.chooseImage({
                    count: 6,
                    sizeType: ['compressed'], //可以指定是原图还是压缩图,默认二者都有
                    sourceType: ['album'], //从相册选择
                    success: function(res) {

                        for (let j = 0; j < res.tempFilePaths.length; j++) {

                            // name:服务端文件接受key  filePath: 需与服务端文件接收字段保持一致
                            let tmpdict = {
                                'name': 'image',
                                'filePath': res.tempFilePaths[j]
                            };
                            myThis.photoList.push(tmpdict);

                        }

                        console.log('选择图片 =' + JSON.stringify(myThis.photoList));
                    }
                });
            }

        }
    };
</script>
下载完整组件地址:请关注我的微信技术公众号: 前端组件开发

欢迎加入前端组件开发学习交流群,一起学习成长!可关注 “前端组件开发” 公众号后,私信后可申请入群。


