到了这个年纪,就应该阅读Spring源码了,源码阅读指南-编译加运行
文章目录
- 到了那个年纪,就应该阅读Spring源码了
- 😄第一步,clone
- 😆第二步,使用idea打开项目
- 😊gradle介绍(插叙手法)
- 😃第三步,修改gradle的远程仓库地址
- 😏这里遇到了很多的坑(插叙手法)
- 😍第四步,安装依赖
- 😘脚本介绍(插叙手法)
- 😚第五步,编译spring项目
- 😳附赠内容(买一送一)
- 😌在spring源码项目中新建项目验证我们的spring源码
到了那个年纪,就应该阅读Spring源码了
Spring的源码地址
https://github.com/spring-projects/spring-framework
😄第一步,clone
我们先把他clone下来
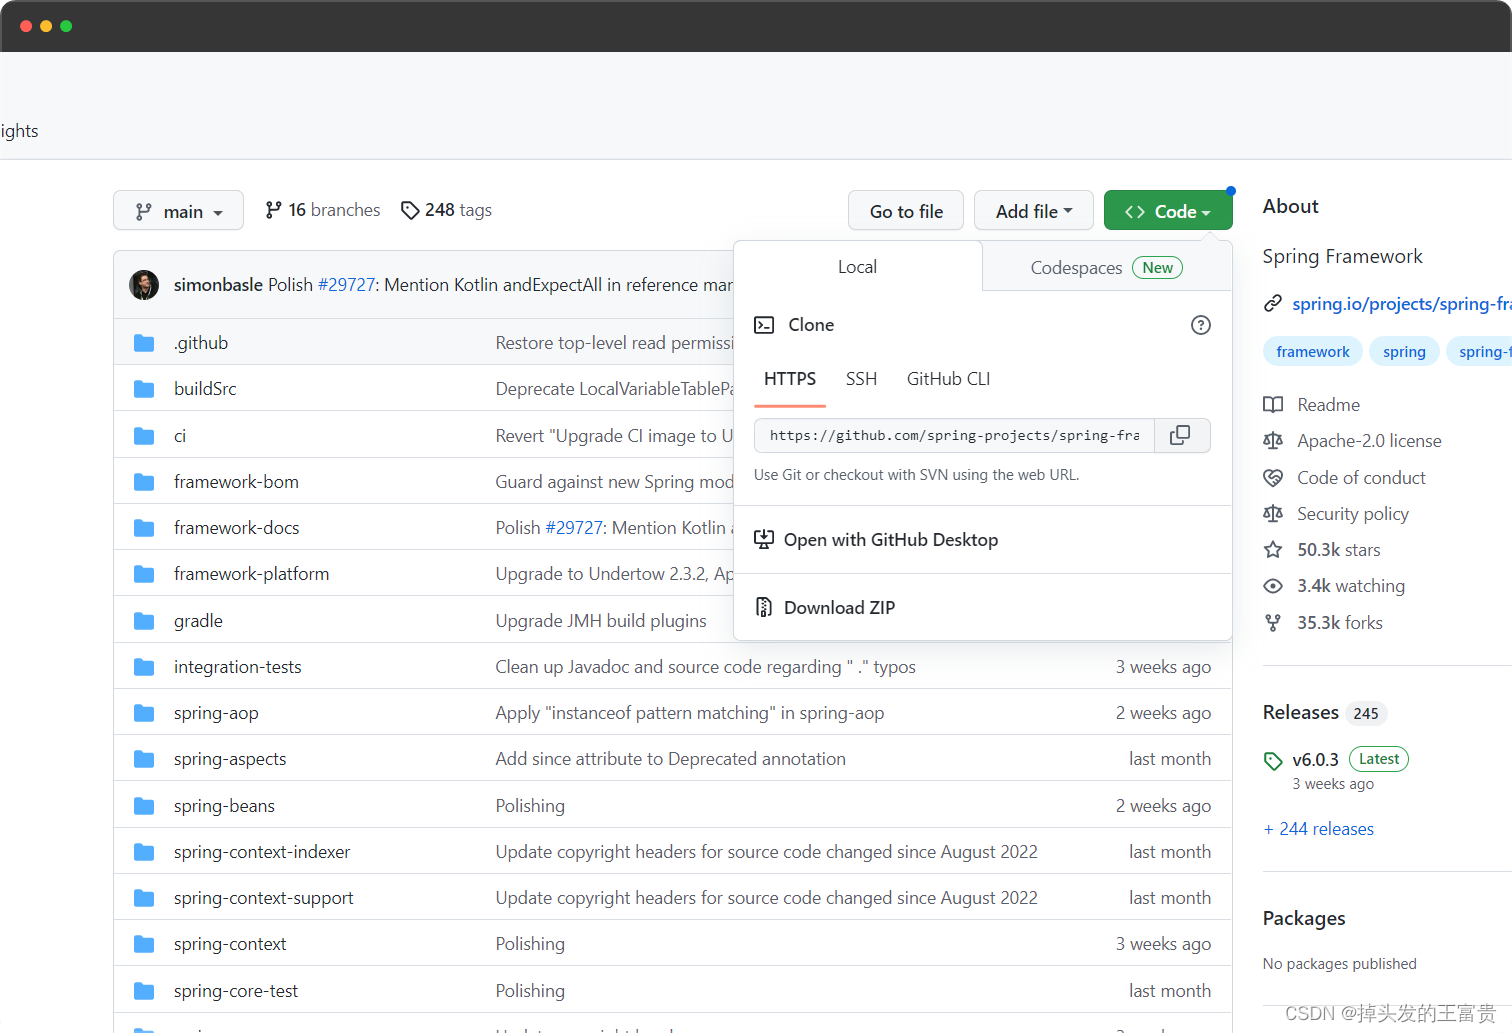
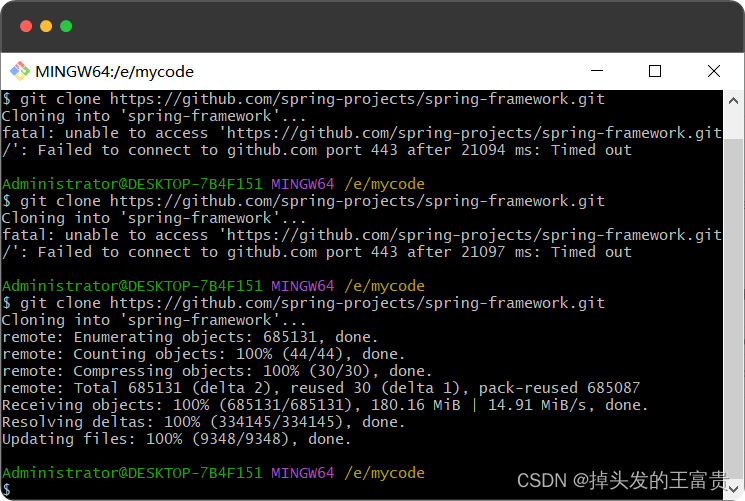
没梯子的话多clone几遍就好了
😆第二步,使用idea打开项目
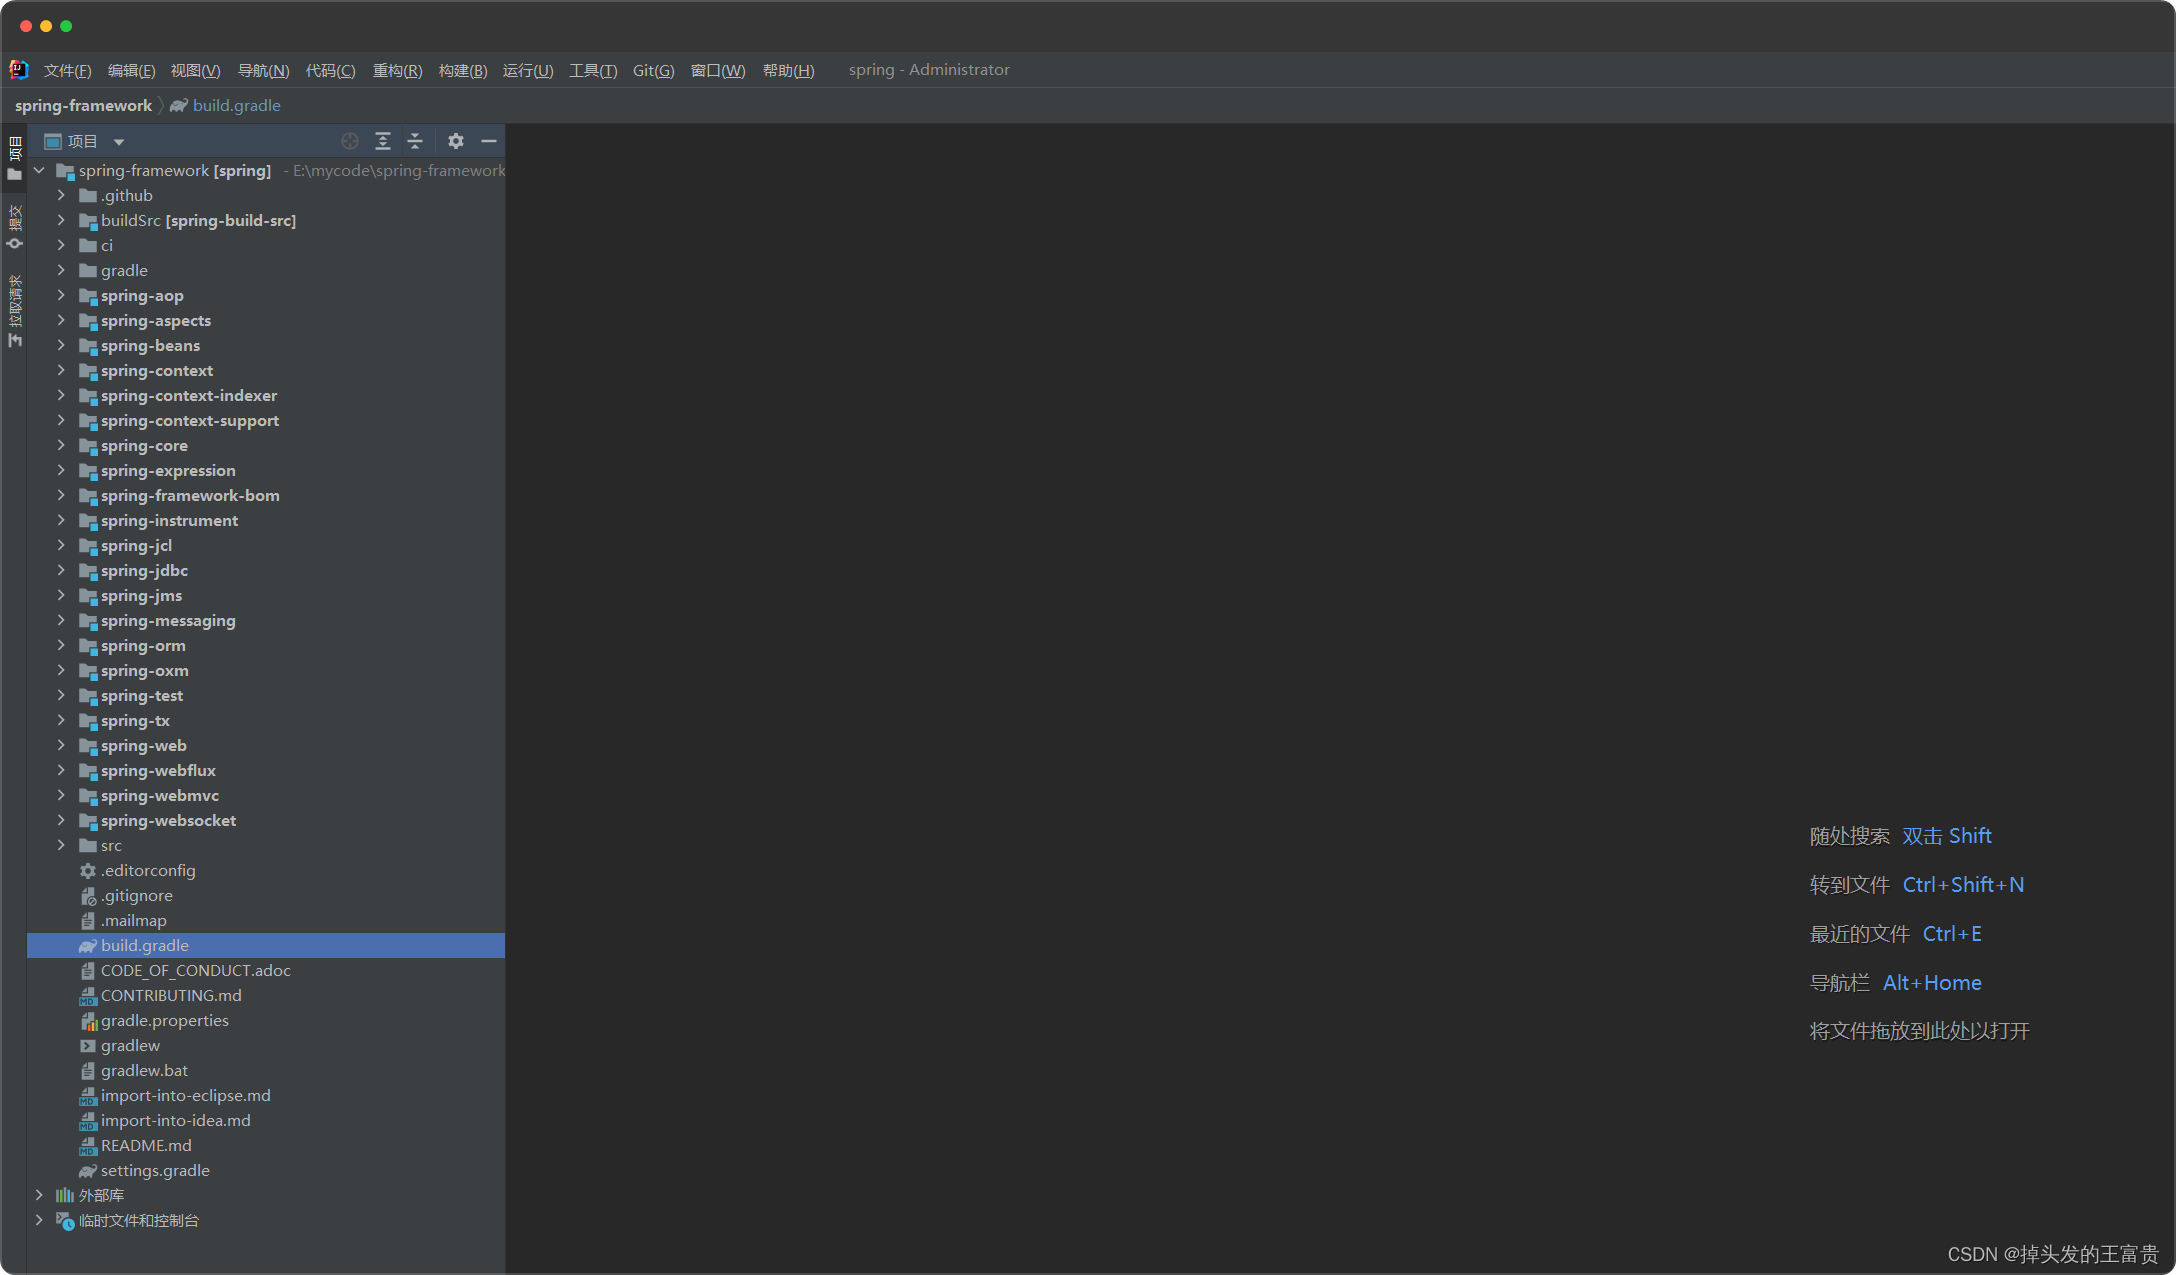
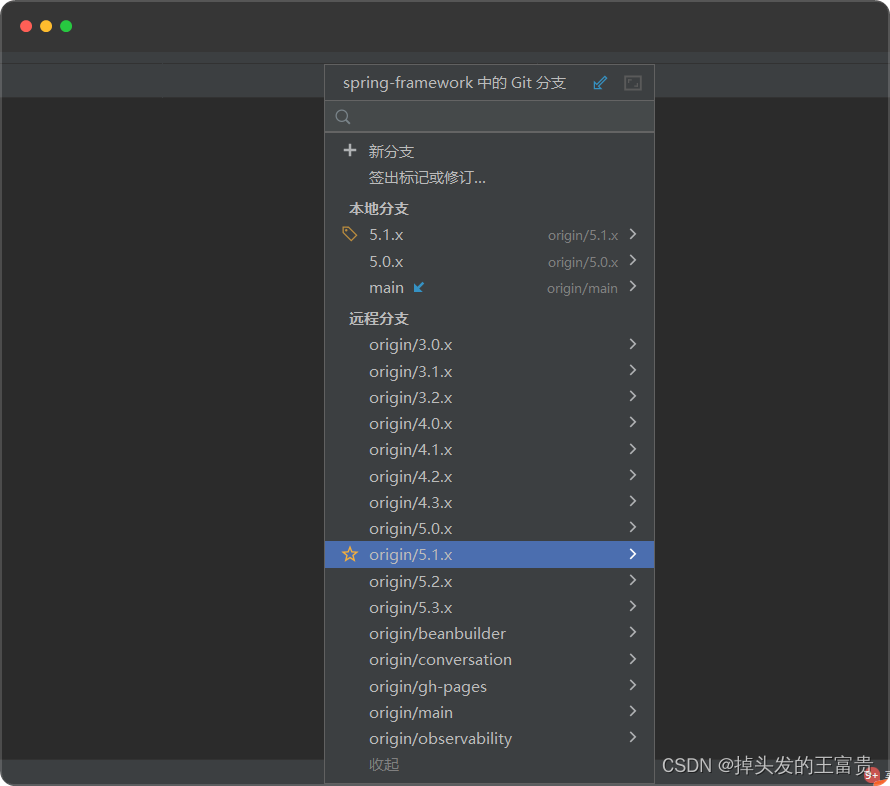
我们这里使用5.x的版本
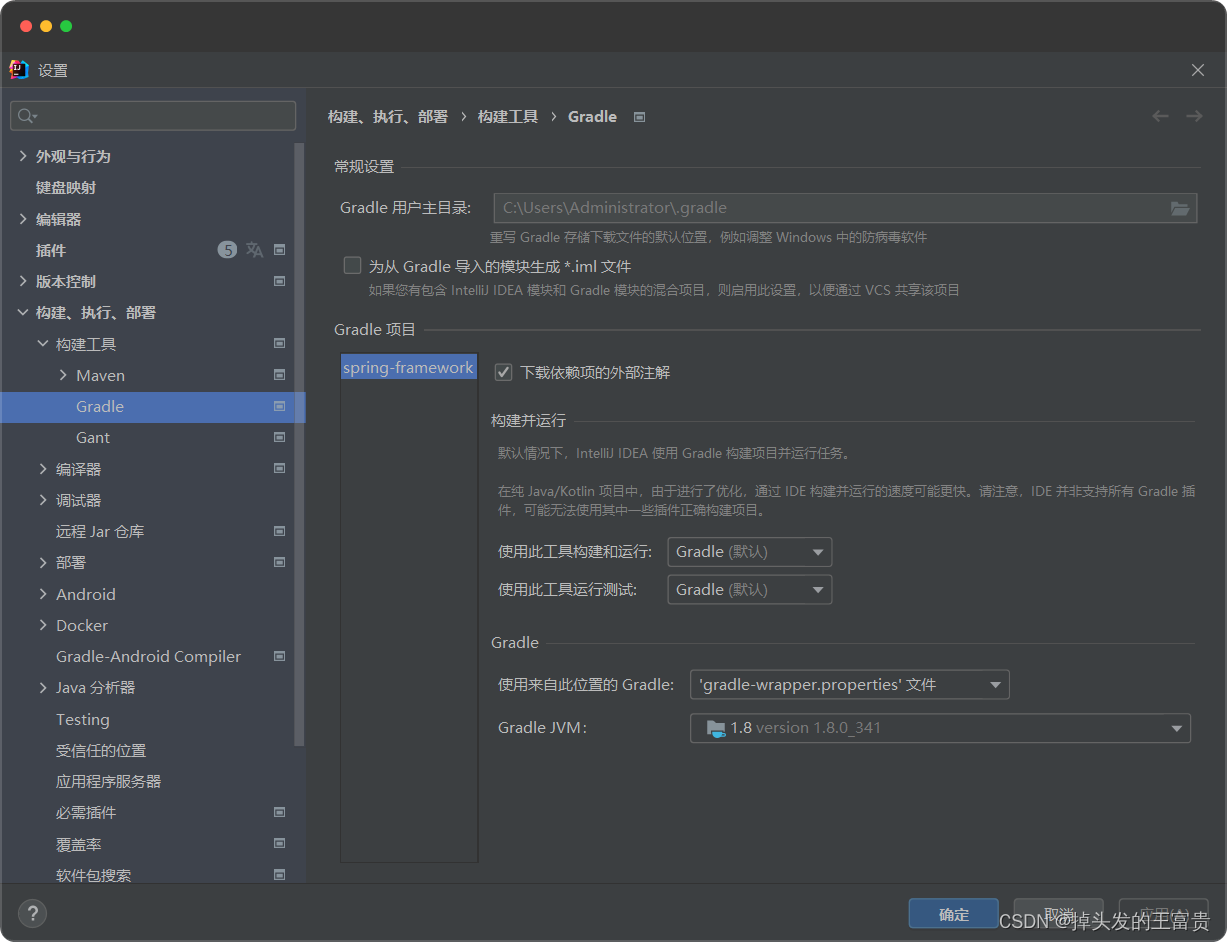
设置里面gradle设置按照如下图设置即可
😊gradle介绍(插叙手法)
由于Spring源码都是使用Gradle来管理项目
按理来说我们gradle和maven类似,需要在本级载好并且安装好
但是不建议这么做,因为很多项目的源代码都自带了wrapper包
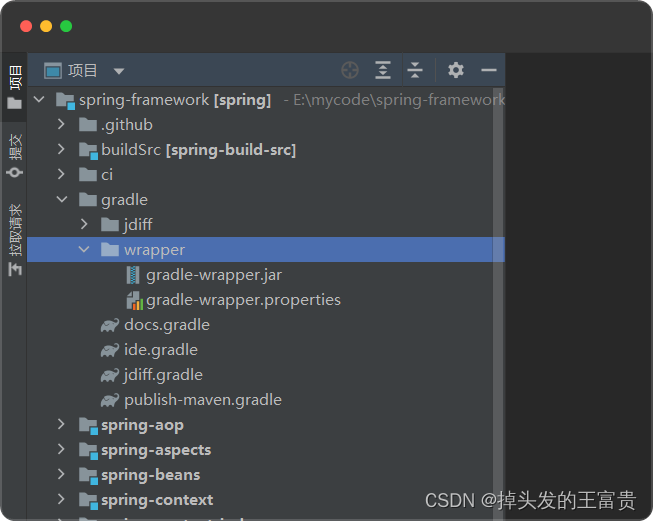
这里面有我们的gradle的包,这样有利于我们统一得管理版本冲突问题
Gradle Wrapper 实际上就是对 Gradle 的一层包装,用于解决实际开发中可能会遇到的不同的项目需要不同版本的 Gradle 问题。
例如:把自己的代码共享给其他人使用,
可能出现如下情况:
1.对方电脑没有安装 gradle
2.对方电脑安装过 gradle,但是版本太旧了
这时候,我们就可以考虑使用 Gradle Wrapper 了。这也是官方建议使用 Gradle Wrapper 的原因。
😃第三步,修改gradle的远程仓库地址
spring的gradle的远程仓库是spring自己的远程仓库,但是我们是拉不下来jar包的,原因是最新的spring仓库添加了认证
我们拉包的时候会出现
FAILURE: Build failed with an exception.

* What went wrong:
A problem occurred configuring root project 'spring'.
> Could not resolve all files for configuration ':classpath'.
   > Could not resolve org.apache.xerces:xercesImpl:2.9.1.
     Required by:
         project : > io.spring.gradle:docbook-reference-plugin:0.3.1
      > Could not resolve org.apache.xerces:xercesImpl:2.9.1.
         > Could not get resource 'https://repo.spring.io/plugins-release/org/apache/xerces/xercesImpl/2.9.1/xercesImpl-2.9.1.pom'.
            > Could not GET 'https://repo.spring.io/plugins-release/org/apache/xerces/xercesImpl/2.9.1/xercesImpl-2.9.1.pom'. Received status code 401 from server: Unauthorized
   > Could not resolve org.apache.xerces:resolver:2.9.1.
     Required by:
         project : > io.spring.gradle:docbook-reference-plugin:0.3.1
      > Could not resolve org.apache.xerces:resolver:2.9.1.
         > Could not get resource 'https://repo.spring.io/plugins-release/org/apache/xerces/resolver/2.9.1/resolver-2.9.1.pom'.
            > Could not GET 'https://repo.spring.io/plugins-release/org/apache/xerces/resolver/2.9.1/resolver-2.9.1.pom'. Received status code 401 from server: Unauthorized

* Try:
Run with --stacktrace option to get the stack trace. Run with --info or --debug option to get more log output. Run with --scan to get full insights.
Received status code 401 from server: Unauthorized无权限

所以我们需要改成阿里云的仓库地址
😏这里遇到了很多的坑(插叙手法)
在网上有很多的解决方法,解决方法无非就是
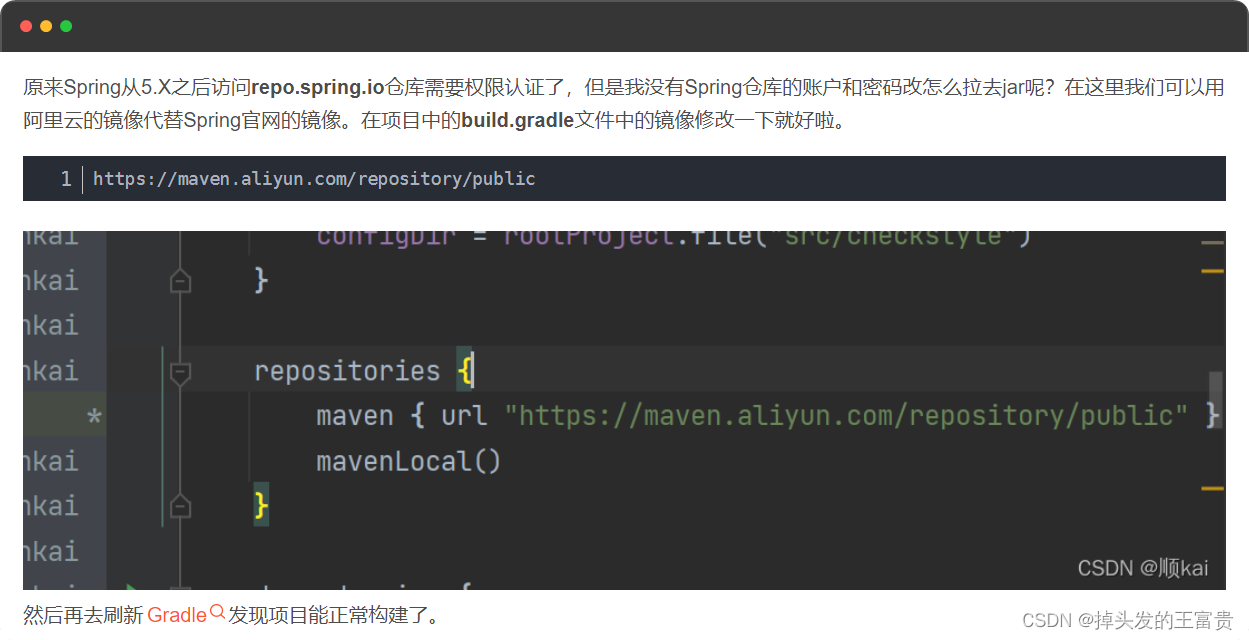
添加
https://maven.aliyun.com/repository/public
但是,其实我们上面的错误,并不是添加这个仓库就解决了
我们去看官网地址
https://developer.aliyun.com/mvn/guide
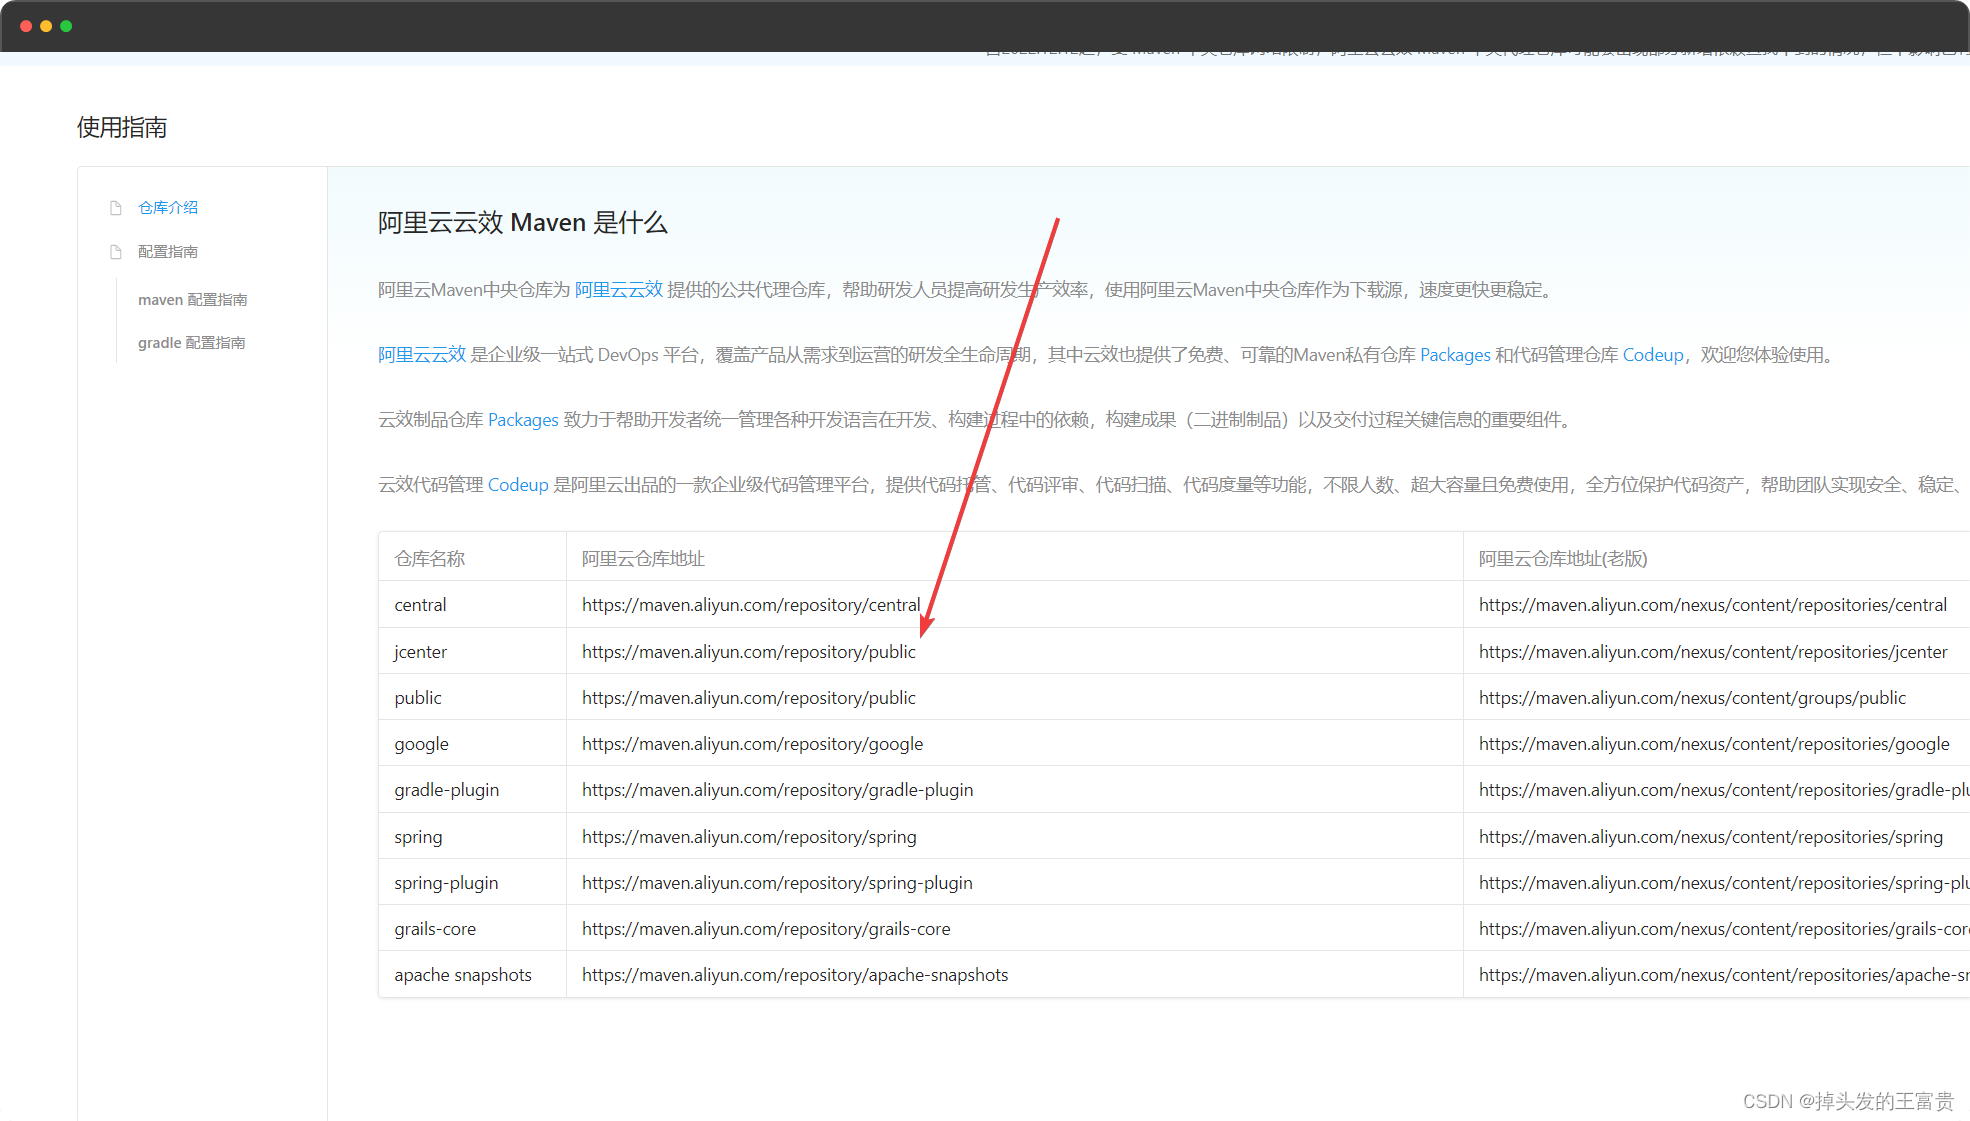
添加的仓库就是箭头所指的仓库,但是我们搜索一下这个jar包
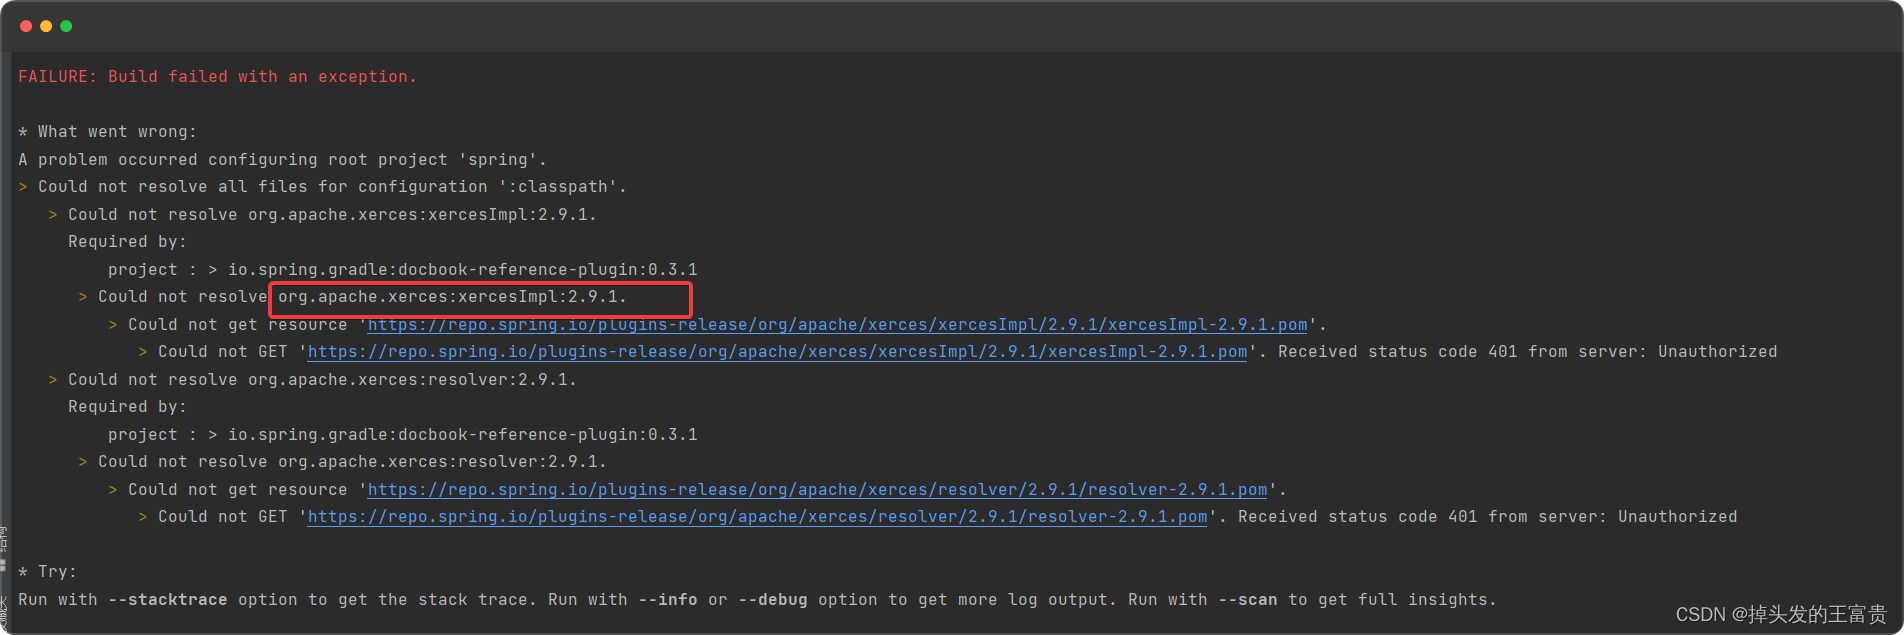

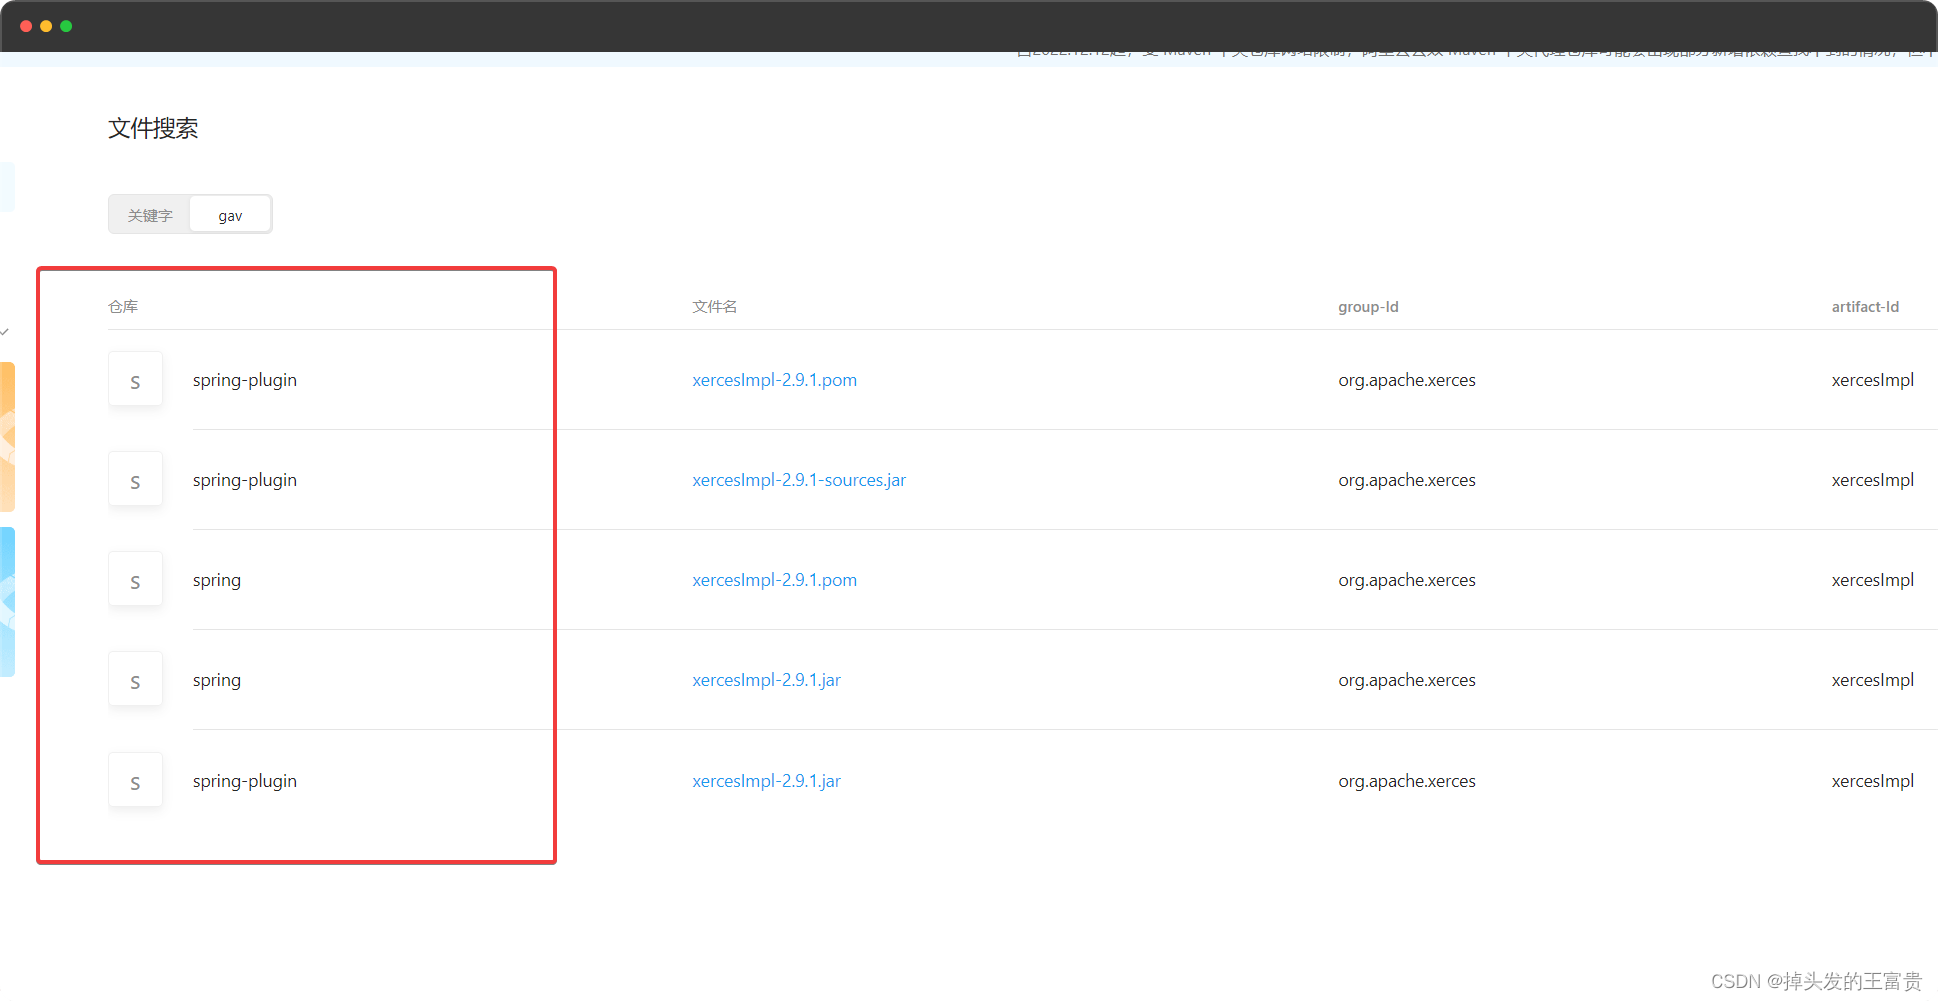
public仓库其实是没有这个jar包的,所以找个寂寞。。。
我们要去spring-plugin仓库中去拉
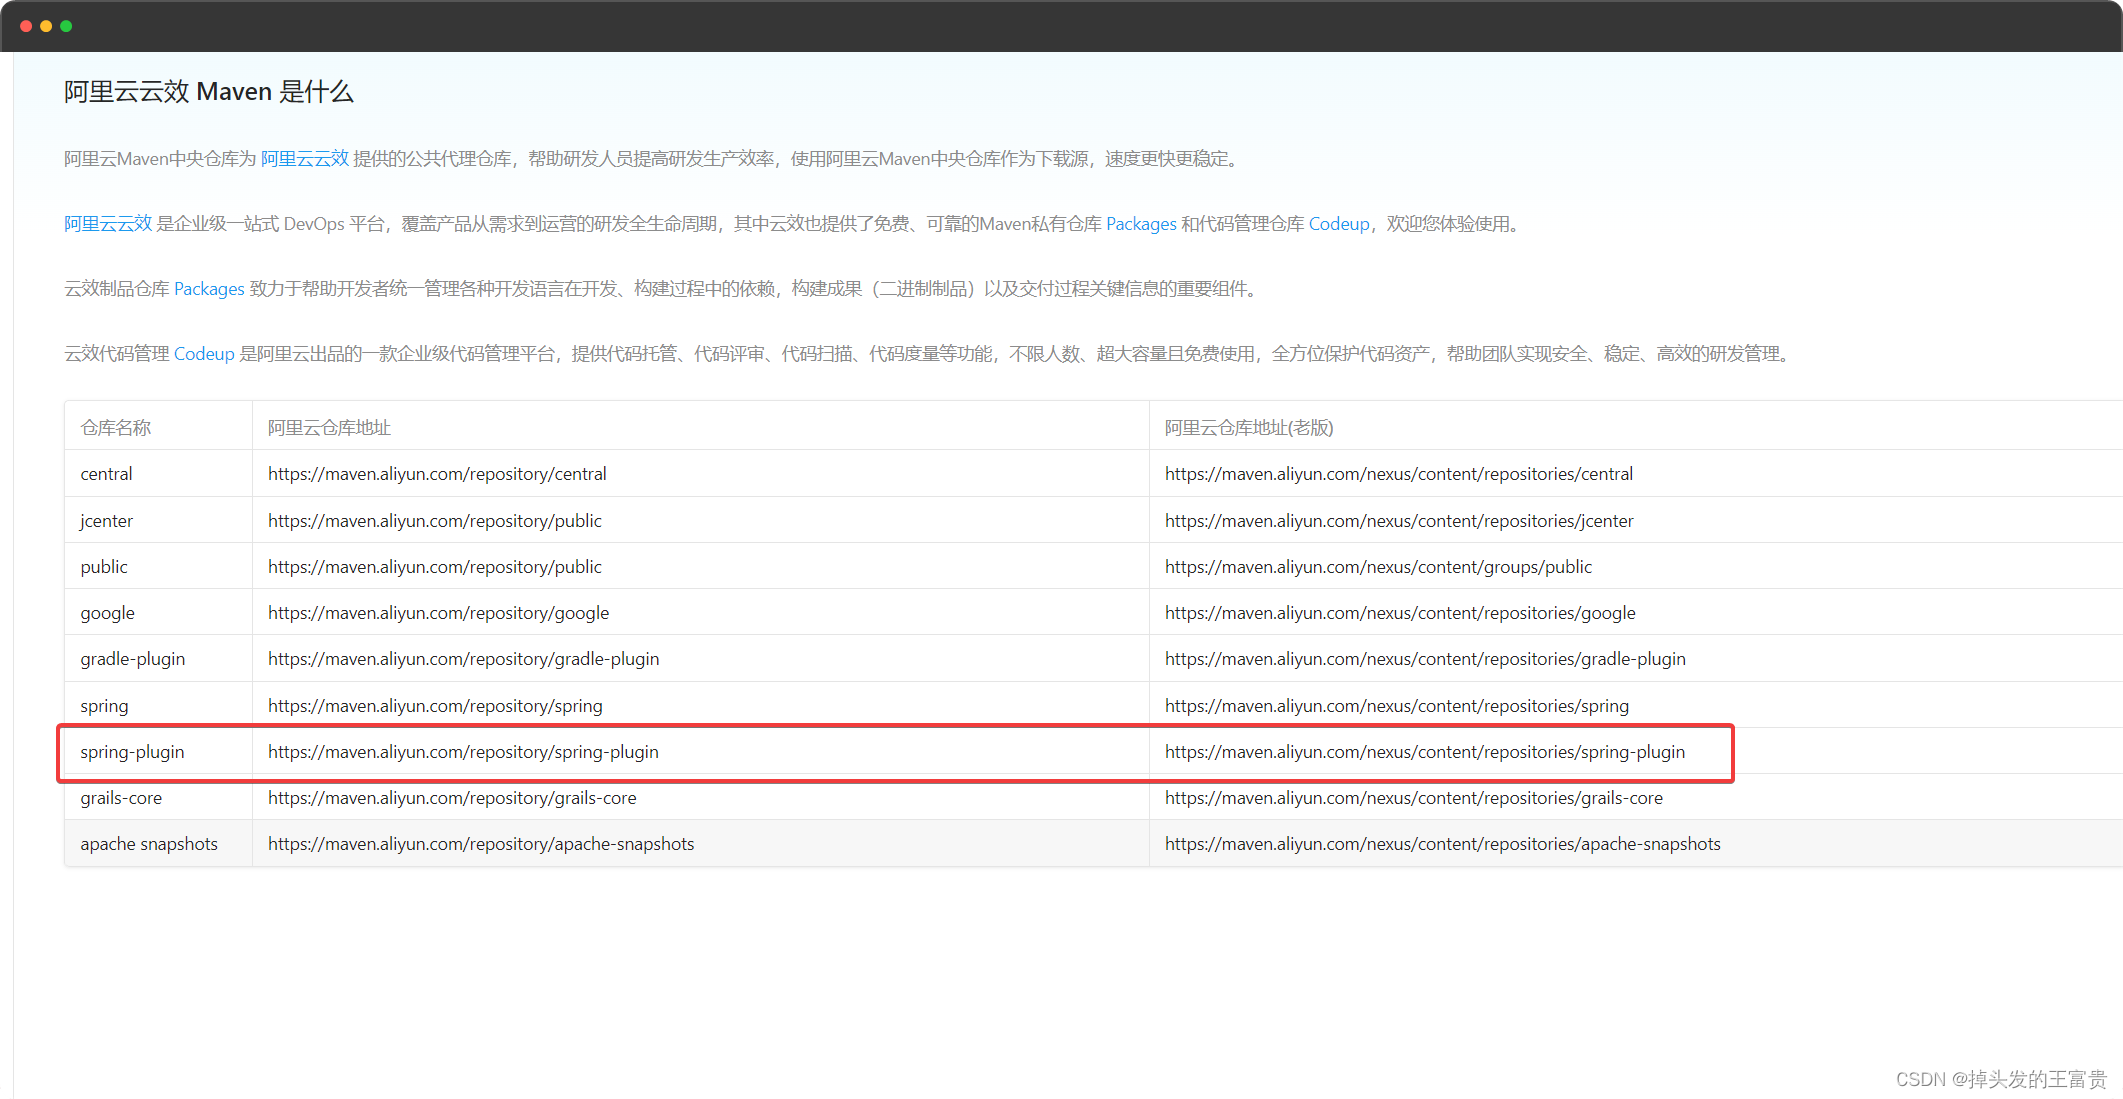
打开build.gradle文件
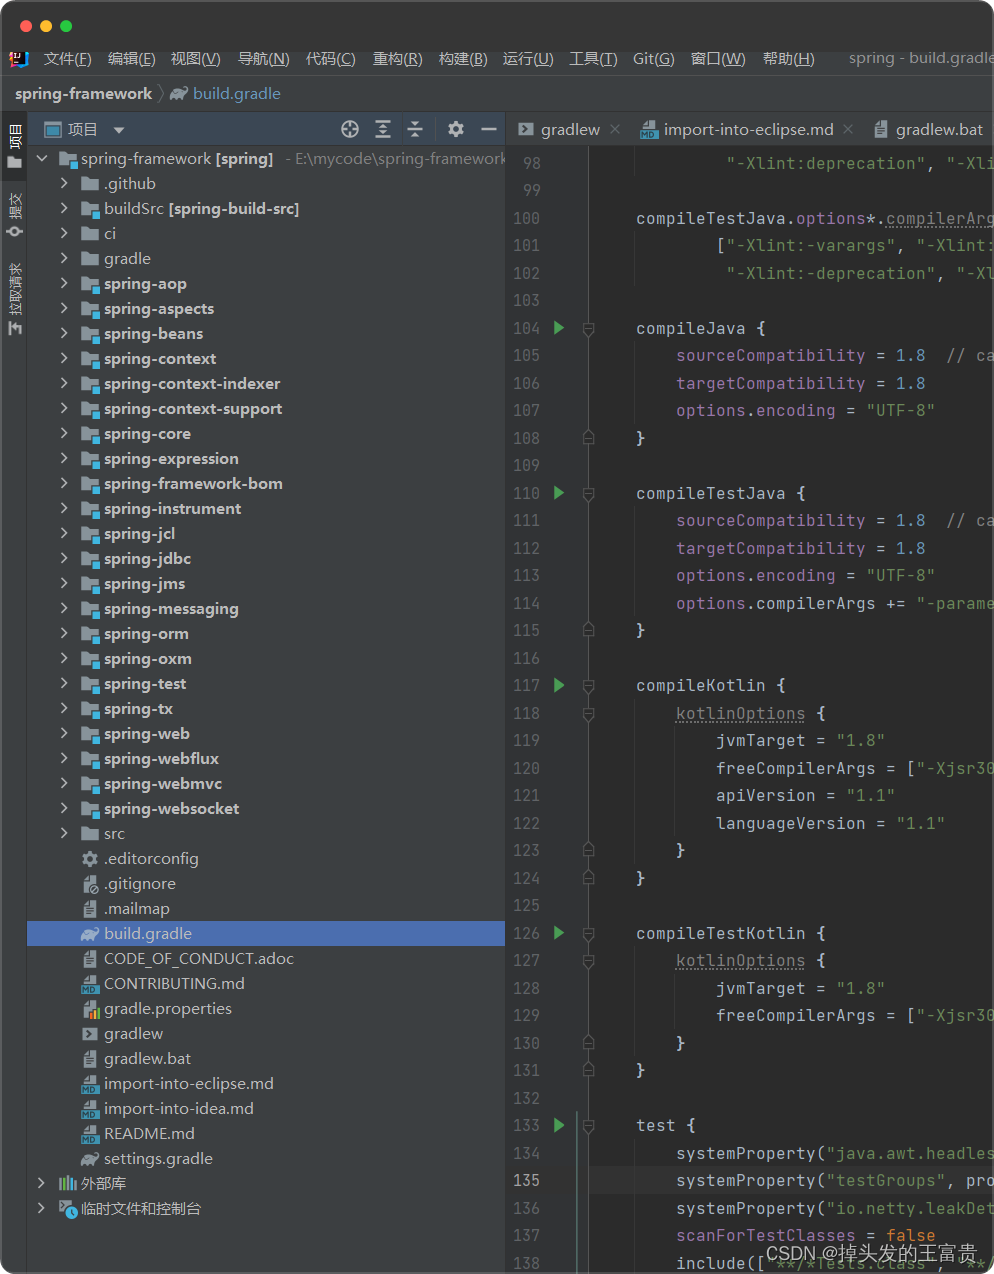
找到
configure(allprojects)
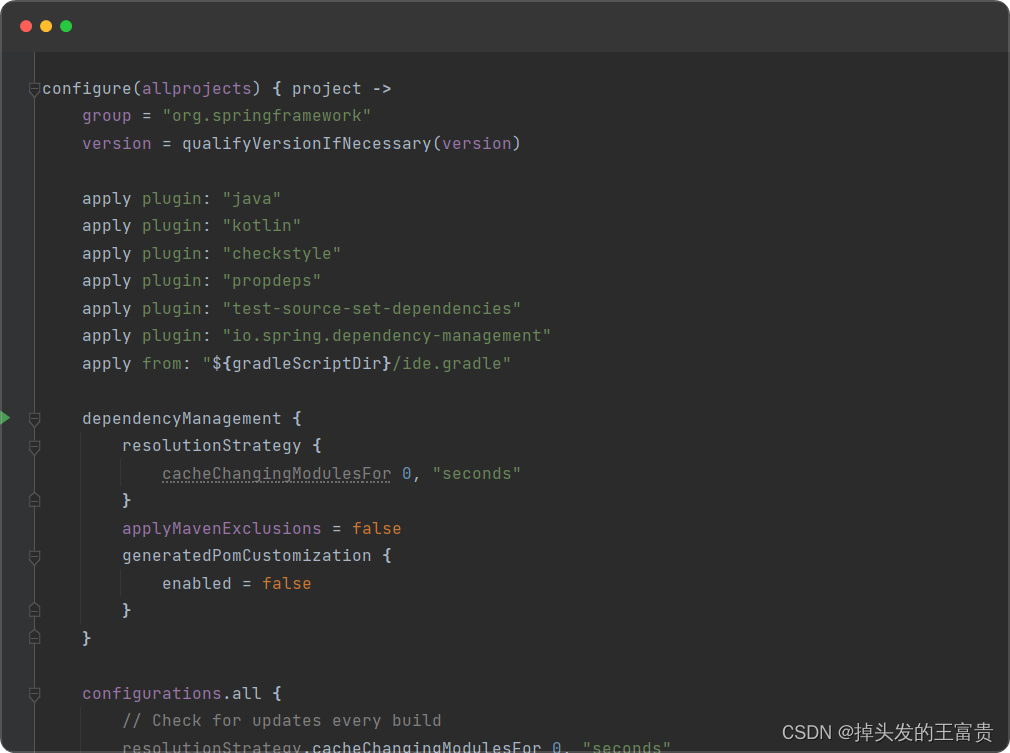
方法里面的
repositories

添加阿里云的地址
		maven {
			url 'https://maven.aliyun.com/repository/spring-plugin'
		}
		maven {
			url 'https://maven.aliyun.com/repository/public/'
		}
😍第四步,安装依赖
😘脚本介绍(插叙手法)
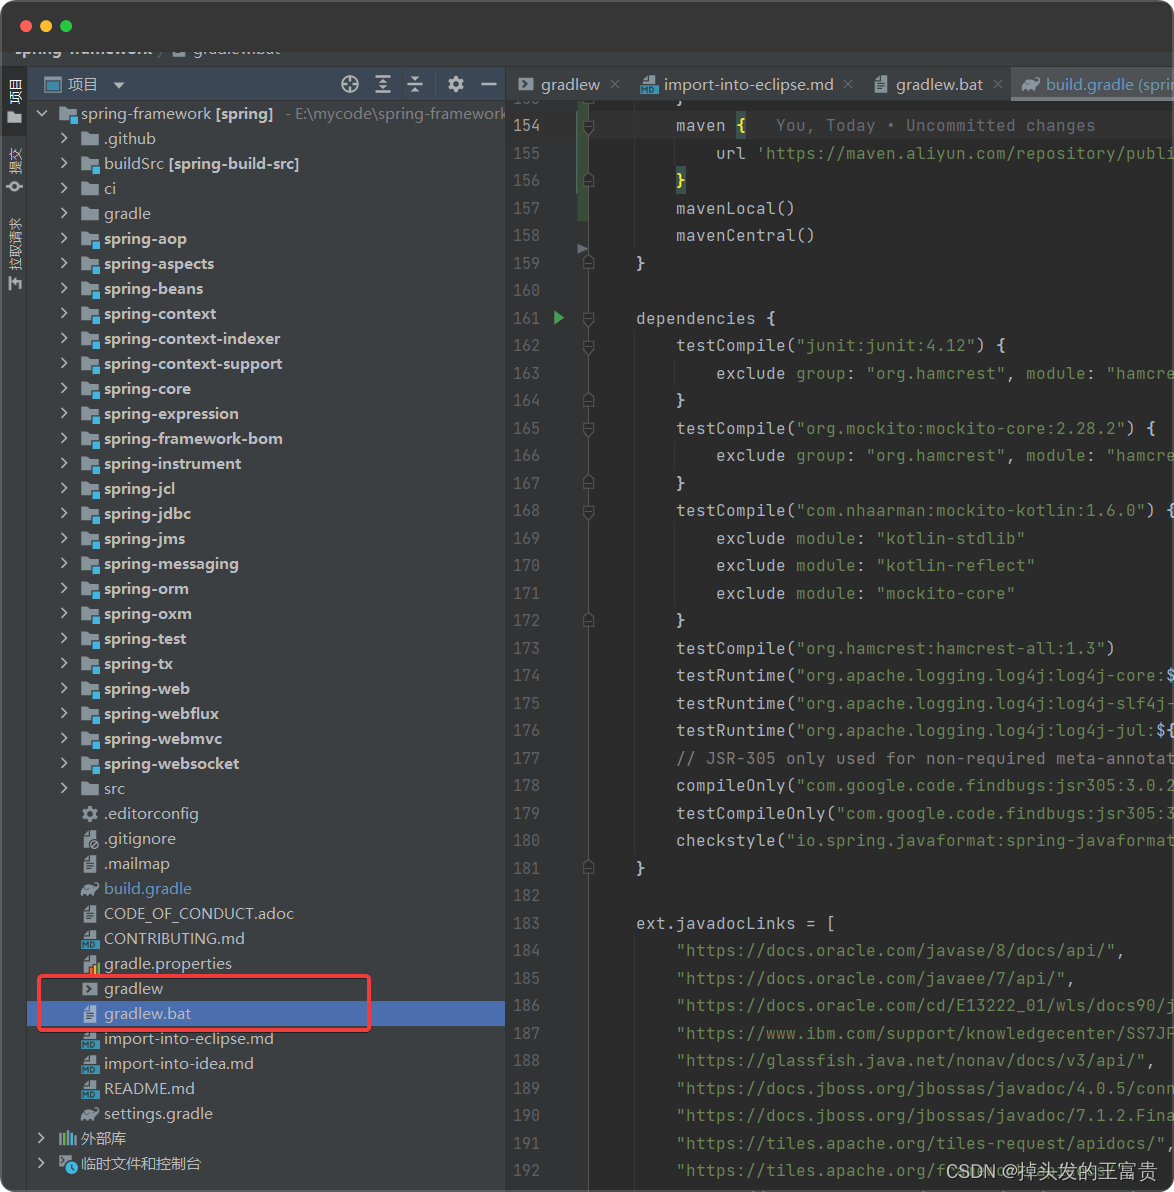
gradlew与gradlew.bat执行的指定wrapper版本中的gradle指令,不是本地安装的gradle指令
gradlew:linux下的脚本
gradlew.bat: Windows下的脚本
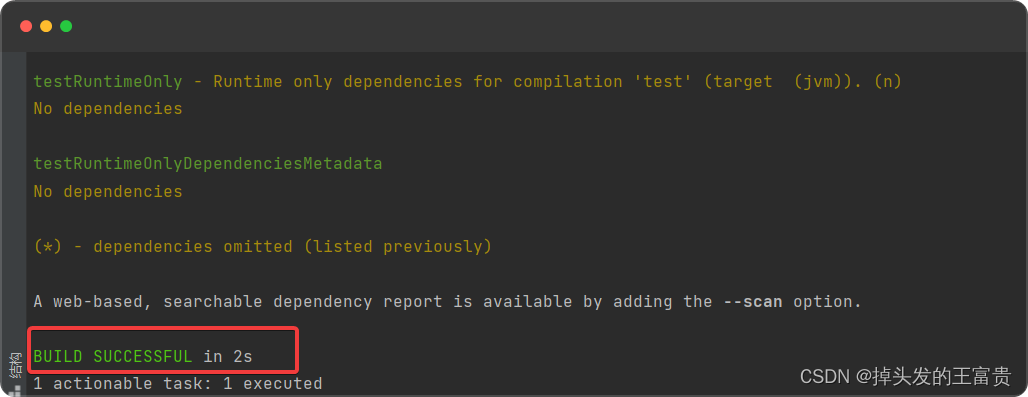
./gradlew.bat dependencies
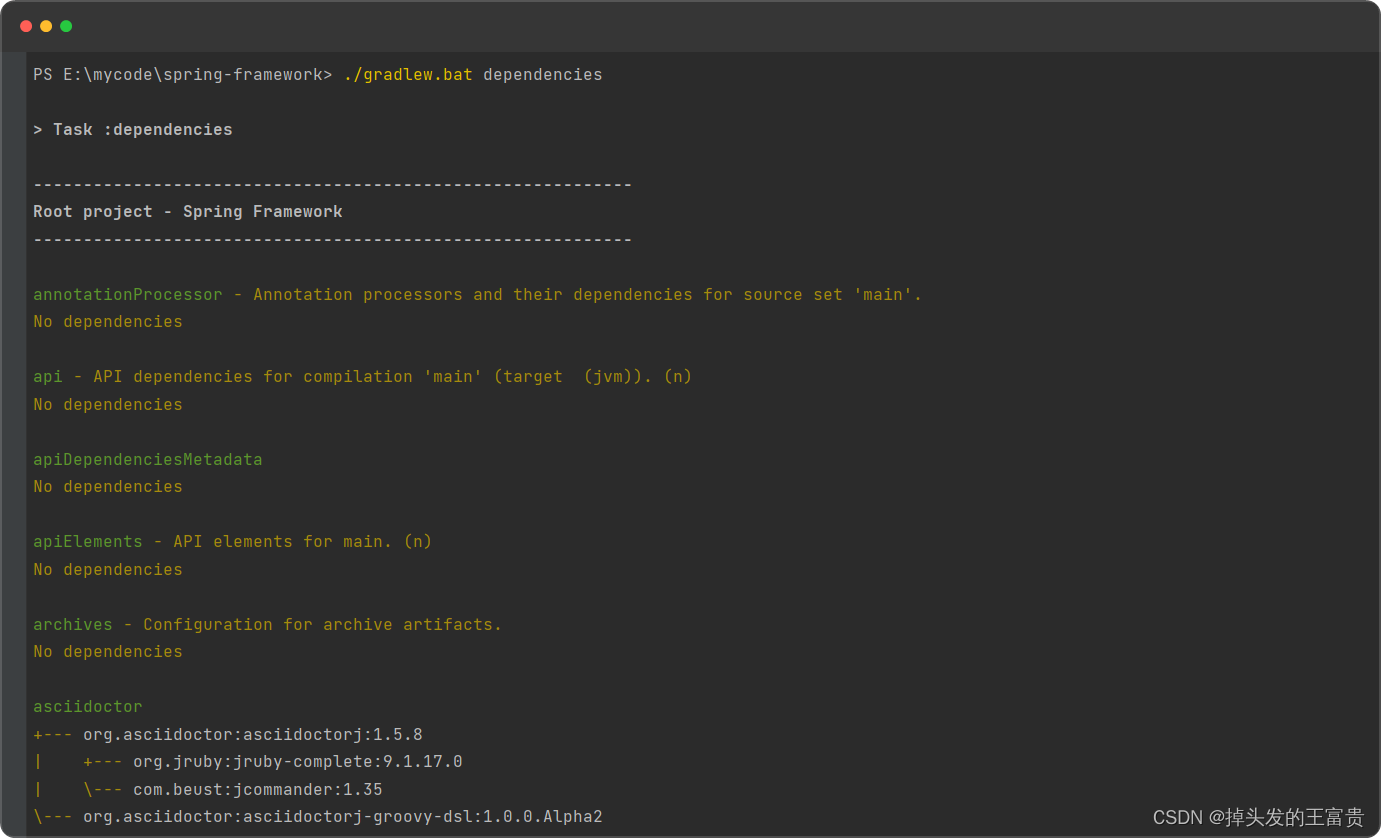
第一次可能较慢,出现
build successful就说明安装完成
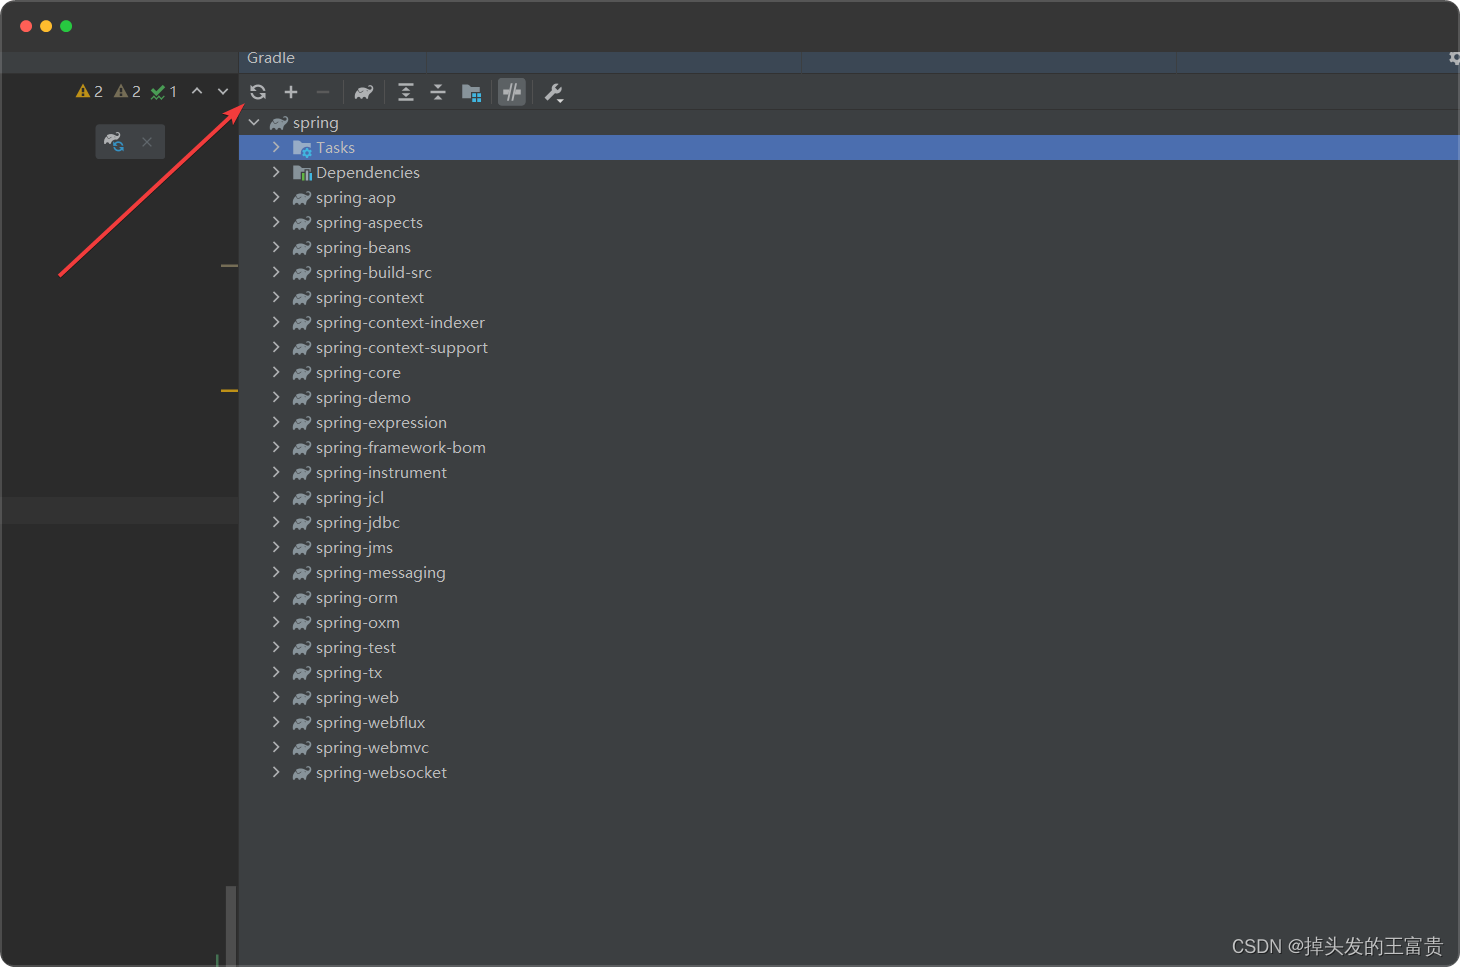
这个时候我们重新加载gradle项目即可
😚第五步,编译spring项目
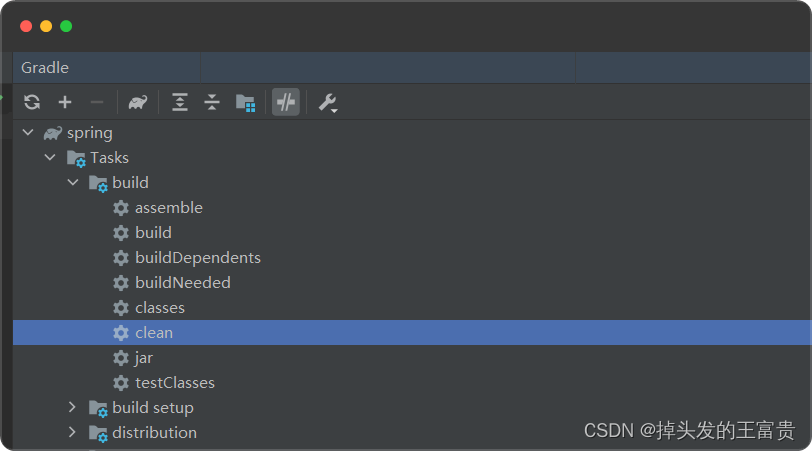
我们clean一下
然后
./gradlew.bat :spring-oxm:compileTestJava
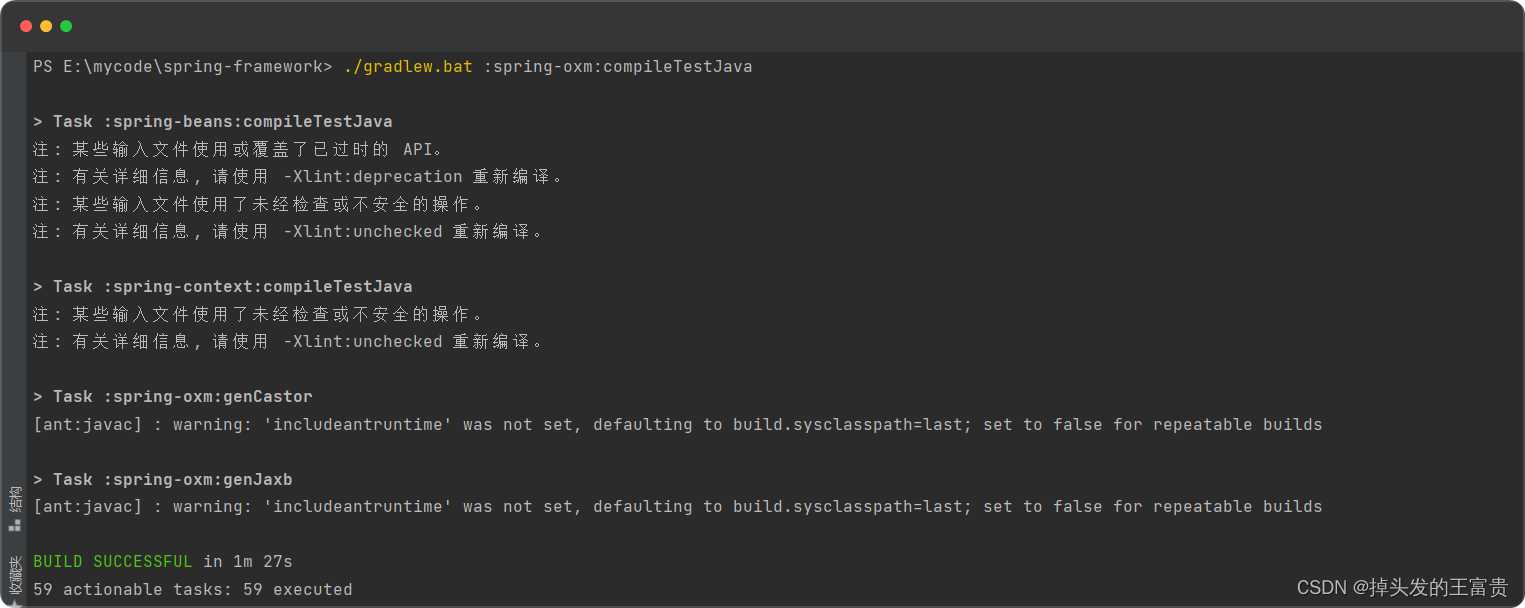
编译成功后在各个模块有编译好的build文件夹
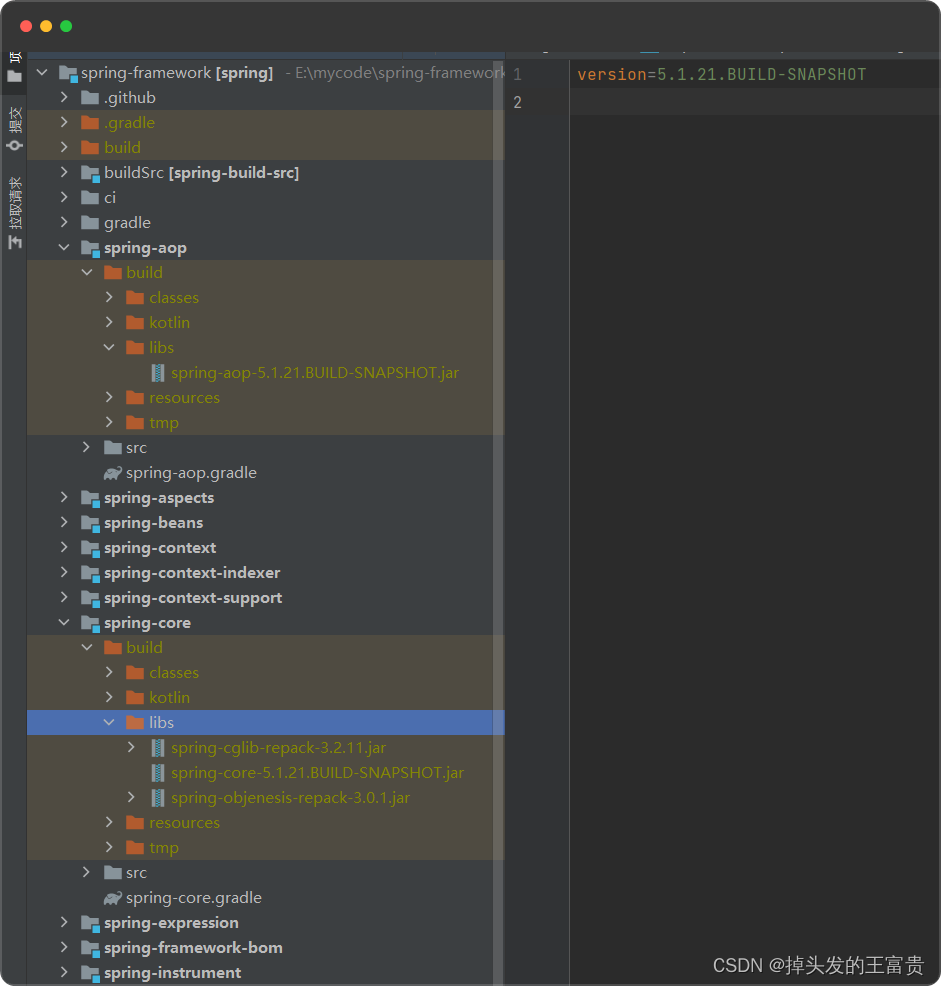
lib文件夹里面就是我们打好的jar包
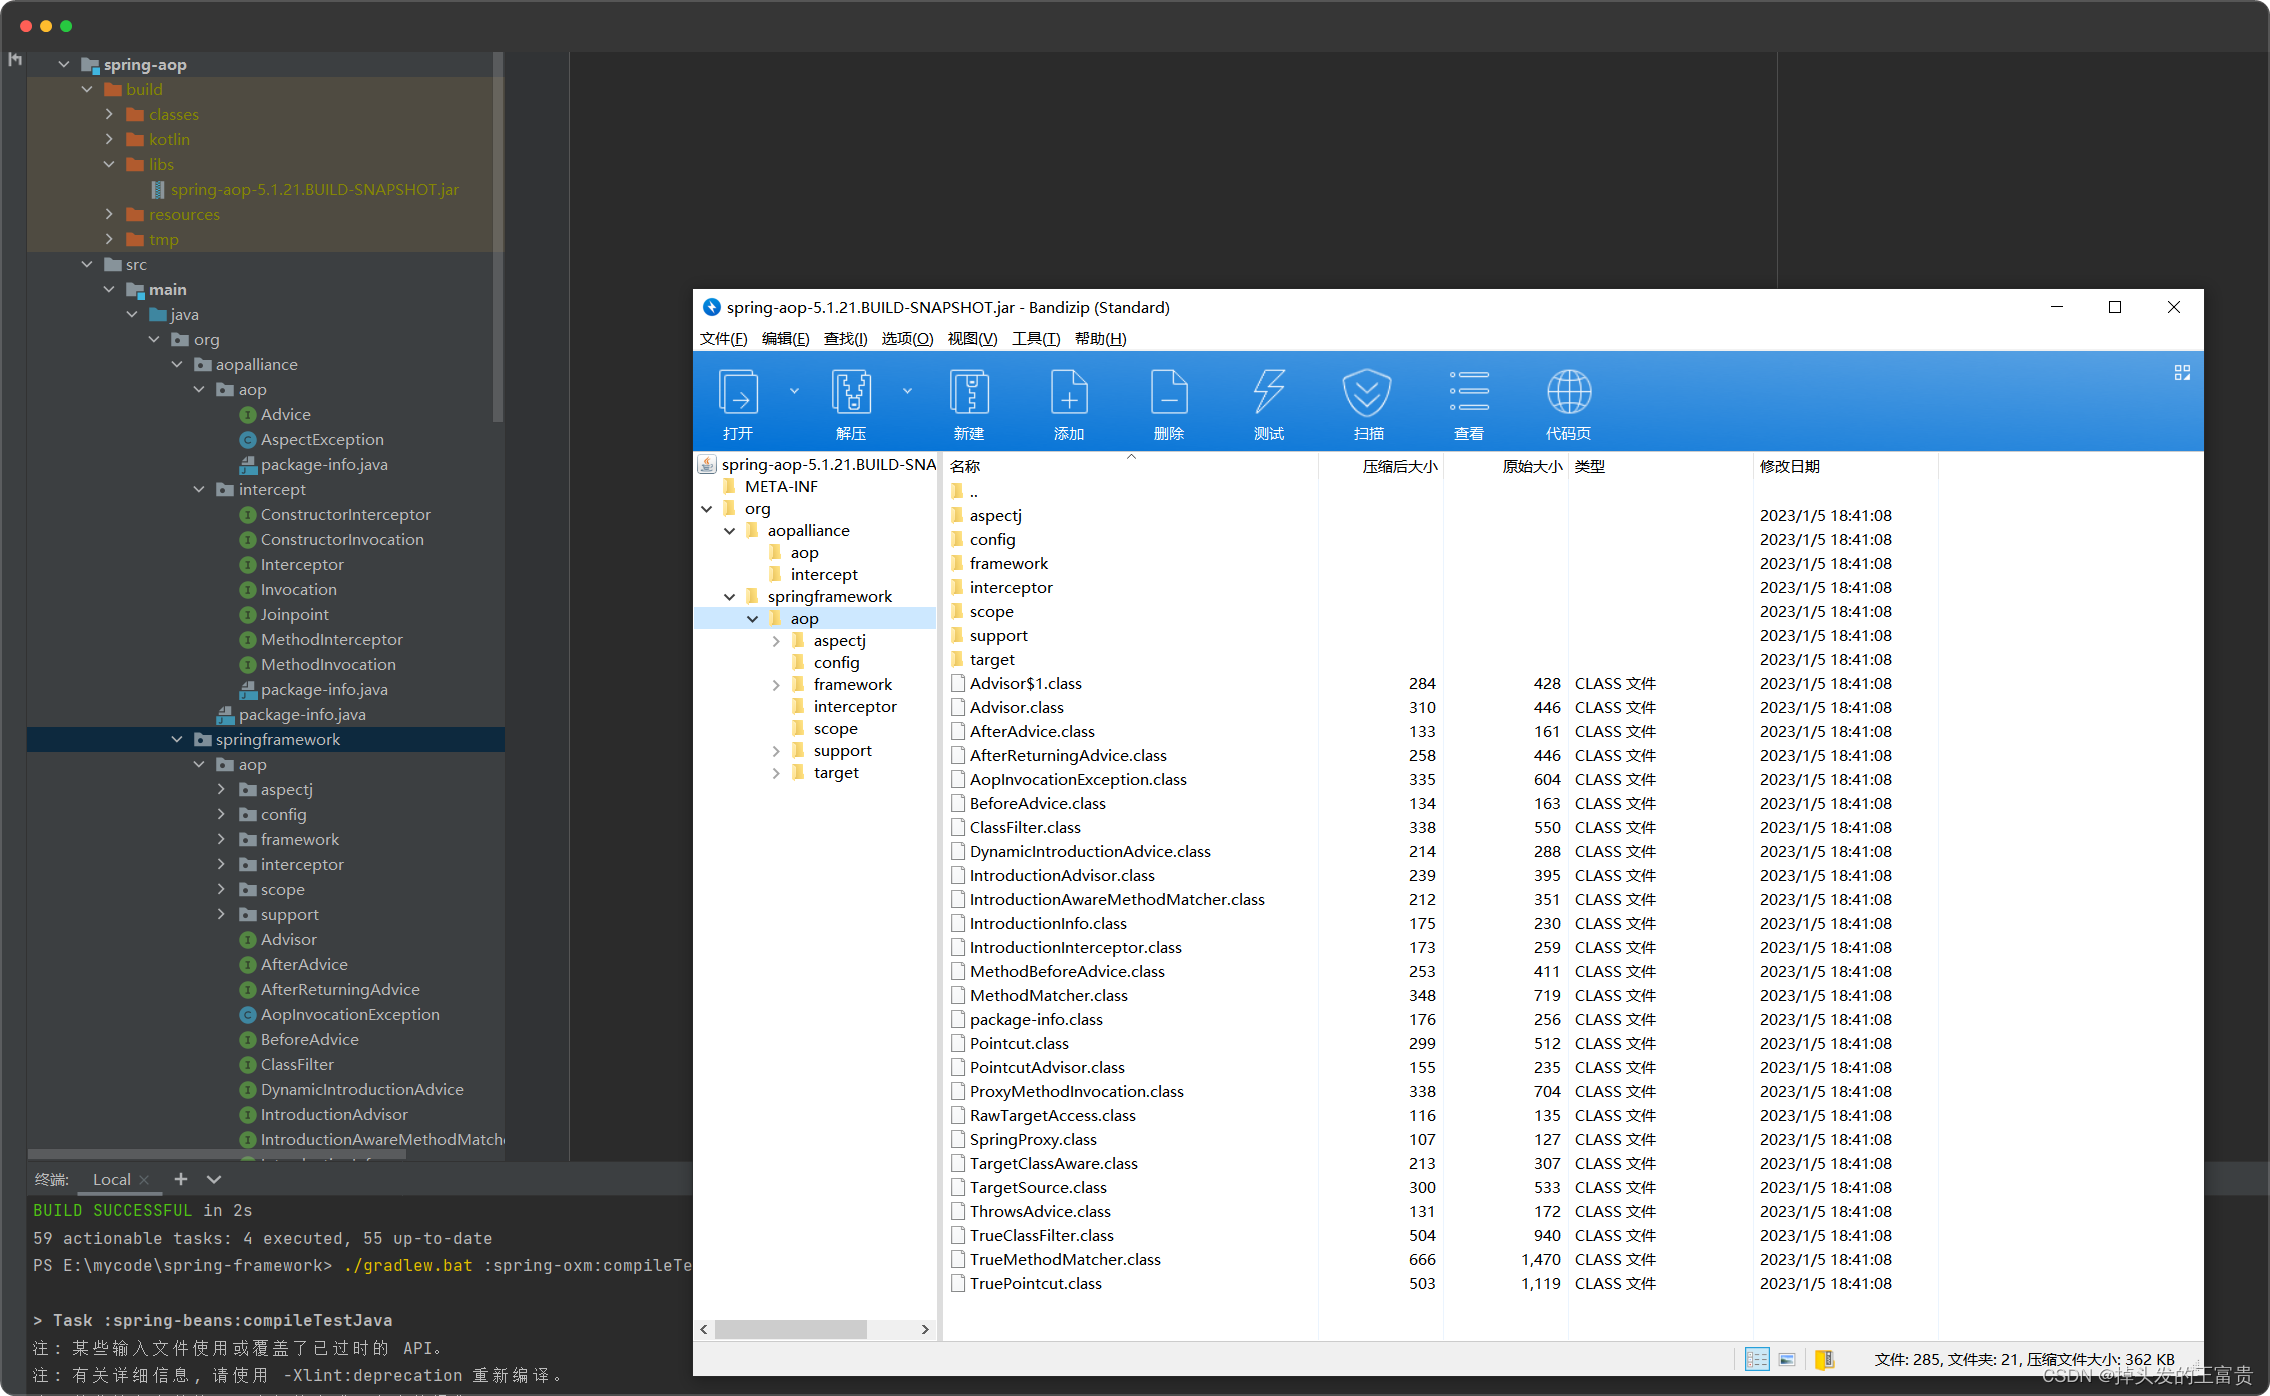
这样就说明我们的源码环境已经完全配置好了
😳附赠内容(买一送一)
😌在spring源码项目中新建项目验证我们的spring源码
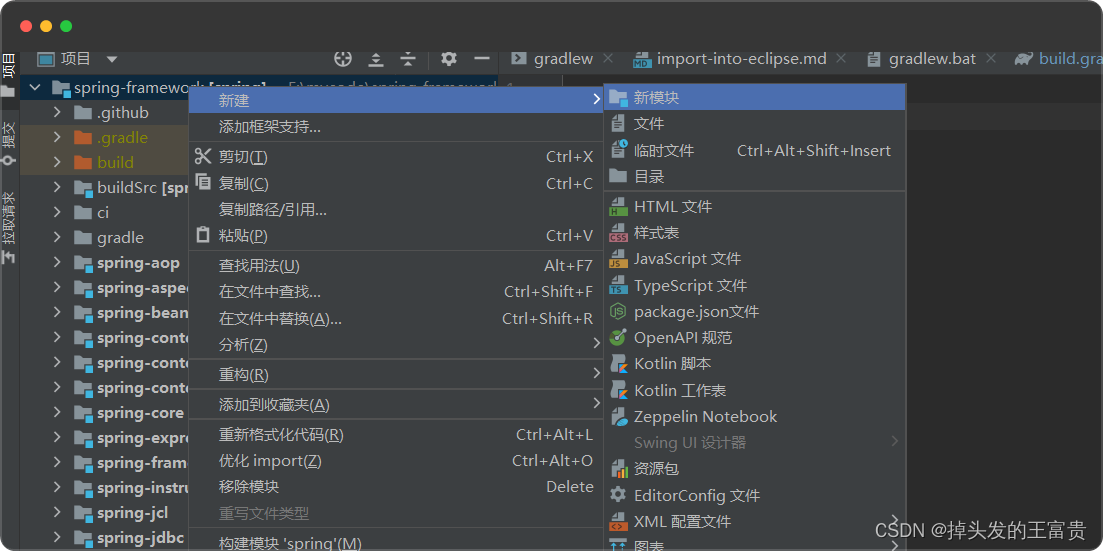
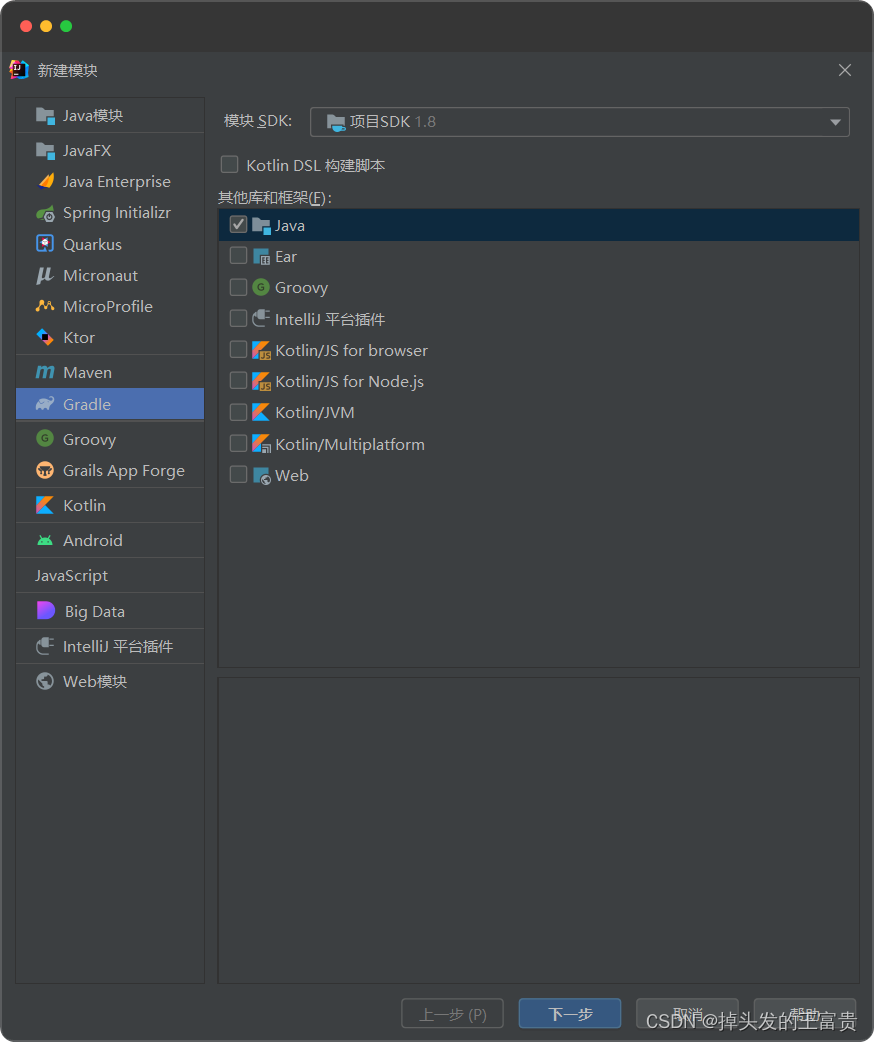
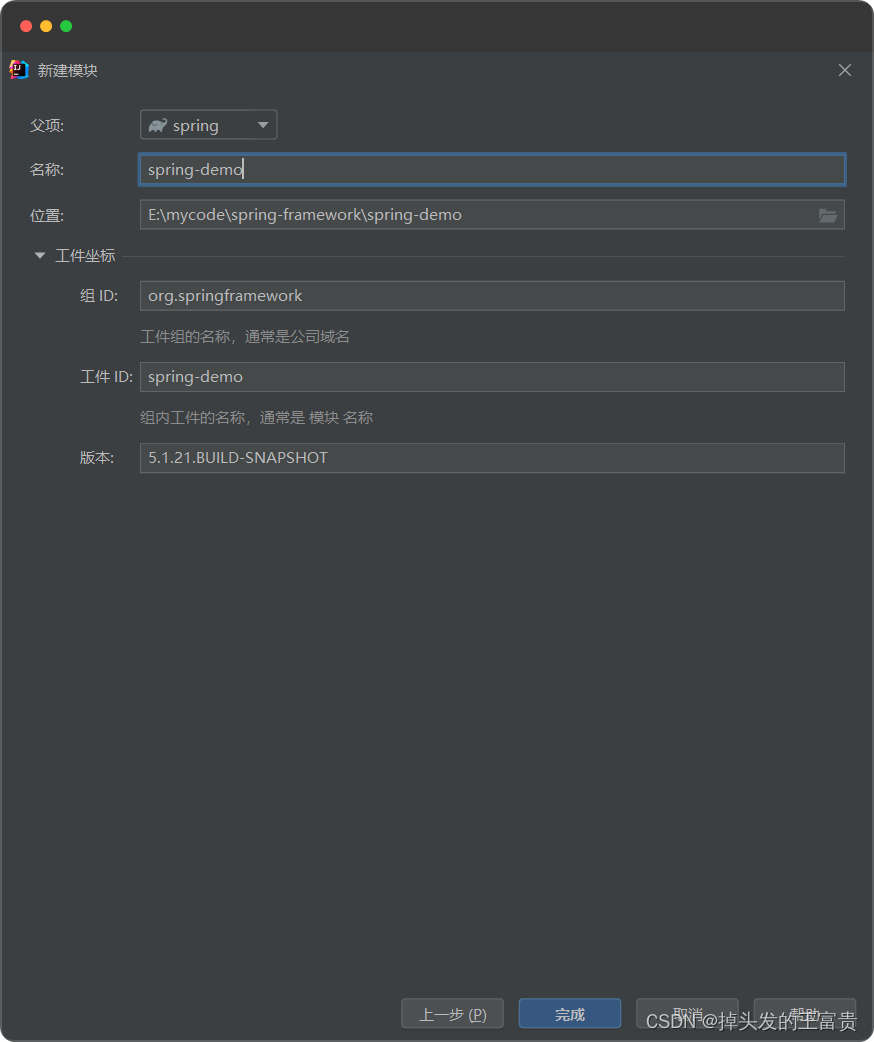
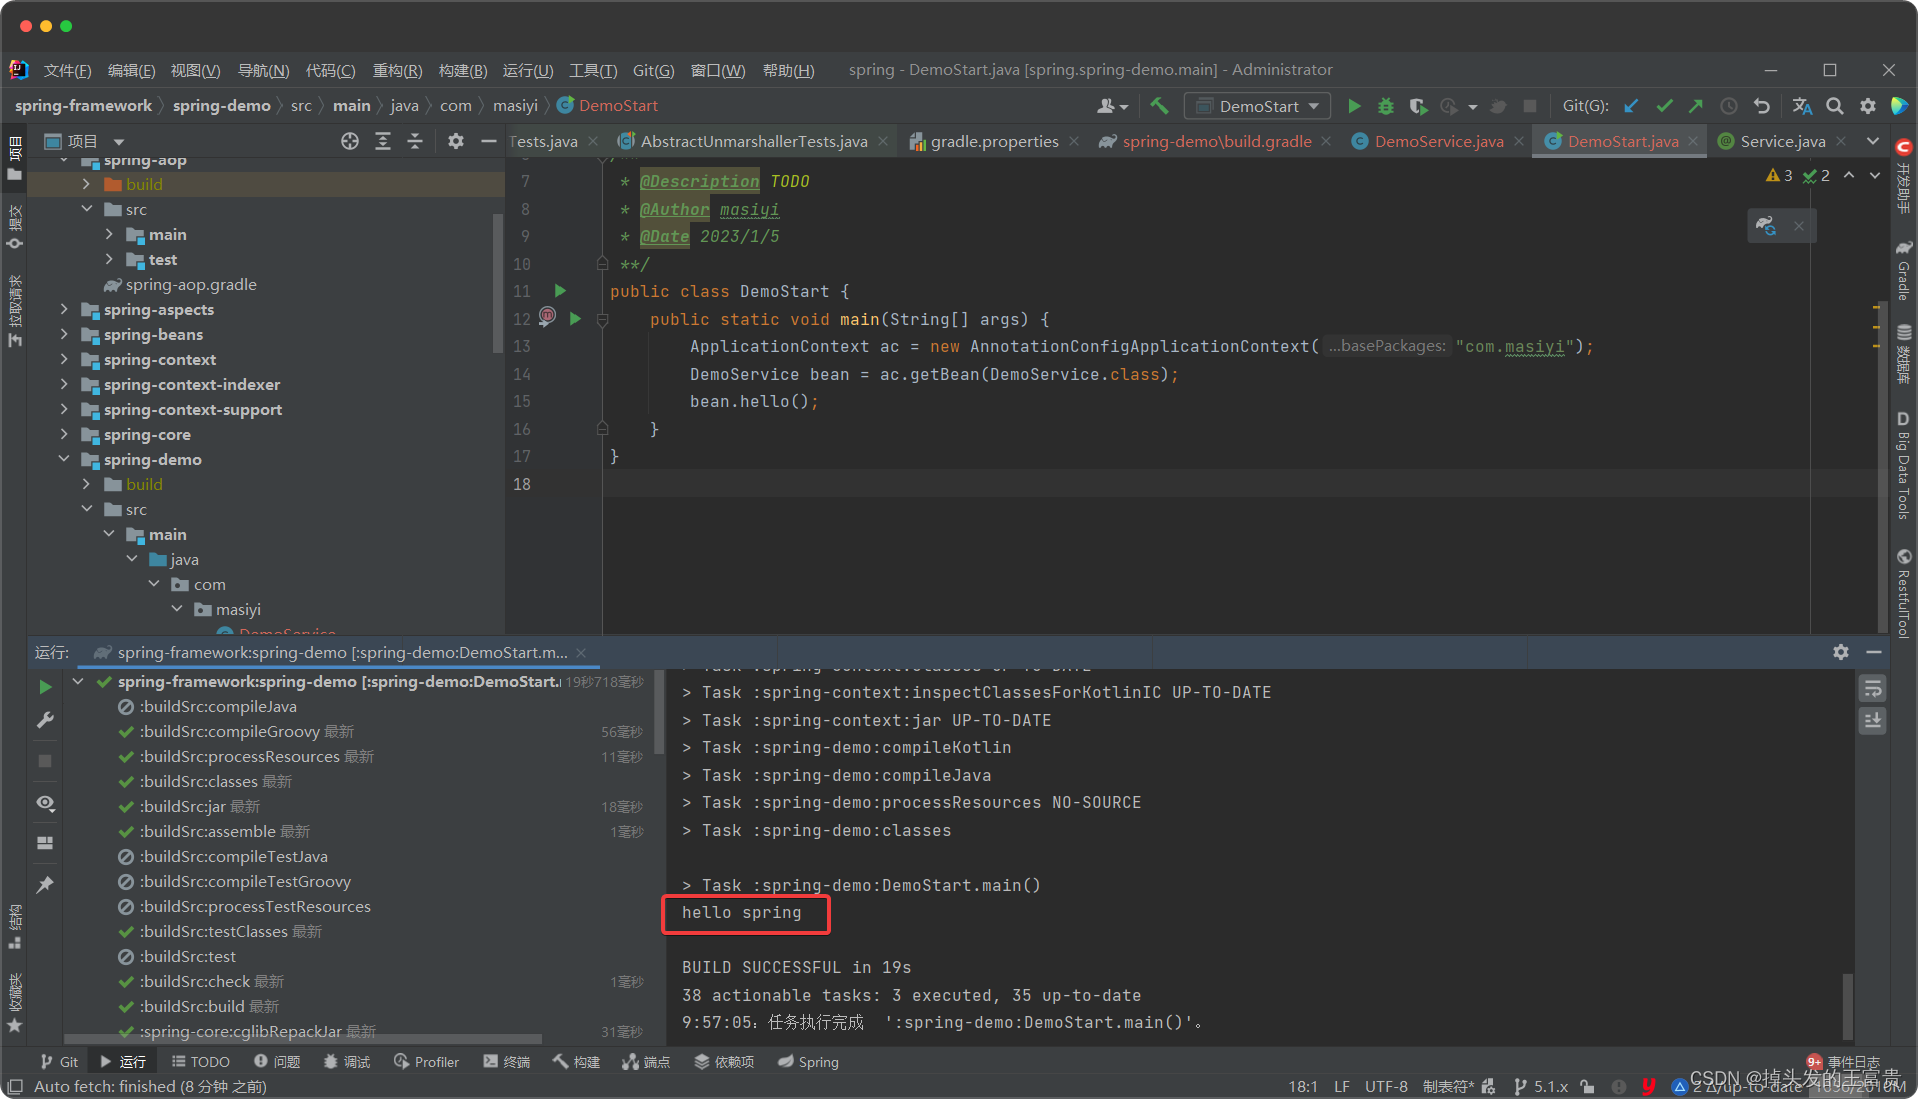
把src文件夹复制到spring-demo项目中(新建的项目如果为空的话,复制项目文件夹结构)
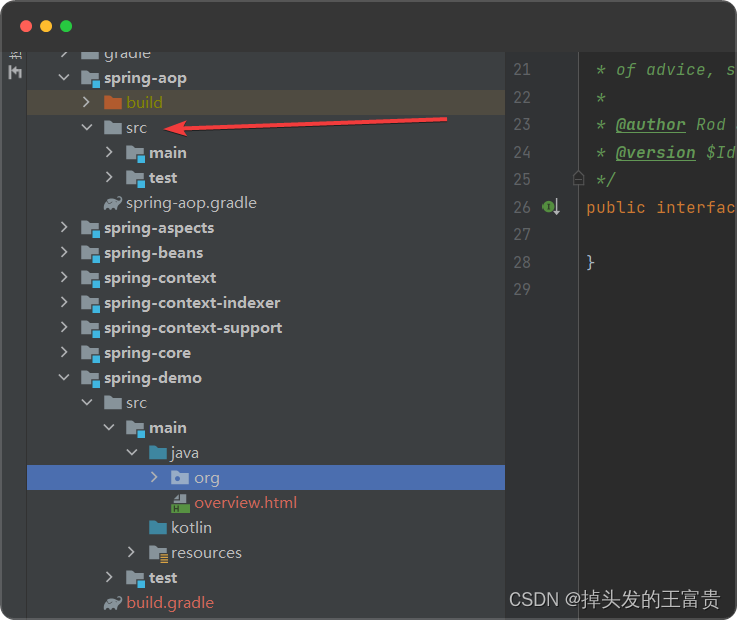
删掉多余的,自己新建文件包
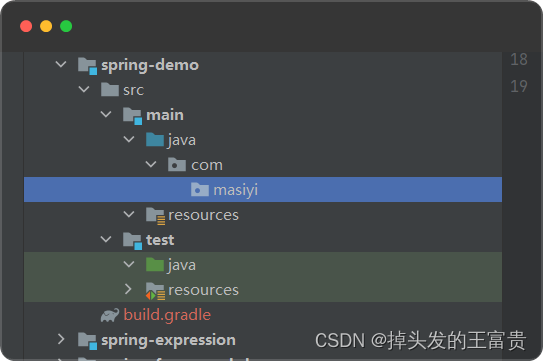
添加
compile(project(":spring-context"))
意思是添加依赖spring-context
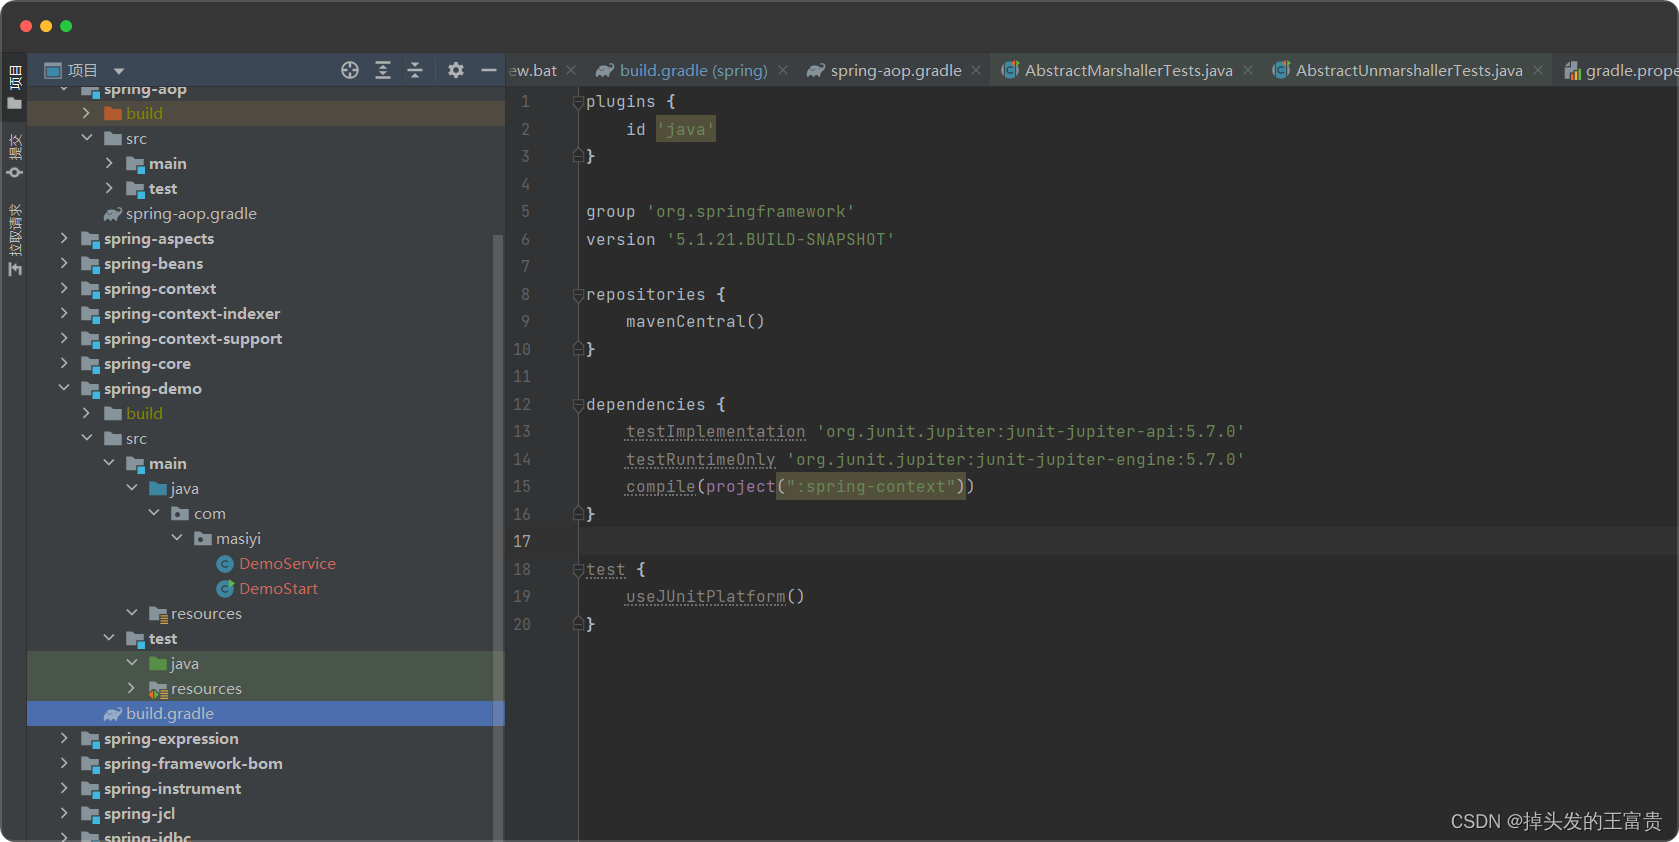
package com.masiyi;

import org.springframework.stereotype.Service;

/**
 * @Description TODO
 * @Author masiyi
 * @Date 2023/1/5
 **/
@Service
public class DemoService {
	public void hello() {
		System.out.println("hello spring");
	}
}
package com.masiyi;

import org.springframework.context.ApplicationContext;
import org.springframework.context.annotation.AnnotationConfigApplicationContext;
import org.springframework.context.annotation.Configuration;

/**
 * @Description TODO
 * @Author masiyi
 * @Date 2023/1/5
 **/
public class DemoStart {
	public static void main(String[] args) {
		ApplicationContext ac = new AnnotationConfigApplicationContext("com.masiyi");
		DemoService bean = ac.getBean(DemoService.class);
		bean.hello();
	}
}
运行即可
