ThreeJS-自定义矩形BufferGeometry(八)
代码:
<template>
<div id="three_div"></div>
</template>
<script>
import * as THREE from "three";
import { OrbitControls } from "three/examples/jsm/controls/OrbitControls";
import gsap from "gsap"; //动画控制
import * as dat from "dat.gui"; //界面控制
export default {
name: "HOME",
components: {
// vueQr,
// glHome,
},
data() {
return {};
},
mounted() {
//使用控制器控制3D拖动旋转OrbitControls
//控制3D物体移动
//1.创建场景
const scene = new THREE.Scene();
console.log(scene);
//2.创建相机
const camera = new THREE.PerspectiveCamera(
75,
window.innerWidth / window.innerHeight,
0.1,
1000
);
//设置相机位置
camera.position.set(0, 0, 10);
//将相机添加到场景
scene.add(camera);
//添加物体
//创建几何体
// const cubeGeometry = new THREE.BoxGeometry(2, 2, 2);
const cubeGeometry = new THREE.BufferGeometry();
const vertices = new Float32Array([
0,-2,-2,
0,-2,2,
0,2,2,
0,2,2,
0,2,-2,
0,-2,-2
]);
//每三个值为一个坐标
cubeGeometry.setAttribute('position', new THREE.BufferAttribute(vertices, 3));
const cubeMaterial = new THREE.MeshBasicMaterial({ color: 0xffff00 });
//根据几何体和材质创建物体
const mesh = new THREE.Mesh(cubeGeometry, cubeMaterial);
//将物体加入到场景
scene.add(mesh);
//添加坐标轴辅助器
const axesHepler = new THREE.AxesHelper(5);
scene.add(axesHepler);
//初始化渲染器
const render = new THREE.WebGLRenderer();
//设置渲染器的尺寸
render.setSize(window.innerWidth, window.innerHeight);
//使用渲染器,通过相机将场景渲染进来
//创建轨道控制器,可以拖动,控制的是摄像头
const controls = new OrbitControls(camera, render.domElement);
//设置控制阻尼,让控制器有更真实的效果
controls.enableDamping = true;
//将webgl渲染的canvas内容添加到body上
document.getElementById("three_div").appendChild(render.domElement);
//渲染下一帧的时候就会调用回调函数
let renderFun = () => {
//更新阻尼数据
controls.update();
//需要重新绘制canvas画布
render.render(scene, camera);
//监听屏幕刷新(60HZ,120HZ),每次刷新触发一次requestAnimationFrame回调函数
//但是requestAnimationFrame的回调函数注册生命只有一次,因此需要循环注册,才能达到一直调用的效果
window.requestAnimationFrame(renderFun);
};
// window.requestAnimationFrame(renderFun);
renderFun();
//画布全屏
window.addEventListener("dblclick", () => {
if (document.fullscreenElement) {
document.exitFullscreen();
} else {
//document.documentElement.requestFullscreen();
render.domElement.requestFullscreen();
}
});
//监听画面变化,更新渲染画面,(自适应的大小)
window.addEventListener("resize", () => {
//更新摄像机的宽高比
camera.aspect = window.innerWidth / window.innerHeight;
//更新摄像机的投影矩阵
camera.updateProjectionMatrix();
//更新渲染器宽度和高度
render.setSize(window.innerWidth, window.innerHeight);
//设置渲染器的像素比
render.setPixelRatio(window.devicePixelRatio);
console.log("画面变化了");
});
},
methods: {
paush(animate) {
animate.pause();
},
},
};
</script>
<style scoped lang="scss">
</style>
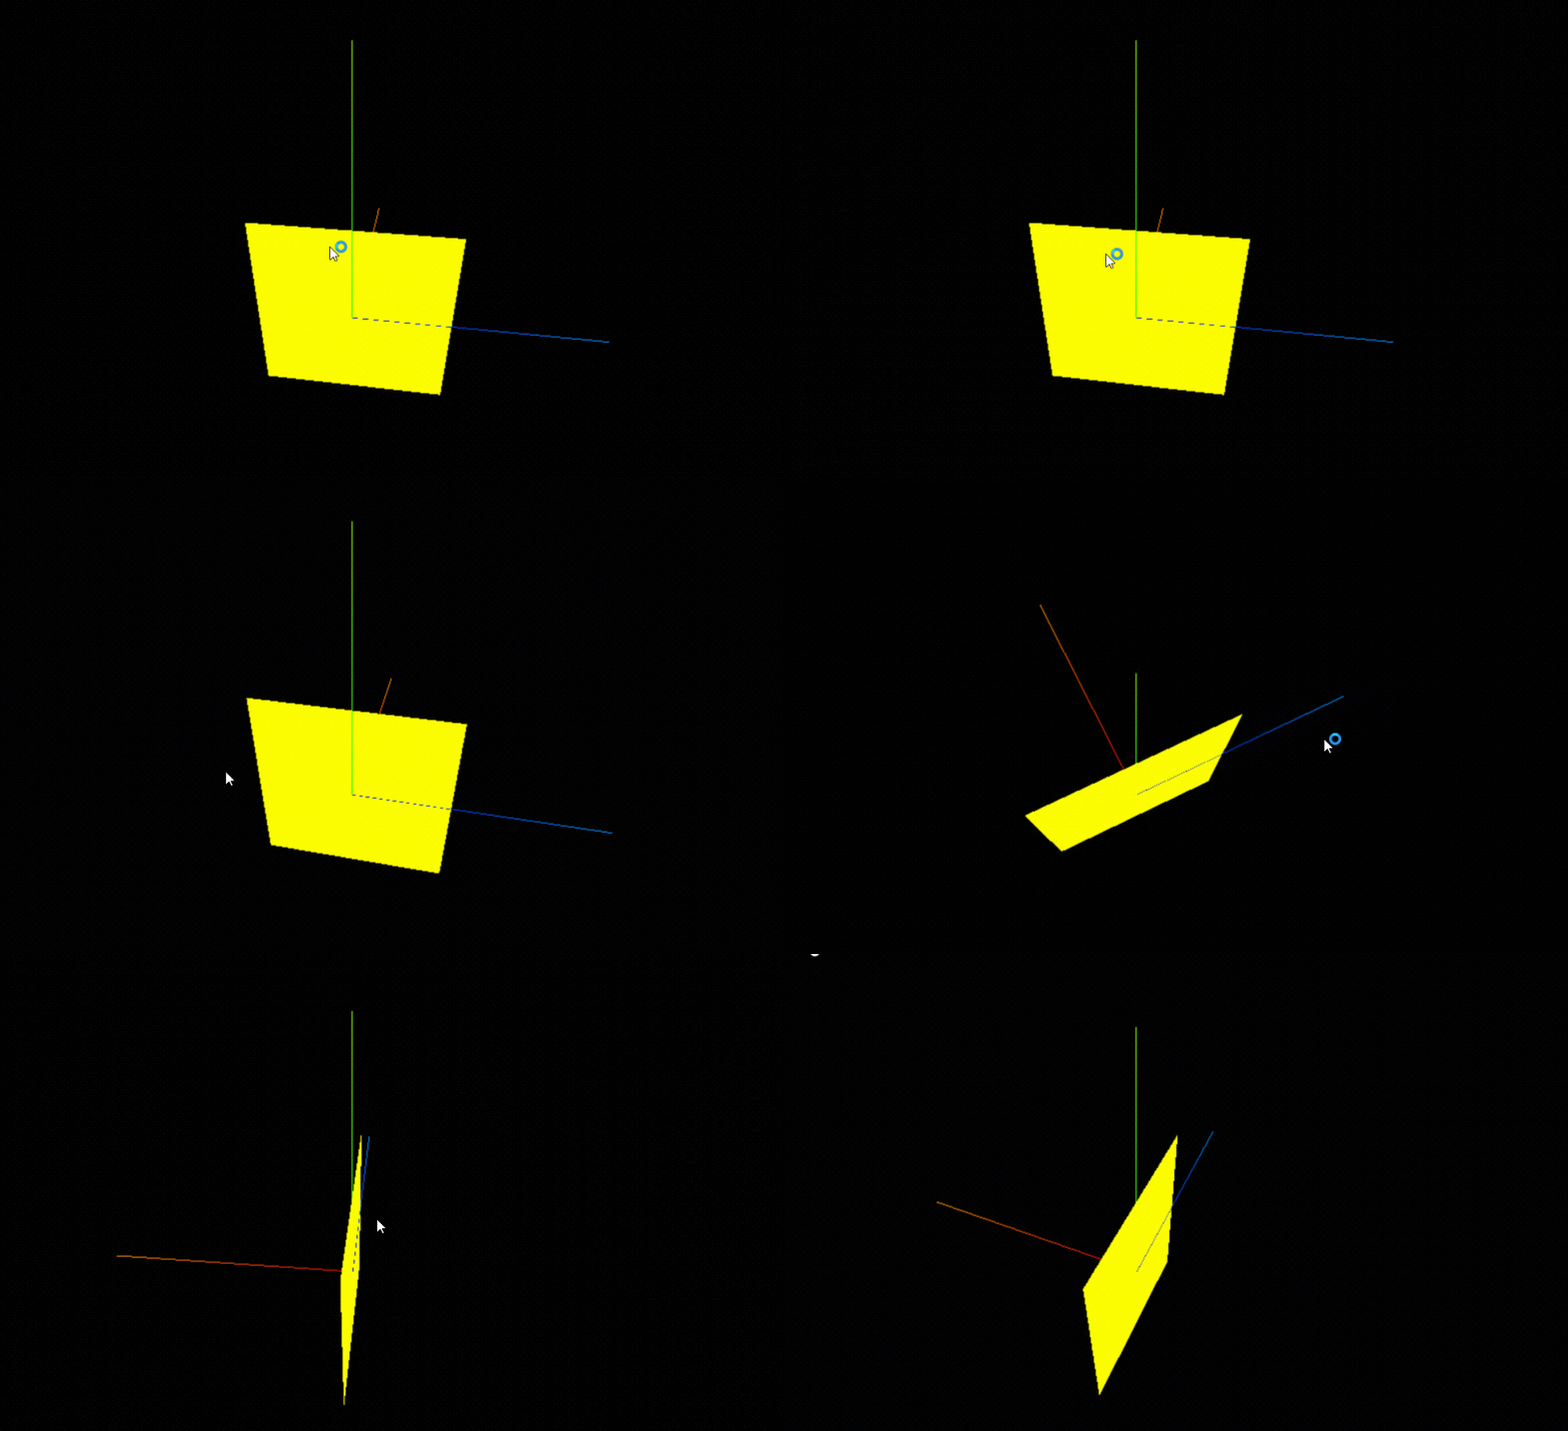
效果图:

这里有个坑:
const cubeGeometry = new THREE.BufferGeometry();
const vertices = new Float32Array([
0,-2,-2,
0,-2,2,
0,2,2,
0,2,2,
0,2,-2,
0,-2,-2
]);
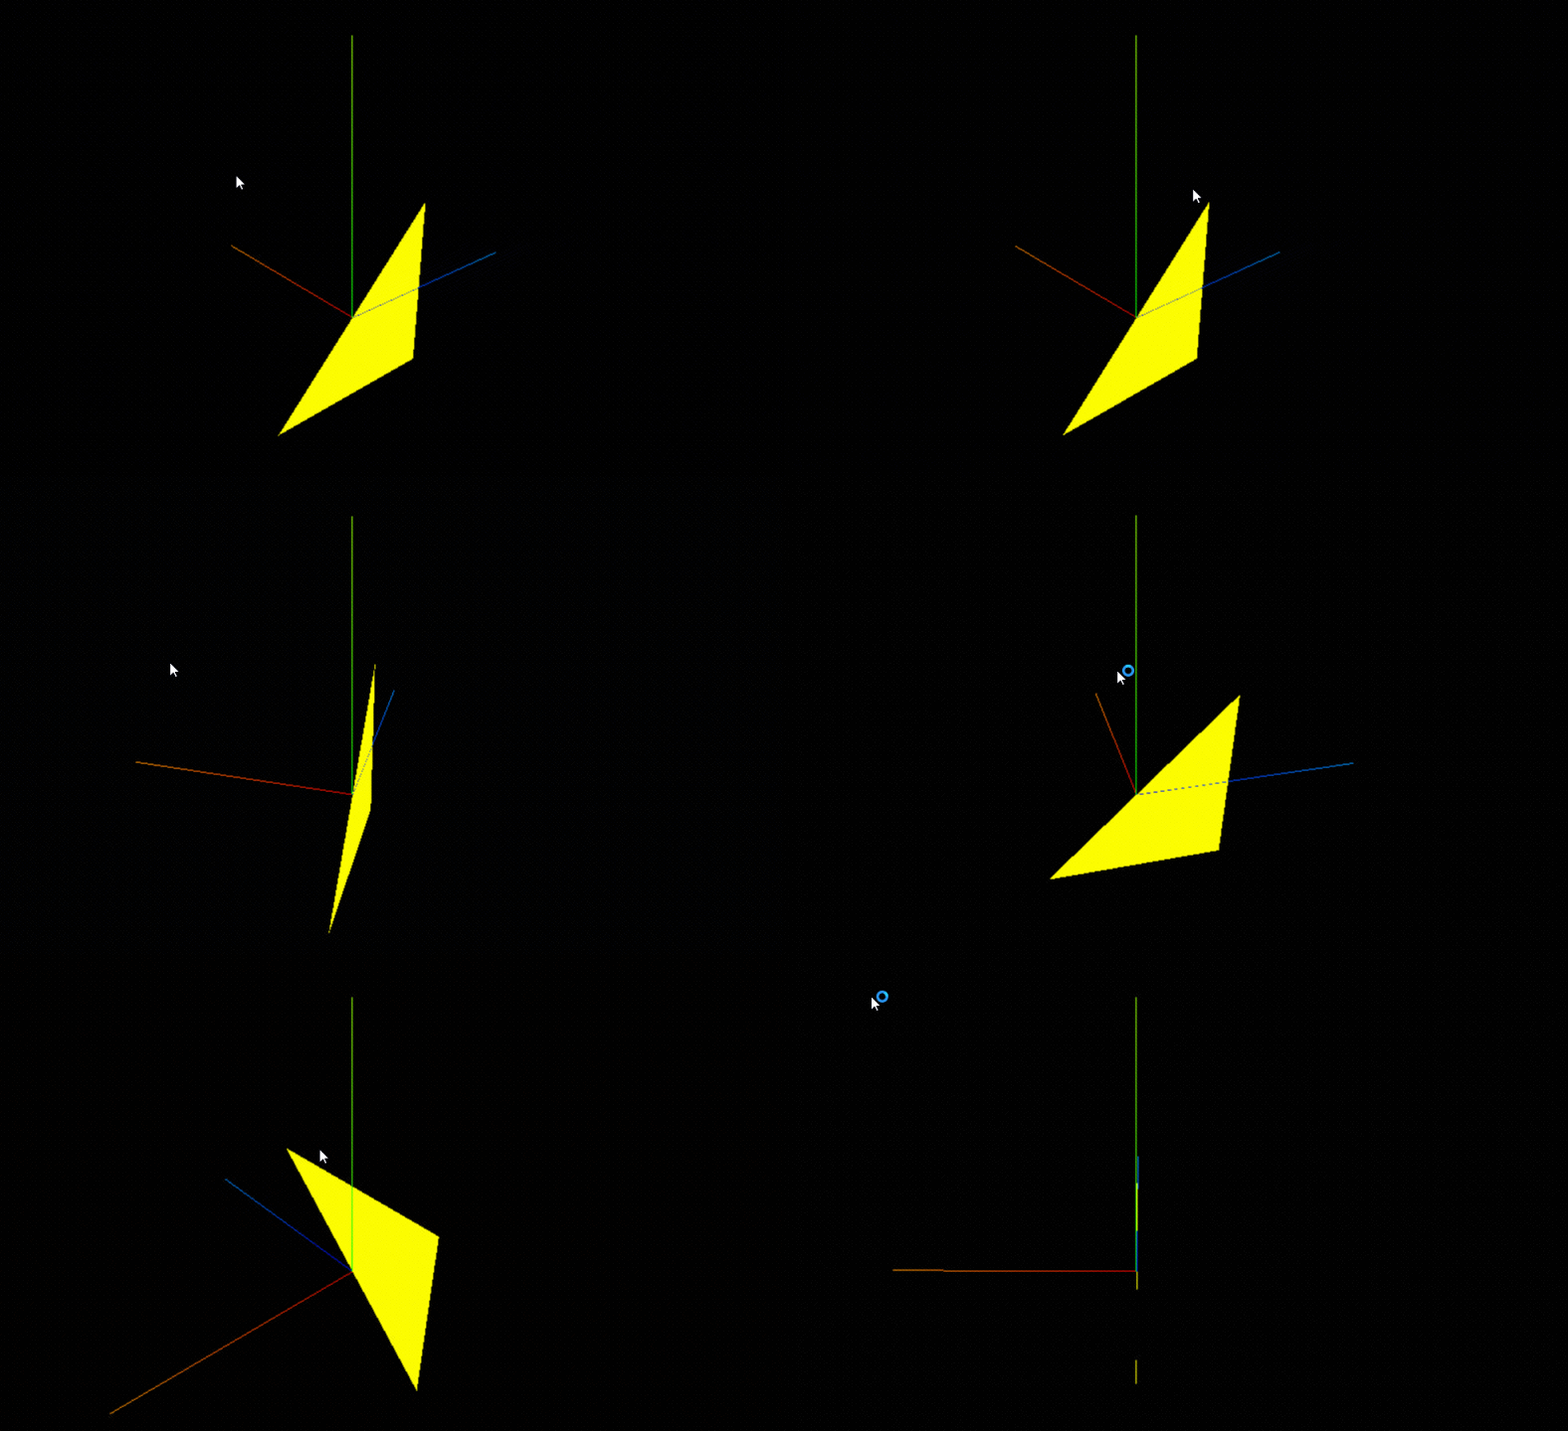
因为threejs矩形是两个三角形拼接而成的,所以画六个点,但是如果六个点全部描述在同一个Float32Array中,则必须要保证第一个三角形的起始点是第二个三角形的终端,第一个三角形的终点是第二个三角形的起始点,否则将会出现一下情况:
比如我们将代码改成一下:
const vertices = new Float32Array([
0,-2,-2,
0,-2,2,
0,2,2,
0,2,-2,
0,2,2,
0,-2,-2
]);
效果图:(不是一个完整的正方形,而只是显示一半)

那有没有不用保持第一个三角形的起始点是第二个三角形的终端,第一个三角形的终点是第二个三角形的起始点,也能正常显示呢?
答案是可以的:
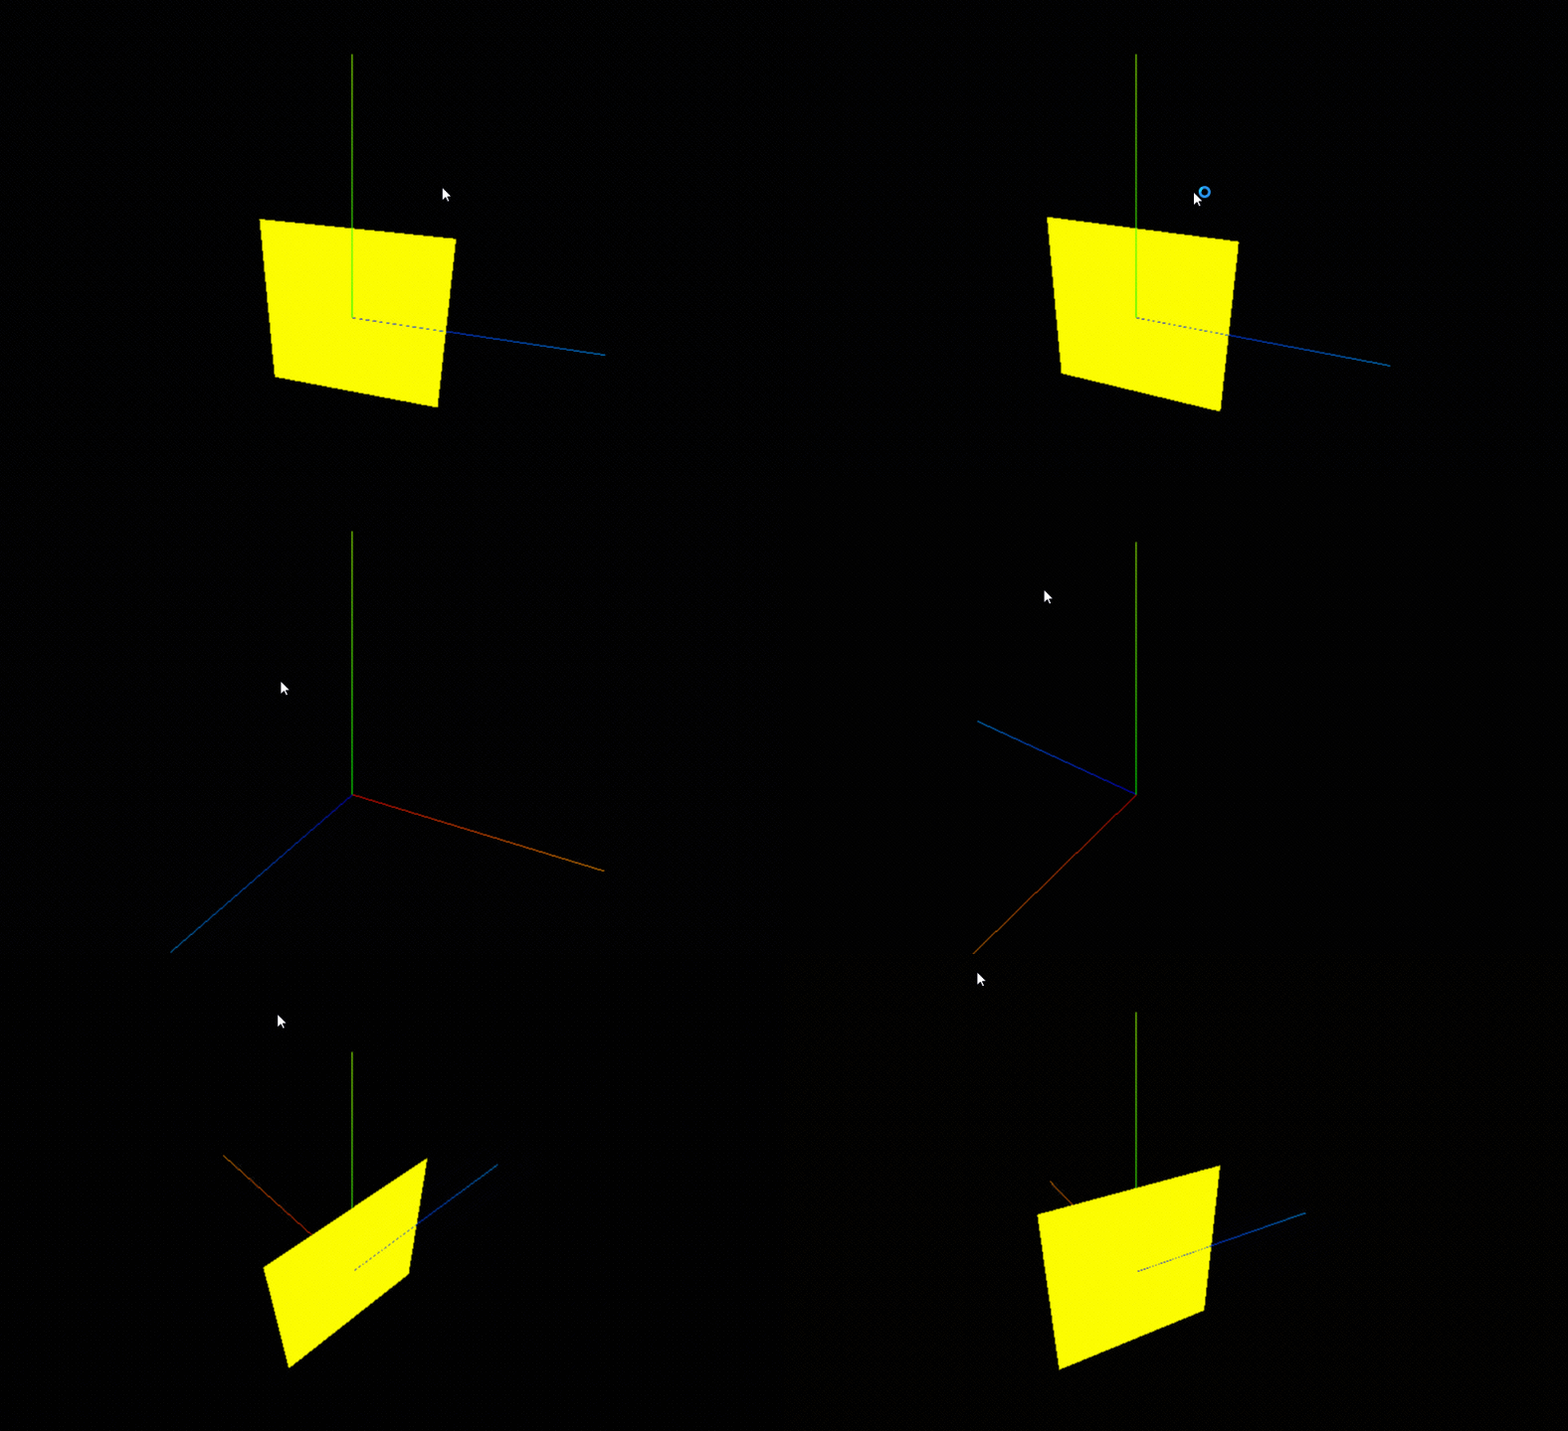
只需每个三角形单独创建一个物体,因此我们创建两个物体
代码如下:
const cubeGeometry = new THREE.BufferGeometry();
const cubeGeometry2 = new THREE.BufferGeometry();
const vertices = new Float32Array([
0,-2,-2,
0,-2,2,
0,2,2
]);
const vertices2 = new Float32Array([
0,2,2,
0,2,-2,
0,-2,-2
]);
//每三个值为一个坐标
cubeGeometry2.setAttribute('position', new THREE.BufferAttribute(vertices2, 3));
cubeGeometry.setAttribute('position', new THREE.BufferAttribute(vertices, 3));
const cubeMaterial = new THREE.MeshBasicMaterial({ color: 0xffff00 });
//根据几何体和材质创建物体
const mesh = new THREE.Mesh(cubeGeometry, cubeMaterial);
const mesh2 = new THREE.Mesh(cubeGeometry2, cubeMaterial);
//将物体加入到场景
scene.add(mesh);
scene.add(mesh2);
效果图:

