linux上交叉编译qt库
linux上交叉编译qt库
Qt程序从X86平台Linux移植到ARM平台Linux需要做什么
1.在ubuntu上使用qt的源码交叉编译出Qt库
2.将编译好的库拷贝到开发板上并设置相应的环境变量(库路径啥的)
前两步一劳永逸,做一次就行
3.X86上写好程序代码,通过交叉工具链进行程序的交叉编译,(动态)链接交叉编译的Qt库,或者厂商提供的Qt-sdk(友善),总之不能直接用开发板文件系统里的Qt库,那个是在arm上运行的
4.程序拷贝到开发板上运行
qt源码下载
https://blog.csdn.net/Mculover666/article/details/126307077?ops_request_misc=%257B%2522request%255Fid%2522%253A%2522169876081416800185832737%2522%252C%2522scm%2522%253A%252220140713.130102334.pc%255Fall.%2522%257D&request_id=169876081416800185832737&biz_id=0&utm_medium=distribute.pc_search_result.none-task-blog-2~all~first_rank_ecpm_v1~rank_v31_ecpm-8-126307077-null-null.142^v96^pc_search_result_base8&utm_term=%E9%87%8E%E7%81%AB%E4%BA%A4%E5%8F%89%E7%BC%96%E8%AF%91qt&spm=1018.2226.3001.4187
wget https://download.qt.io/archive/qt/5.12/5.12.9/single/qt-everywhere-src-5.12.9.tar.xz
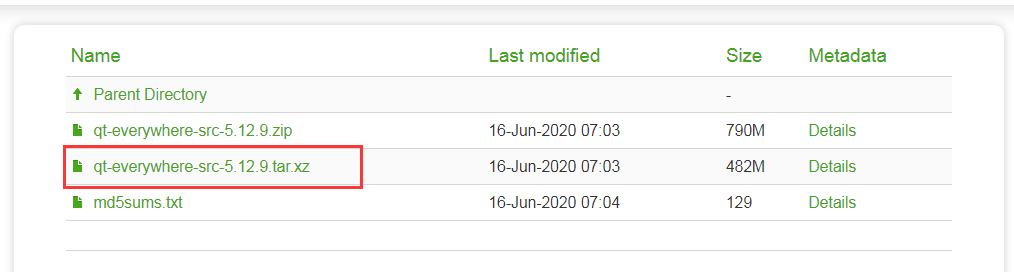
下载得到的qt源码包

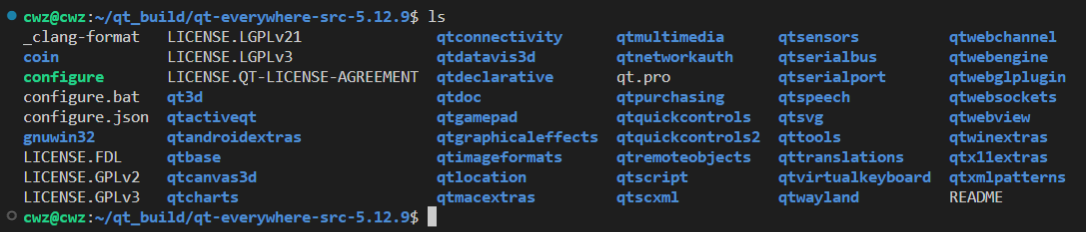
使用下面命令进行解压
xz -d qt-everywhere-src-5.12.9.tar.xz

tar -xf qt-everywhere-src-5.12.9.tar

进入解压后的目录如下:
修改配置文件qmake.conf
修改qtbase/mkspecs/linux-arm-gnueabi-g++/qmake.conf文件

使用vim编辑器打开qmake.conf
vim qtbase/mkspecs/linux-arm-gnueabi-g++/qmake.conf
打开qmake.conf文件如下图:

要添加的内容如下:
QT_QPA_DEFAULT_PLATFORM = linuxfb
QMAKE_CFLAGS += -O2 -march=armv7-a -mtune=cortex-a7 -mfpu=neon -mfloat-abi=hard
QMAKE_CXXFLAGS += -O2 -march=armv7-a -mtune=cortex-a7 -mfpu=neon -mfloat-abi=hard
生成makefile
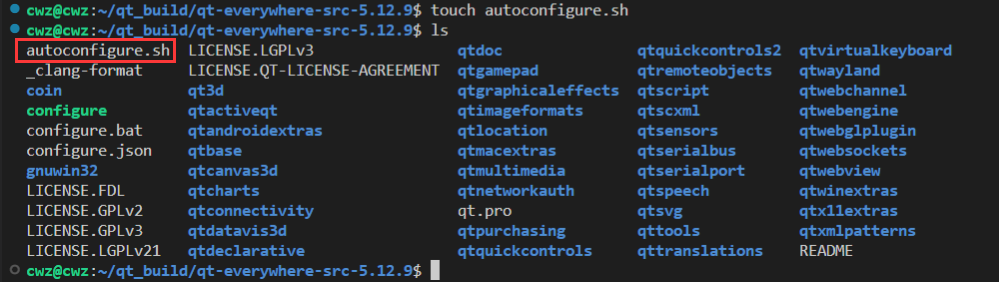
由于要输入的命令比较多,创建一个shell脚本,把命令放入脚本文件中,创建一个autoconfigure.sh的脚本文件
touch autoconfigure.sh
将要执行的命令,拷贝到autoconfigure.sh文件中。这里注意第3行是指定交叉编译后要安装的目录,根据自己情况进行调整。
#!/bin/sh
./configure -v \
-prefix /home/cwz/qt_build/qt-everywhere-src-5.12.9/armqt5.12.9 \
-opensource \
-confirm-license \
-release \
-strip \
-shared \
-xplatform linux-arm-gnueabi-g++ \
-optimized-qmake \
-c++std c++11 \
--rpath=no \
-pch \
-skip qt3d \
-skip qtactiveqt \
-skip qtandroidextras \
-skip qtcanvas3d \
-skip qtconnectivity \
-skip qtdatavis3d \
-skip qtdoc \
-skip qtgamepad \
-skip qtlocation \
-skip qtmacextras \
-skip qtnetworkauth \
-skip qtpurchasing \
-skip qtremoteobjects \
-skip qtscript \
-skip qtscxml \
-skip qtsensors \
-skip qtspeech \
-skip qtsvg \
-skip qttools \
-skip qttranslations \
-skip qtwayland \
-skip qtwebengine \
-skip qtwebview \
-skip qtwinextras \
-skip qtx11extras \
-skip qtxmlpatterns \
-make libs \
-make examples \
-nomake tools -nomake tests \
-gui \
-widgets \
-dbus-runtime \
--glib=no \
--iconv=no \
--pcre=qt \
--zlib=qt \
-no-openssl \
--freetype=qt \
--harfbuzz=qt \
-no-opengl \
-linuxfb \
--xcb=no \
-tslib \
--libpng=qt \
--libjpeg=qt \
--sqlite=qt \
-plugin-sql-sqlite \
-I/opt/tslib1.4/include \
-L/opt/tslib1.4/lib
exit
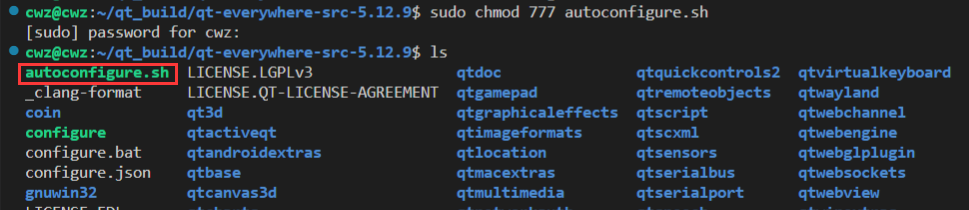
给脚本autoconfigure.sh添加可执行权限
sudo chmod 777 autoconfigure.sh
执行脚本
按照下面命令,执行脚本。
./autoconfigure.sh
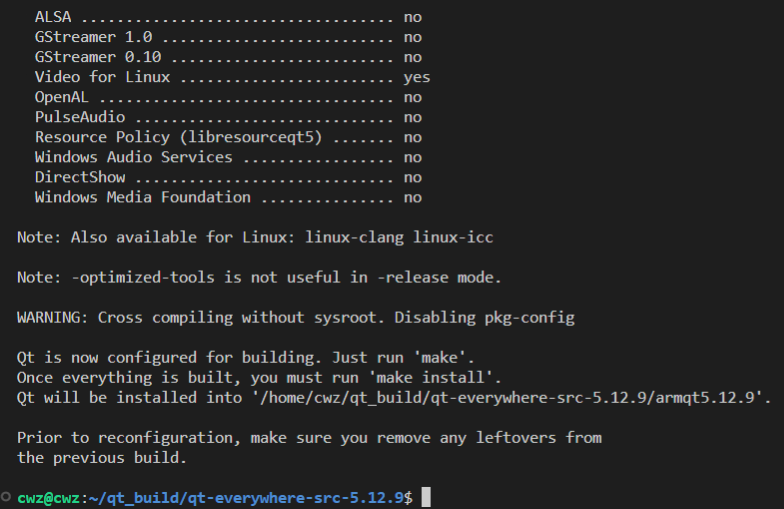
执行完上述脚本后,会生成一个makefile文件,接下来执行make命令,
make
然后接着执行make install命令
make install
出现下面的错误,一种是没权限,这里我准备加上sudo,还有一个缺少python

错误sh: 1: python: not found Project ERROR: Building QtQml requires Python.
解决:
安装Python资源包
sudo apt install python3.8
2.找到资源包的位置
which python3

将其拷贝到/usr/bin/python目录下
sudo cp -r /usr/bin/python3 /usr/bin/python
解决了上述的错误后,重新执行make install命令。就可以了,会需要很长一段时间的。
编译完成后,在/home/cwz/qt_build/qt-everywhere-src-5.12.9/armqt5.12.9目录(这个目录是我们在autoconfigure.sh脚本中第3行指定的安装目录)下生成的文件如下图:

至此,qt库的交叉编译就完成了。