图像重定向Image Retarget
1、什么是图像重定向?
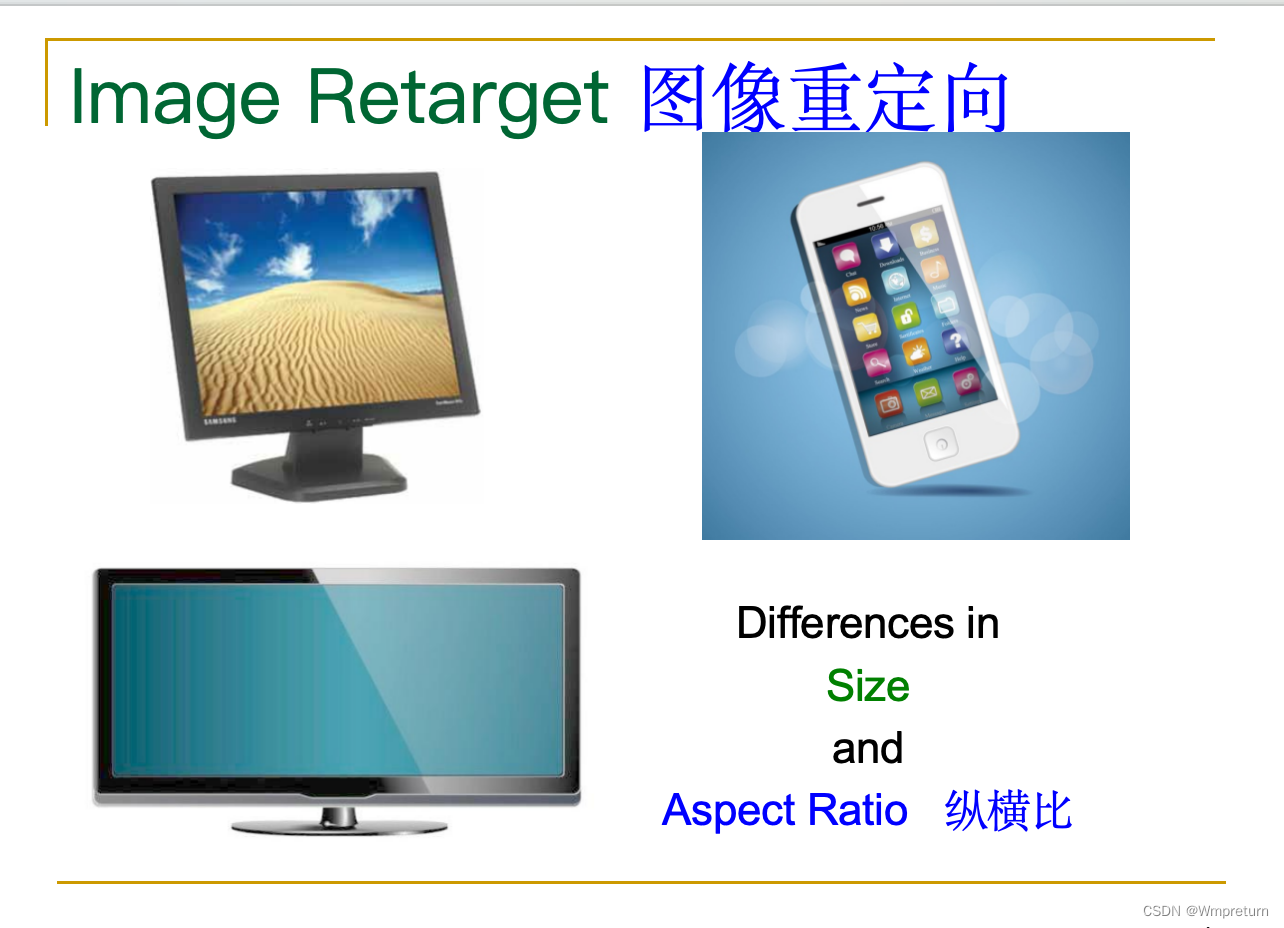
图像重定向旨在调整图像的尺寸和比例,以适应不同的显示设备或布局要求。
它可以通过添加或删除像素来改变图像的宽度和高度,同时保持图像的内容和结构的相对比例。 这种技术可以通过保持图像的关键特征和结构来最大程度地减少图像的失真。
2、图像重定向如何保持图像的关键点?
1. 重采样:
图像的像素会被重新采样,即重新分配像素的位置和颜色值。重采样算法可以根据像素的相对重要性和位置来决定像素的重新分配方式,以保持图像的关键点。
2. 内容保护:可以通过检测图像中的边缘、纹理或颜色分布等特征,并在重定向过程中优先保留这些特征。
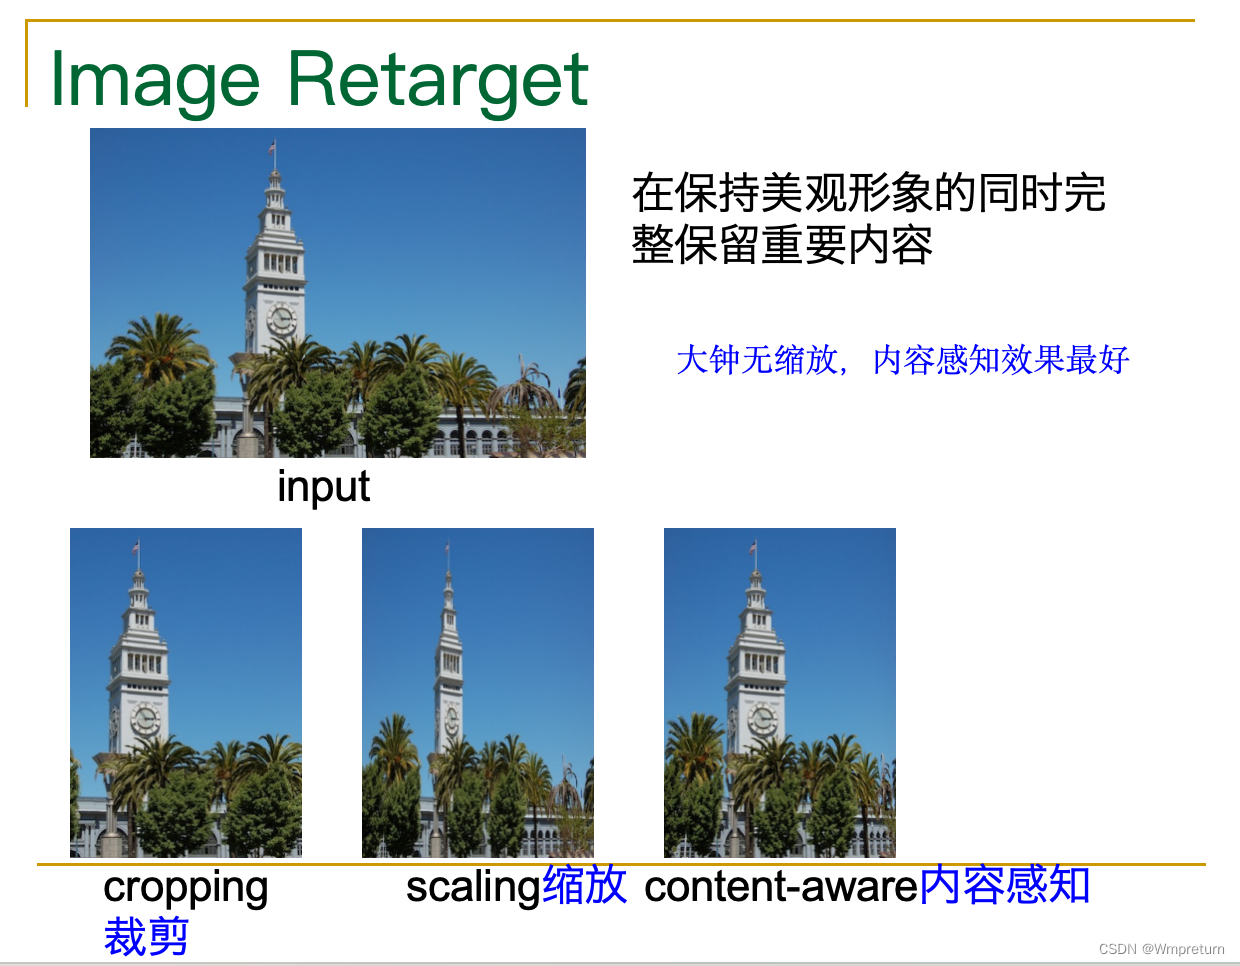
3. 内容感知重定向:根据图像的内容和语义信息来调整图像的尺寸和比例。这种方法可以识别图像中的重要对象或区域,并保持它们的相对位置和比例,以确保图像的关键特征得到保留。
3、 举例说明如何图像重定向(没有实际操作,只有模版代码)
图片比例为4:3,我想通过内容感知的方式把图片变成2:3,要求大钟楼完全保留,不做处理一样,绿树等进行缩放,该如何做?
1. 使用图像处理库(如OpenCV)加载原始图像。
import cv2
image = cv2.imread("源图像名称.jpg")
2. 根据原始图像的宽高比例计算目标图像的宽度和高度。
original_height, original_width, _ = image.shape
target_width = int(original_height * 2/3)
target_height = original_height
3. 确定大钟楼区域的位置。可以使用图像编辑软件或编程方法来标记大钟楼的位置。(好像目前对图像的标记任务都是通过人工来完成的?)
# 假设大钟楼区域的位置为 (x1, y1) 到 (x2, y2)
 x1, y1, x2, y2 = 100, 200, 400, 600
4. 将大钟楼区域的宽度调整为目标图像的宽度,并根据比例计算大钟楼区域的高度。
adjusted_x1 = int(x1 * target_width / original_width)
adjusted_x2 = int(x2 * target_width / original_width)
adjusted_y1 = int(y1 * target_height / original_height)
adjusted_y2 = int(y2 * target_height / original_height)

adjusted_width = adjusted_x2 - adjusted_x1
adjusted_height = adjusted_y2 - adjusted_y1
5. 使用图像缩放函数对原始图像进行内容感知缩放。
resized_image = cv2.resize(image, (target_width, target_height), fx=0, fy=0)

# 将大钟楼区域的部分还原为原始尺寸
resized_image[adjusted_y1:adjusted_y2, adjusted_x1:adjusted_x2] = image[y1:y2, x1:x2]

# 对除大钟楼区域以外的部分进行缩放
roi = resized_image[0:adjusted_y1, 0:target_width]
resized_roi = cv2.resize(roi, (target_width, adjusted_y1))
resized_image[0:adjusted_y1, 0:target_width] = resized_roi

roi = resized_image[adjusted_y2:target_height, 0:target_width]
resized_roi = cv2.resize(roi, (target_width, target_height - adjusted_y2))
resized_image[adjusted_y2:target_height, 0:target_width] = resized_roi
6. 检查结果并保存处理后的图像。
cv2.imshow("Resized Image", resized_image)
cv2.waitKey(0)
cv2.imwrite("resized_image.jpg", resized_image)


