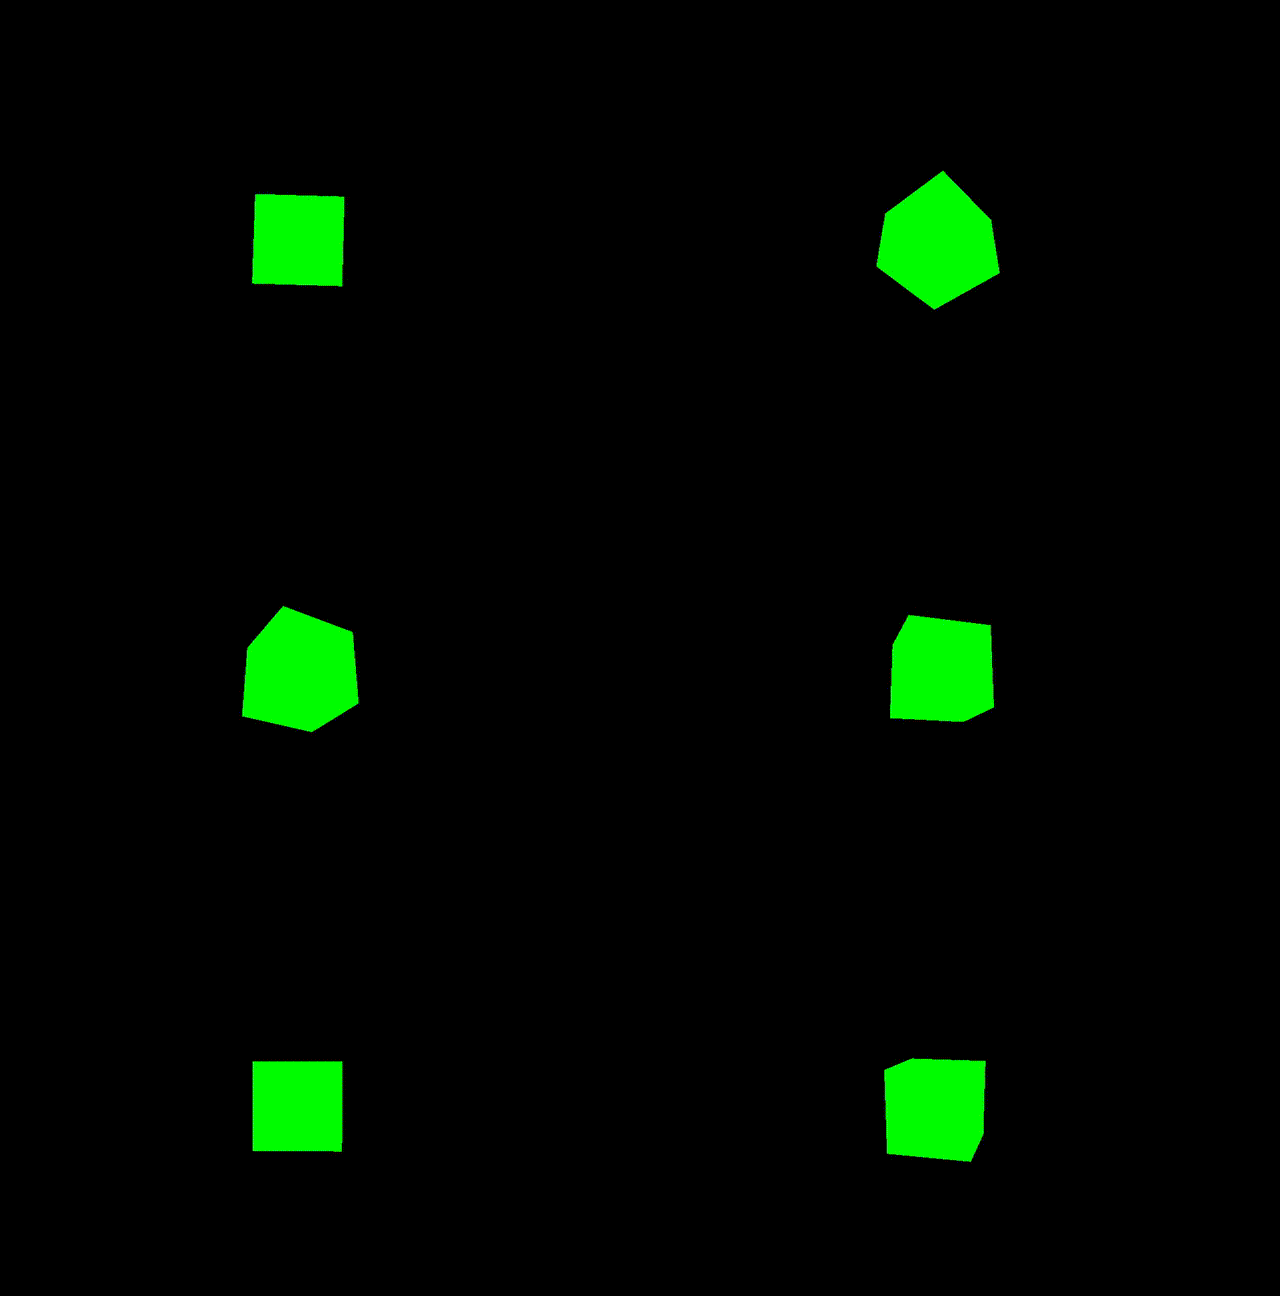
Three.js——learn01
Three.js——learn01
- Three.js——learn01
- 本地搭建文档
- 通过parcel搭建Threejs环境
- 1.初始化
- 2.安装parcel设置打包位置
- 3.设置目录结构
- QuickStart
- 安装threejs
- index.html
- index.css
- index.js
- 启动
Three.js——learn01
本地搭建文档
登录GitHub搜索three.js
git clone https://github.com/mrdoob/three.js.git

官方doc地址:https://threejs.org/docs/index.html#manual/zh/introduction/Installation
使用VSCode打开
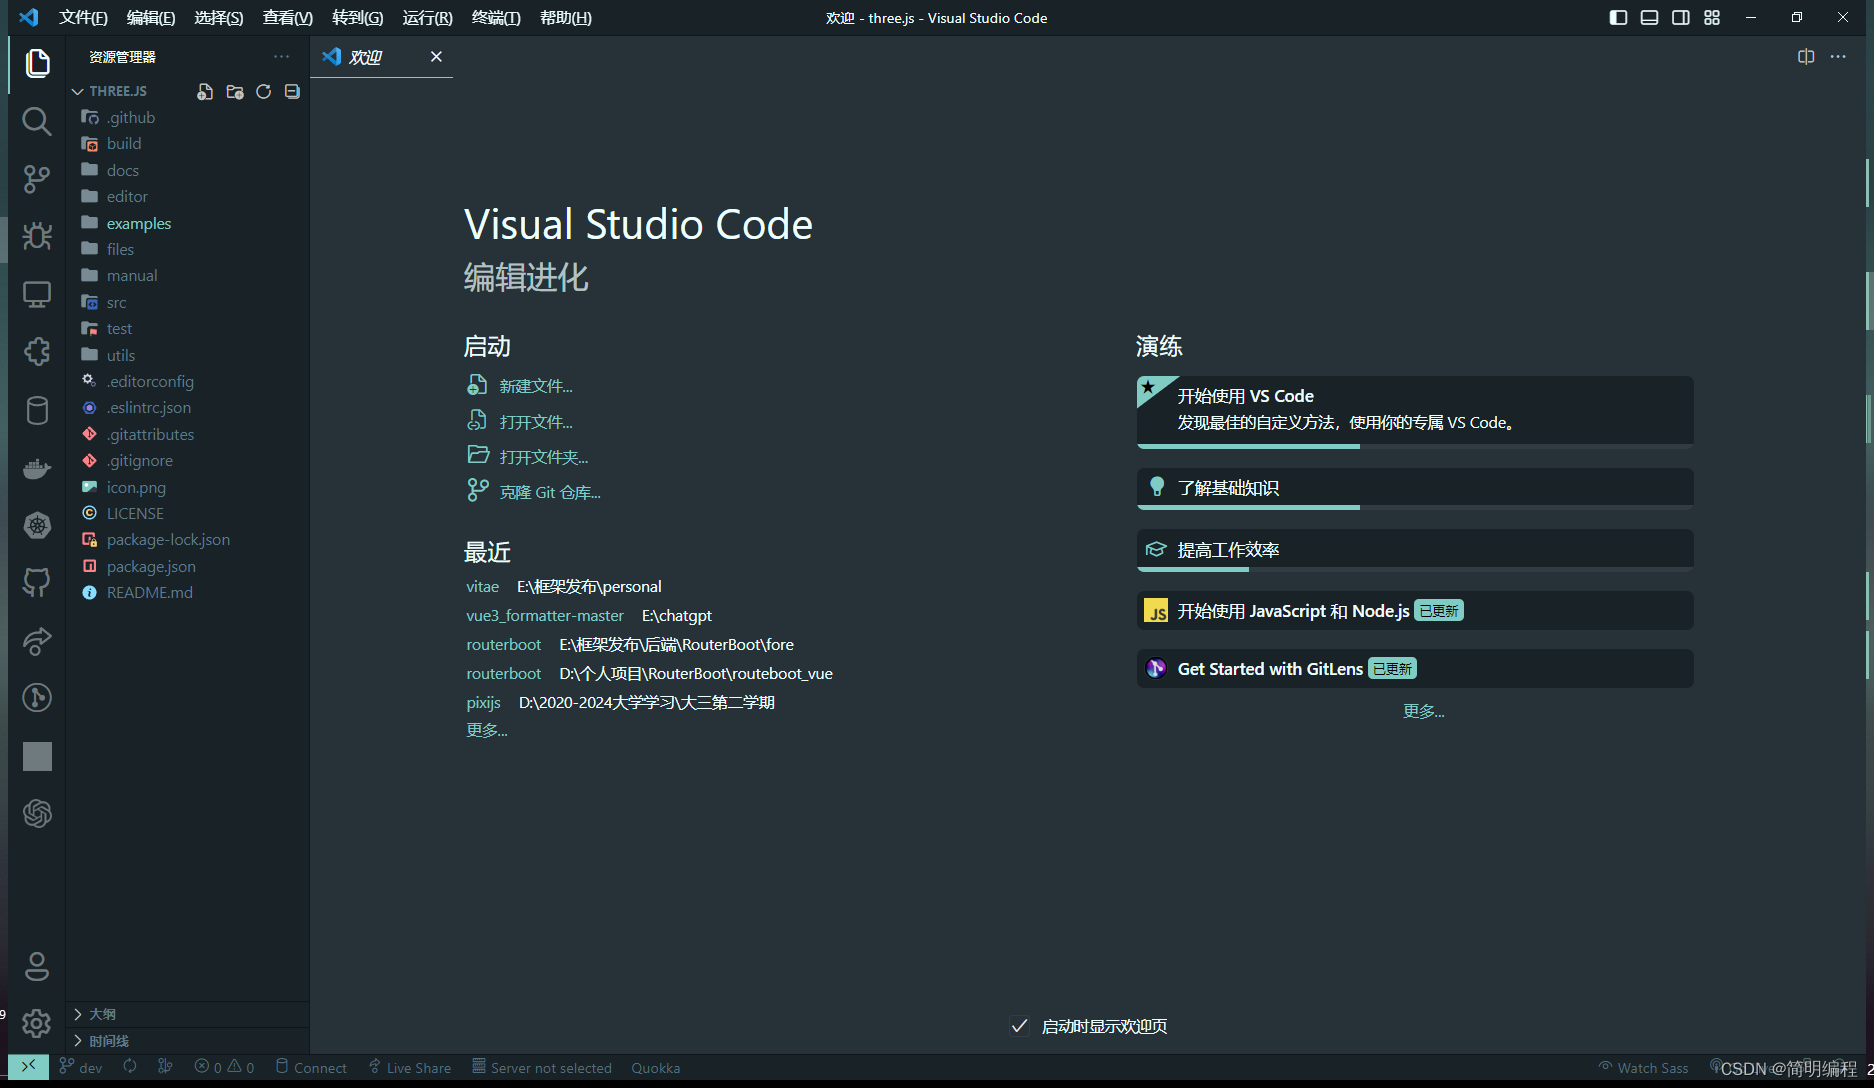
安装依赖
npm install
启动项目
npm run start
访问8080端口
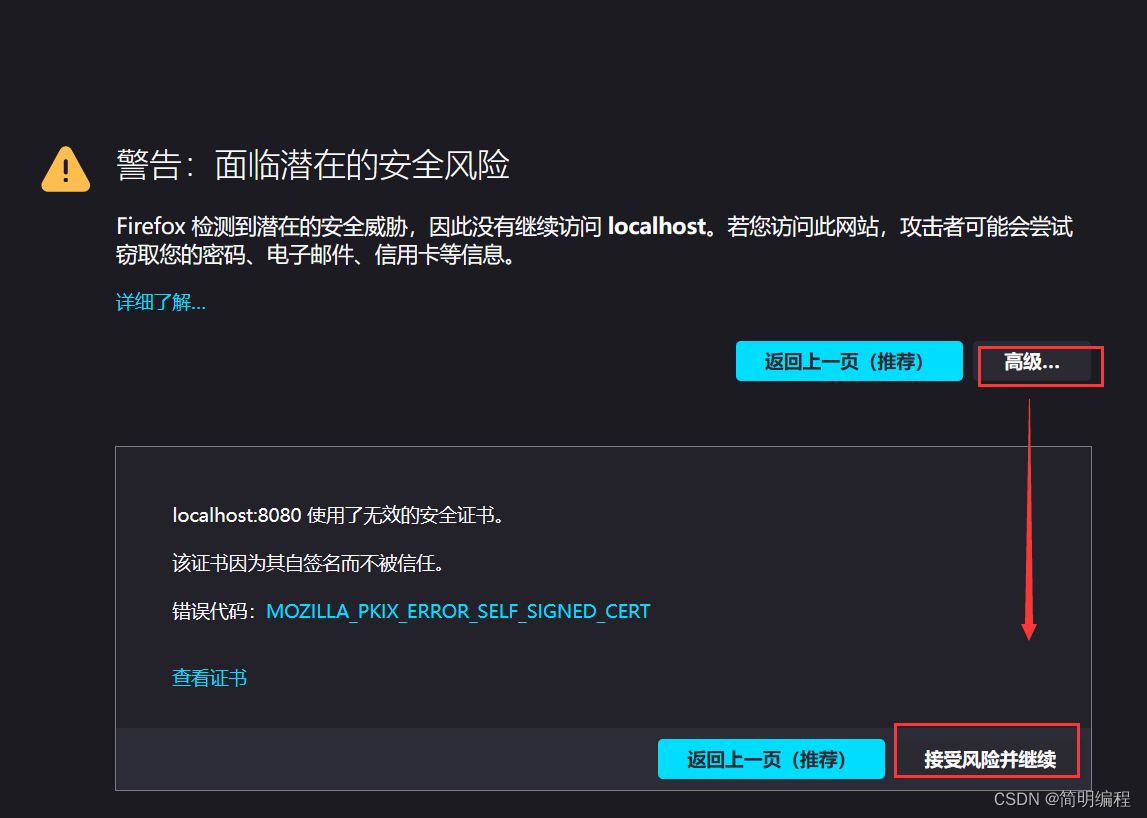
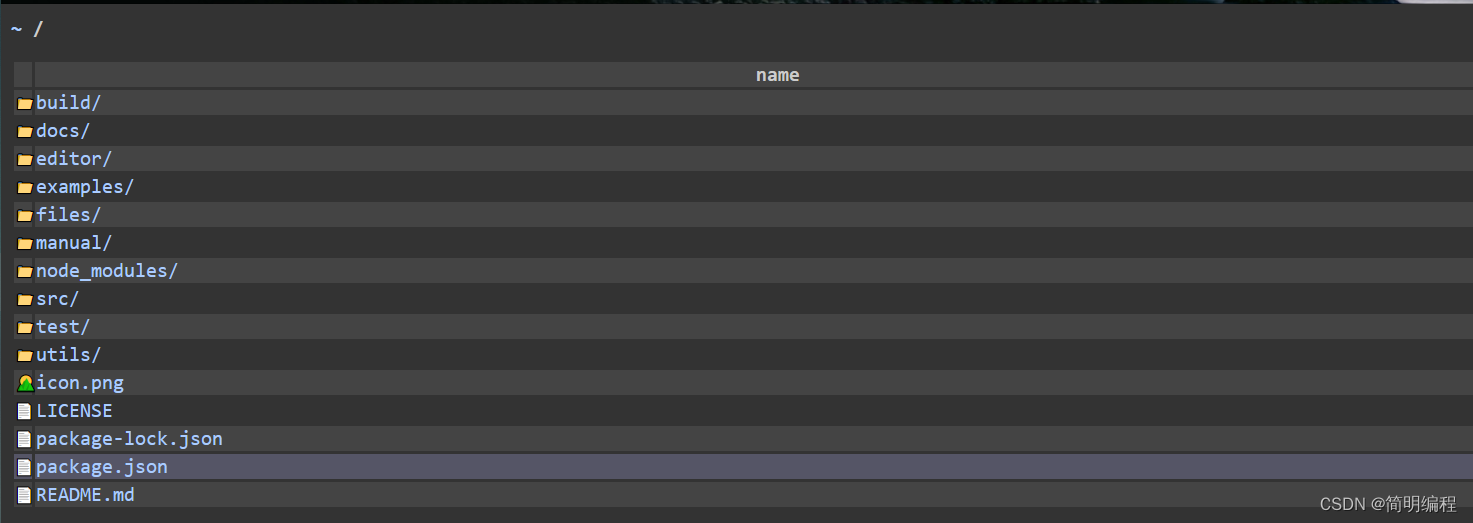
然后我们任意选择我们需要看的即可
通过parcel搭建Threejs环境
1.初始化
npm init
2.安装parcel设置打包位置
npm install parcel-bundler --save-dev
在package.json中
  "scripts": {
    "dev":"parcel src/index.html",
    "build":"parcel build src/index.html",
    "test": "echo \"Error: no test specified\" && exit 1"
  },
3.设置目录结构
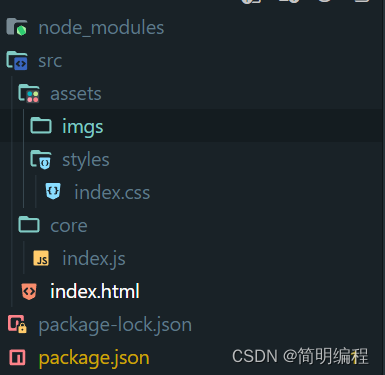
QuickStart
安装threejs
npm install three --save
index.html
<!DOCTYPE html>
<html lang="en">
  <head>
    <meta charset="UTF-8" />
    <meta http-equiv="X-UA-Compatible" content="IE=edge" />
    <meta name="viewport" content="width=device-width, initial-scale=1.0" />
    <title>Document</title>
    <link rel="stylesheet" href="./assets/styles/index.css" />
  </head>
  <body>
    <script src="./core/index.js" type="module"></script>
  </body>
</html>
index.css
* {
  margin: 0;
  padding: 0;
  background-color: beige;
}
index.js
import * as THREE from 'three'

//创建场景
const scene = new THREE.Scene()

/**
 * 创建相机并设置相机参数
 * 参数:
 * 1. fov视野角度
 * 2.长宽比
 * 3.近端距离参数(近截面)最近能看到哪里
 * 4.远端距离参数(远截面)最远能看到哪里
 */
const camera = new THREE.PerspectiveCamera(75, window.innerWidth / window.innerHeight, 0.1, 1000)
//设置相机位置
camera.position.set(0, 0, 5)
//将相机放置到场景中
scene.add(camera)
//创建渲染器
const renderer = new THREE.WebGLRenderer()
//设置渲染器渲染大小
renderer.setSize(window.innerWidth, window.innerHeight)
//添加渲染器到页面中
document.body.appendChild(renderer.domElement)
//创建几何体对象
const geometry = new THREE.BoxGeometry(1, 1, 1)
//设置基础材质(颜色:0x00ff00)
const material = new THREE.MeshBasicMaterial({ color: 0x00ff00 })
//创建物体对象(几何体+材质)
const cube = new THREE.Mesh(geometry, material)
//添加物体到材质中
scene.add(cube)
//给物体添加动画
const an = () => {
  //requestAnimationFrame有很多的优点。最重要的一点或许就是当用户切换到其它的标签页时,它会暂停,因此不会浪费用户宝贵的处理器资源,也不会损耗电池的使用寿命
  requestAnimationFrame(an)
  cube.rotation.x += 0.01
  cube.rotation.y += 0.01
  //开始渲染
  renderer.render(scene, camera)
}
an()
启动
npm run dev
